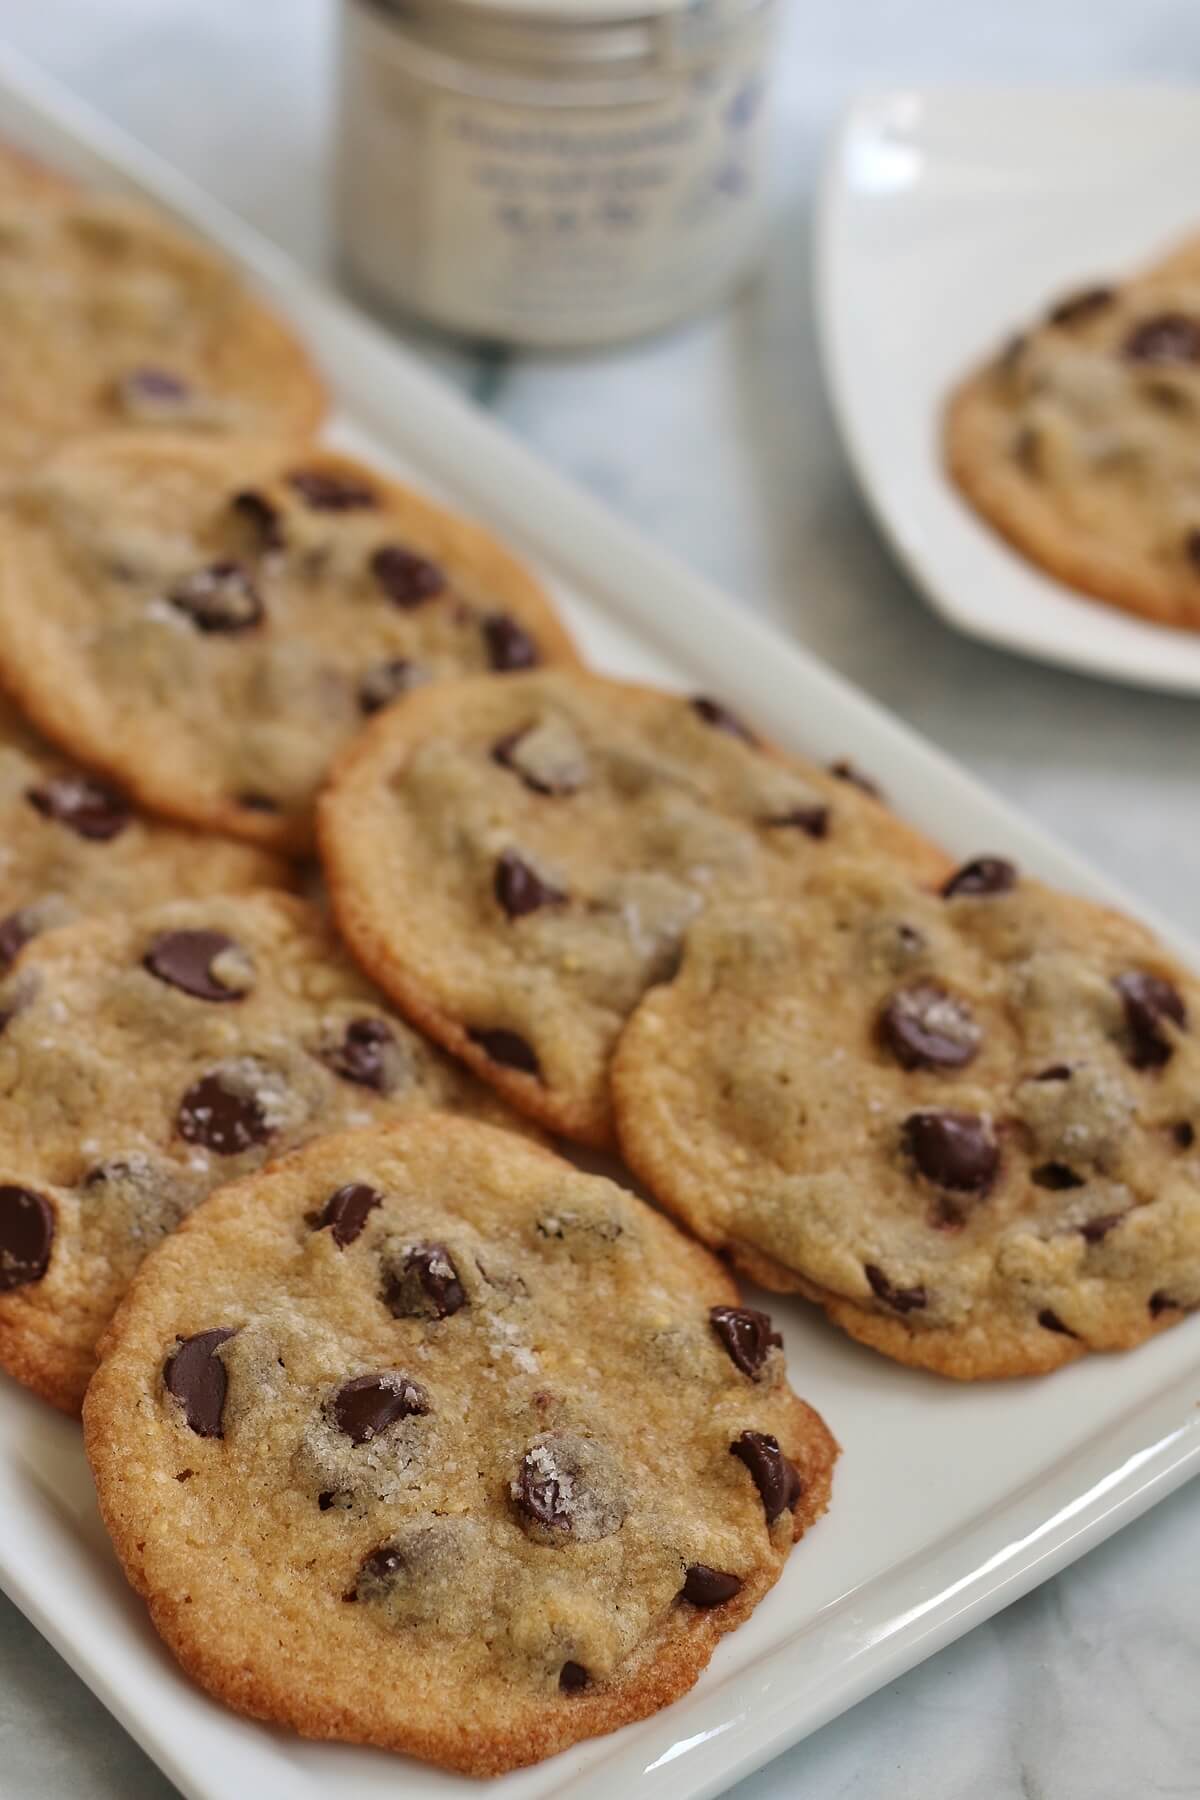
These chewy, gooey, Salted Chocolate Chip Cookies are adapted from the notoriously awesome Milk Bar in New York City. These glorious cookies are hands down THE BEST chocolate chip cookies we have ever made or eaten. They have the perfect crispy edged, chewy-in-the-middle texture thanks to a couple not-so-secret ingredients.
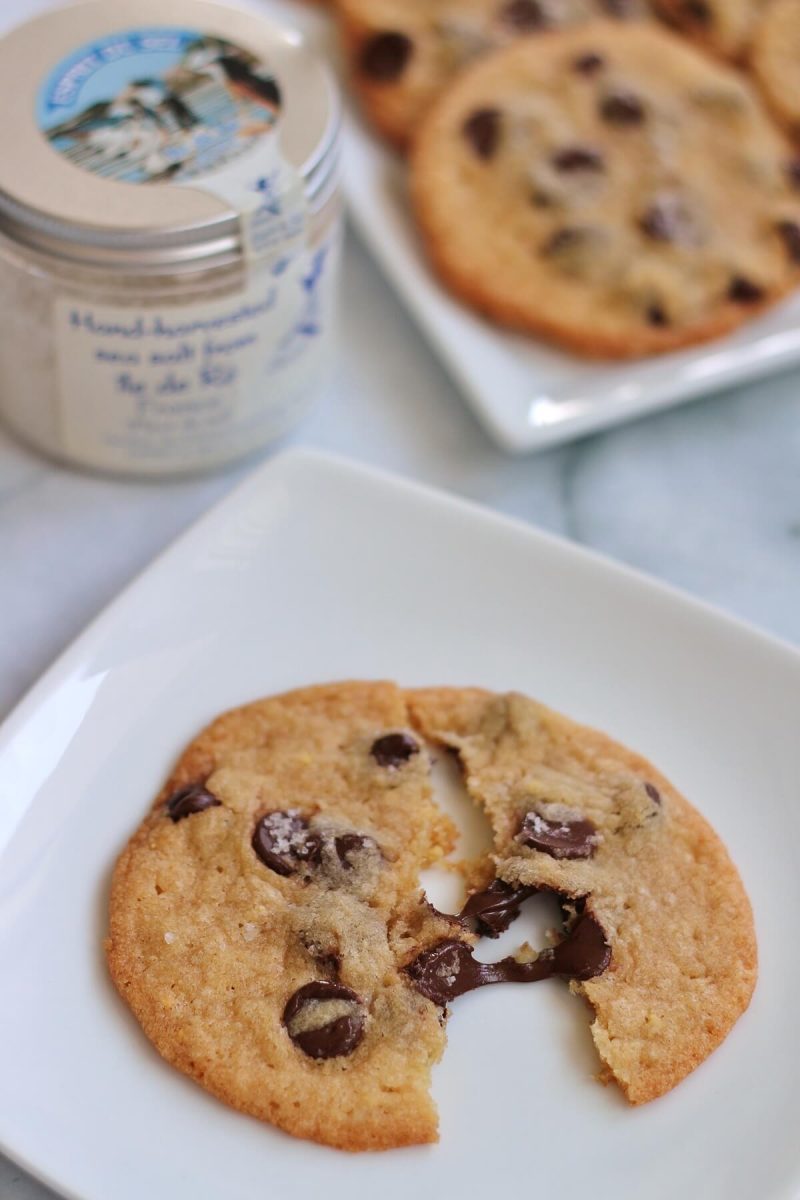
(This recipe was originally published in July 2015, but was updated with new photos and content in 2020).
I've never met anyone who doesn't like cookies in some shape or form. Whether they are basic chocolate chips or rich and nutty peanut butter cookies, spiced snickerdoodles, sweet and jammy thumbprints, or crumbly and buttery shortbread, there are varieties of cookies to fit any cookie craving.
My favorite texture for chocolate chip cookies is crisp around the edges and chewy and gooey in the center. Perhaps the best I've had are at Clementine in Los Angeles. During the 3 ½ years I lived in the City of Angels, I ate A LOT of their delicious cookies.
There's something about their ginormous, thin, perfect cookies that have stuck with me for years and years. I associate their cookies with pure happiness.
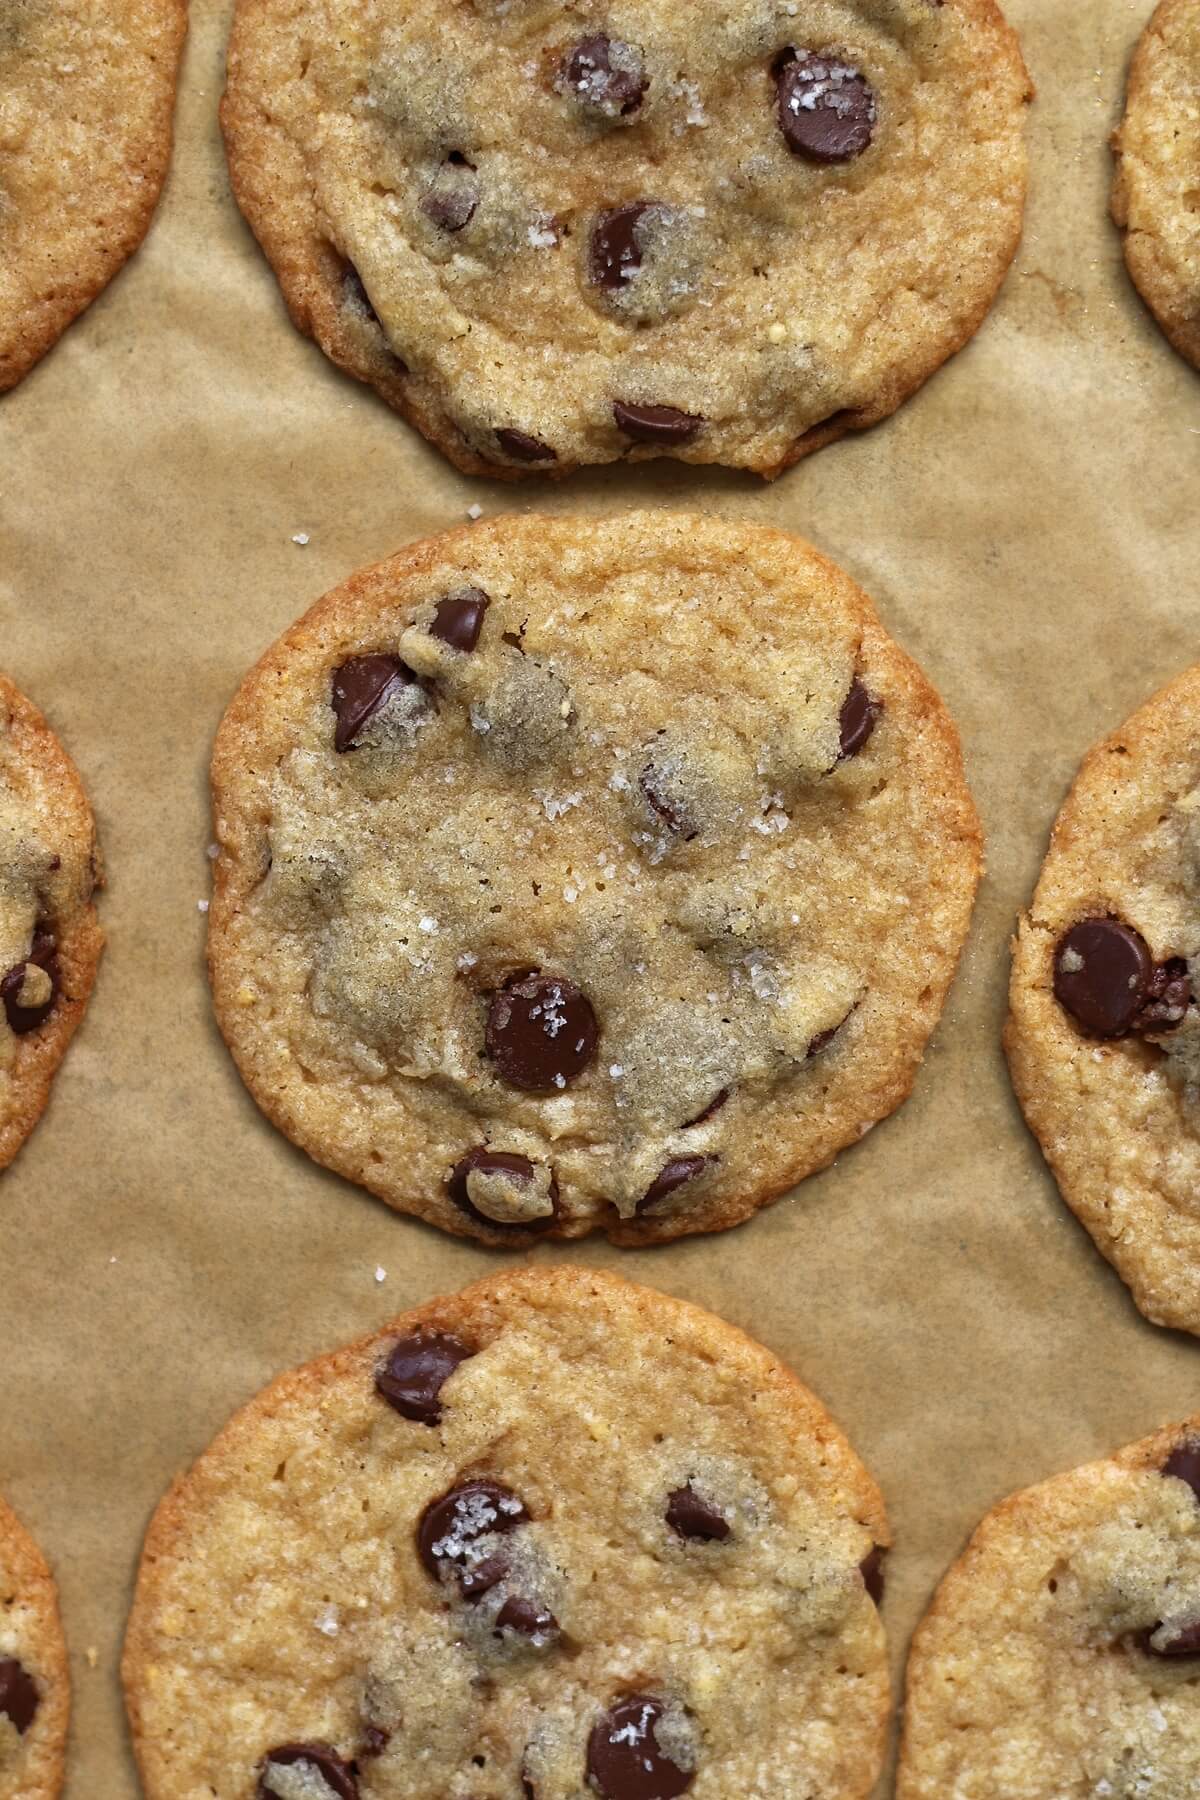
How to make them
After doing some research, I decided to adapt Christina Tosi's (of Momofuku Milk Bar in NYC) recipe. Her version is incredibly easy to make and begins with melted butter and two sugars: light brown and granulated (PHOTO 1).
You don't need a mixer for this dough! It mixes very easily by hand with a wooden spoon since it uses melted butter instead of softened. This melted butter is one of the key ingredients that gives us this amazing texture! Make a note of that.
Next, you'll beat in an egg and some vanilla extract (PHOTO 2). The dry ingredients are next. Add flour, salt, baking powder, baking soda, and the final not-so-secret ingredient, nonfat milk powder (PHOTO 3). Next, dump in an entire bag of chocolate chips, and stir (PHOTOS 4-5). There's your dough! Easy peasy.
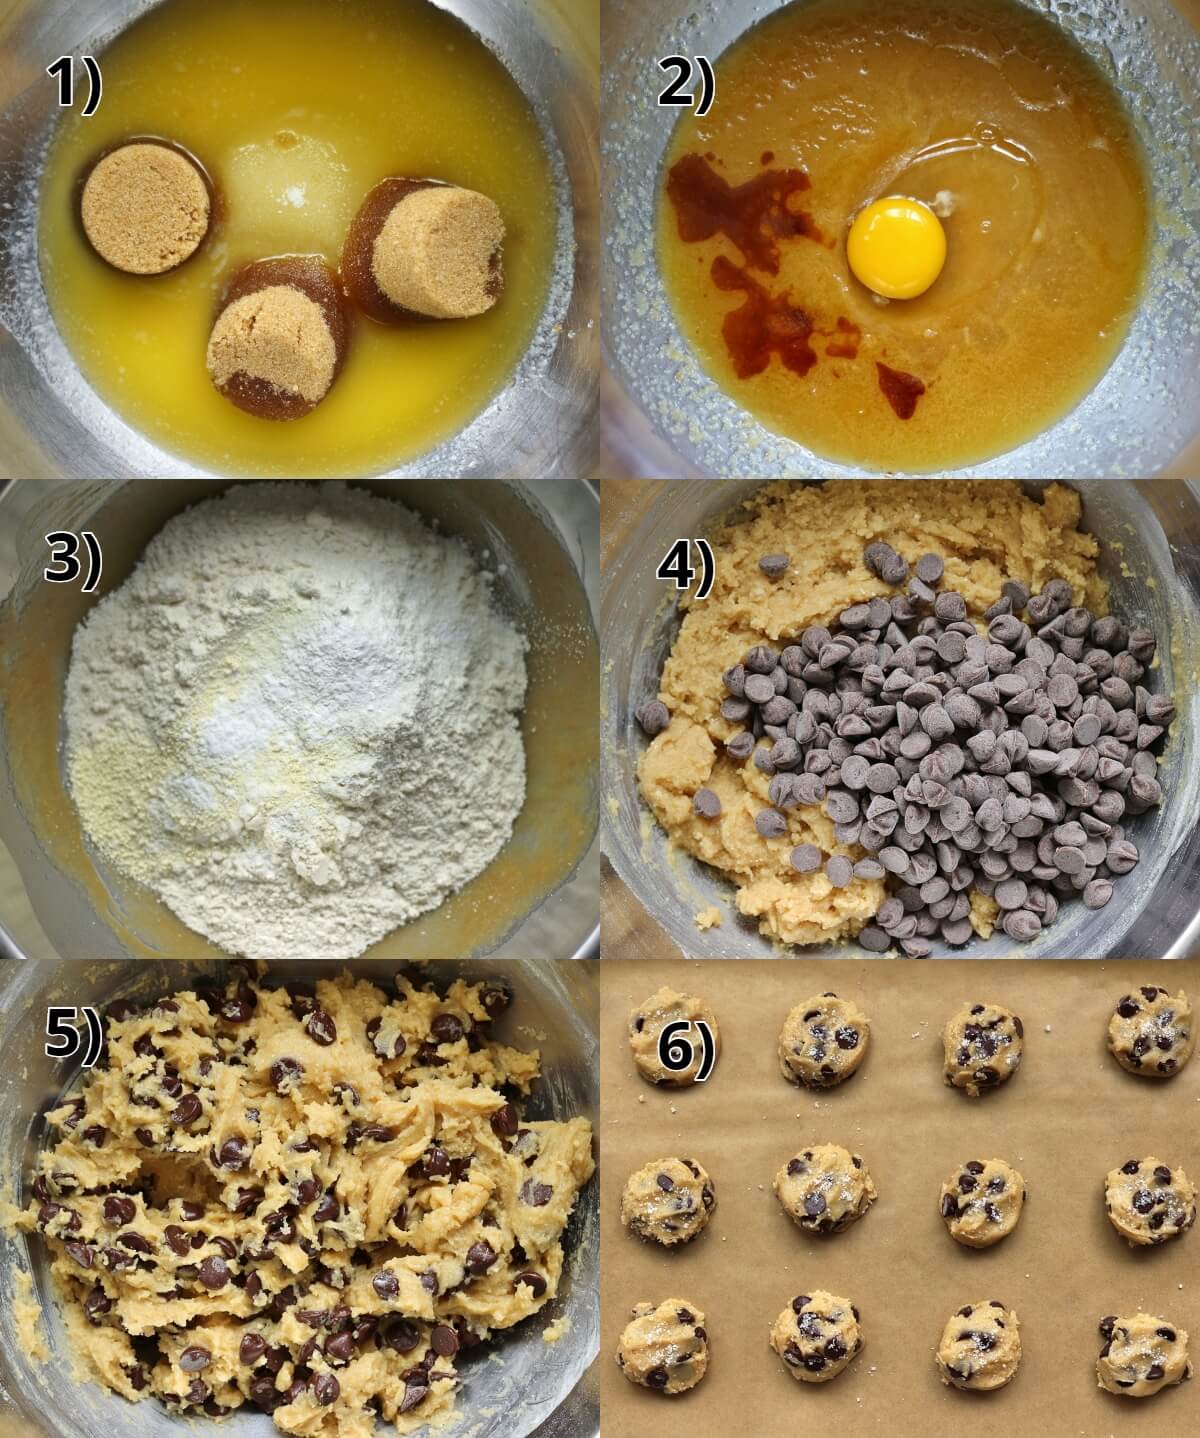
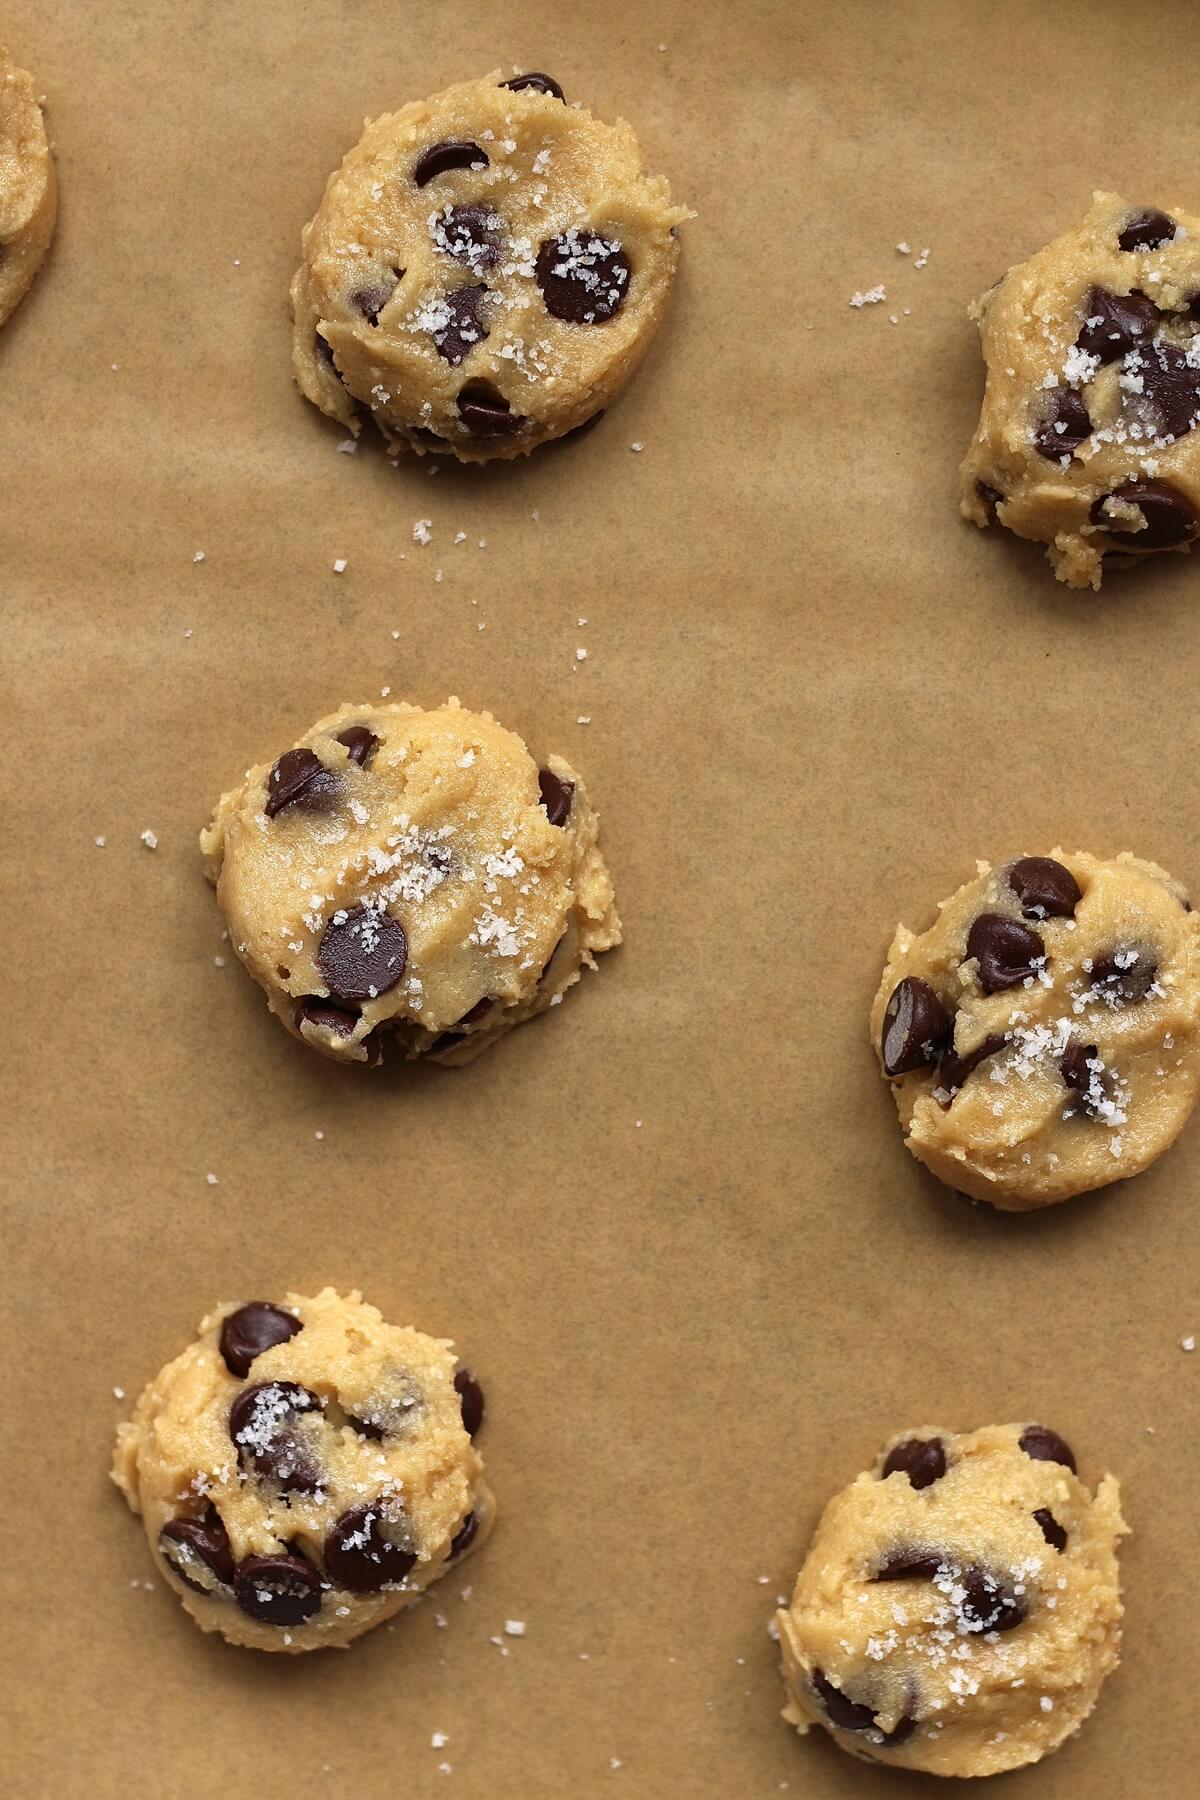
Scoop out the dough using an ice cream or cookie scoop (PHOTO 6). Although the originally recipe doesn't call for it, I add a bit of coarse sea salt on top to finish them off. Thus you have salted chocolate chip cookies instead of just plain chocolate chips. Trust me, that minor addition makes a huge difference in flavor!
Depending on the size of your scoops, the cookies will bake either 9-ish minutes per sheet for small cookies, or 14-ish minutes for large ones. More details on bake time are included in the recipe below. Whether large or small, these cookies always seem the have the perfect texture!
Please scroll to the bottom of the post for the full recipe (in a printable recipe card) including ingredient amounts and detailed instructions.
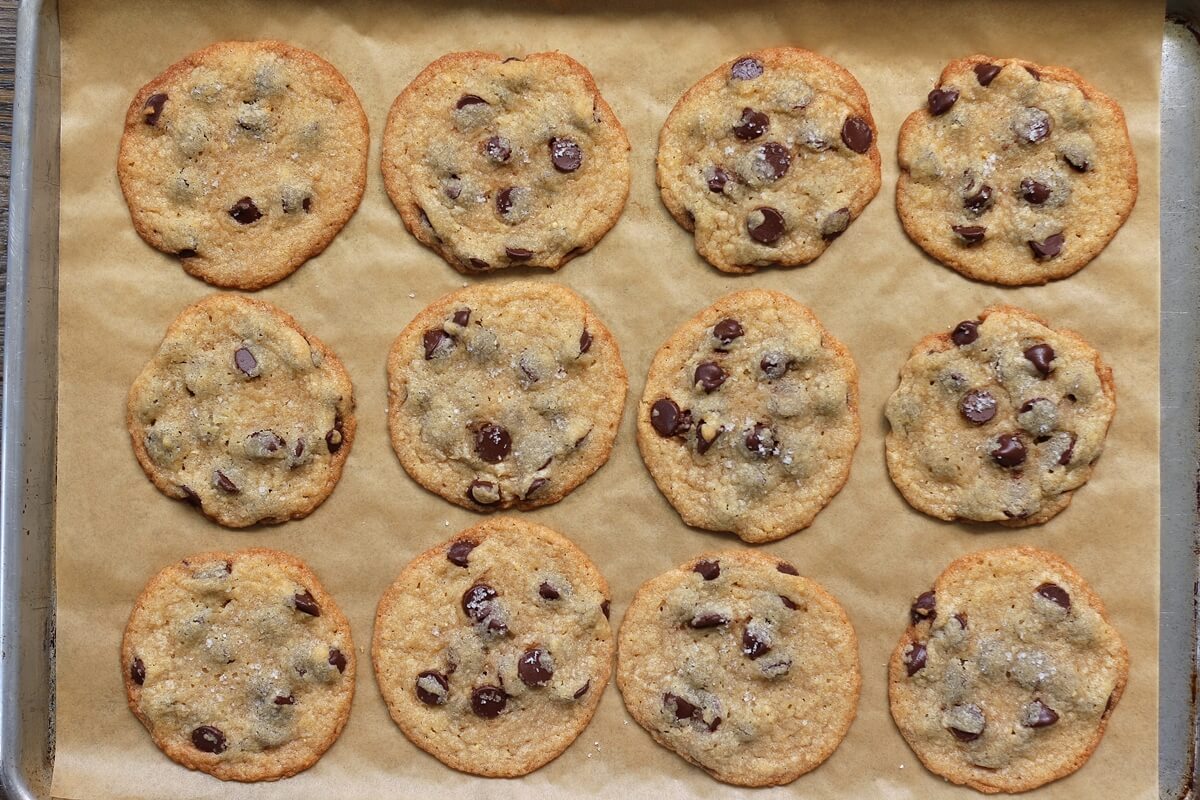
What size should you make the cookies?
You'll need different sizes of ice cream or cookie scoops depending on the size of cookies you want to make. For smaller cookies like the ones pictured here, I use this medium Oxo cookie scoop, a #40 which yields 1 ½ tablespoon sized balls. For large cookies I use this Oxo ice cream scoop which is a #12 size, with a 2 ½ fluid ounce capacity.
Although I have baked both sizes over the years, I tend to gravitate toward the smaller ones on most occasions. They are great for sharing with family and friends, and freezing for cookie emergencies! The large cookies are fantastic, and perfect if you are seeking large bakery-style cookies. They each have their place depending on your mood.
What makes these Milk Bar cookies so special?
There are millions of chocolate chip cookie recipes that span the globe. In a sea of cookies, these are simply exceptional! Somehow the addition of melted butter and milk powder do something magical to these cookies, yielding that perfect texture.
Using less egg and less flour, also contributes to that thin-looking crispy-chewy cookie I desired. The larger ones match the size, flatness, and crispy-chewiness of what I remember at Clementine. They are exactly what I was hoping to obtain, and they are bursting with chocolate chips! The smaller ones yield a more traditional size, and are perfect for parties and potlucks.
These cookies are best the day they're made. Even once they cool a bit the chips are still molten and gooey. They can last several days in an airtight container. The texture on the days following their inception will still be perfectly chewy (the milk powder plays a part in that) with a bit of crunch at the edges, and soft (but no longer gooey) chocolate chips.
In other words, it's the perfect chocolate chip cookie. It will last for days, even though I doubt it will last for days. You'll likely eat them all within hours! 😀
Other recipes you may like
- Milk Bar's Compost Cookies
- Cranberry Chocolate Chip Oatmeal Cookies
- Banana-Walnut Chocolate Chip Cookies
- Chocolate Chubbies (Brownie Cookies)
- Peppermint Biscotti
- Vanillekipferl (Austrian Vanilla Crescent Cookies)
- Chocolate Chip Scones with Espresso Glaze
- Viennoise au Chocolat (Vienna Bread with Chocolate Chips)
- Browse all Dessert Recipes
Tried this recipe? Please leave a star ⭐️⭐️⭐️⭐️⭐️ rating in the recipe card below and/or a review in the comments section further down the page. You can also follow me on social media on Facebook, Instagram, and Pinterest!
Salted Chocolate Chip Cookies
Ingredients
- 8 ounces (2 sticks) unsalted butter, melted and just warm to the touch
- ¾ cup packed light brown sugar
- ½ cup granulated sugar
- 1 large egg
- 2 teaspoons vanilla extract
- 1 ¾ cups all-purpose flour
- 2 tablespoons nonfat milk powder
- 1 ¼ teaspoons kosher salt
- ½ teaspoon baking powder
- ¼ teaspoon baking soda
- 1 (12 ounce) bag semisweet chocolate chips
- Coarse sea salt
Instructions
- Heat the oven to 375°F.
- With a wooden spoon or sturdy spatula, mix together the butter and both sugars in a large bowl, until homogenous, about 1 minute. Add the egg and vanilla and stir until combined, about 1 minute.
- Mix in the flour, milk powder, salt, baking powder, and baking soda until just combined, about 30 seconds. Add the chocolate chips and mix until evenly distributed, about 30 seconds. (If your dough is exceptionally wet, it’s a factor of too-hot melted butter. Throw it in the fridge for a few minutes to firm up before baking.)
To Make Small Cookies:
- Use a level #40 (1 ½ tablespoon capacity) cookie scoop to portion out the dough 2 inches apart onto 3 parchment paper-lined baking sheets. Sprinkle the tops with coarse sea salt. Bake the first two sheets together in the oven, rotating from top to bottom and front to back halfway through baking, about 12 to 13 minutes total. Bake the lone third cookie sheet on the middle rack of the oven for about 9 minutes. The cookies should be golden brown at the edges, but still quite pale in the center. The color will even out more as they cool. Cool completely on the pan.
To Make Large Cookies:
- Use a a slightly heaping #12 (2 ½ ounce capacity) ice cream/cookie scoop to portion out the dough 2 to 3 inches apart onto 2 parchment paper-lined baking sheets. Sprinkle the tops with coarse sea salt. Bake each sheet one at a time on the center rack of the oven for 14 to 15 minutes, until golden brown at the edges, but still quite pale in the center. The color will even out more as they cool. Cool completely on the pan.
Notes
- For small cookies I use this medium Oxo cookie scoop.
- For large cookies I use this Oxo ice cream scoop.
- Sometimes when I make the smaller cookies I like to wet my fingers (so they don't stick to the dough) and gently press the tops of the scoops to slightly flatten the cookies before topping with salt. This helps them along to spread in the oven. The large cookies do a good enough job spreading and flattening out on their own. This is personal preference, and the cookies are great either way. Try it both ways and see what you prefer.
- To freeze: scoop out the dough as you would to bake, but do not sprinkle the tops with salt. Freeze the scooped balls of dough until frozen solid. Transfer the frozen balls into a freezer bag, and label with the date. Frozen cookie dough can last about 3 months in the freezer. When ready to bake, remove as many balls of dough as you desire, and partially thaw them in the refrigerator (you can bake from a frozen state, but I always feel like they don't spread out as nicely). Sprinkle the tops with salt, and bake as directed in the recipe. You may need an extra minute or two of baking time since the dough will be cold or even partially frozen.
- This recipe uses kosher salt (aka cooking salt, kitchen salt, coarse salt outside of the US). If you are using table salt, definitely scale down the salt as that is a saltier type of salt! The type of salt will make a big difference in how salty your food tastes, so keep that in mind.
- Adapted from Milk Bar Life
Nutrition
*All nutritional information is based on third-party calculations and should be considered estimates. Actual nutritional content will vary with brands used, measuring methods, portion sizes and more.*







Tracy Hall says
When I was eating gluten, this was the best cookie recipe ever! I'm wondering if you could swap with 1 to 1 gluten free flour?
Victoria says
Hi Tracy,
That's a great question. I've never tried swapping out the flour myself, however I think it could probably work, especially since these are simple scoop and bake cookies and you don't need to roll them out or anything (which could be impacted by the type of flour). If you do try them with gluten-free flour, please leave another comment to let everyone know how they turned out 🙂
Lucy Reinbold says
It's amazing what just a touch of salt can do to elevate such a recipe. It was really a surprising little touch - love these cookies!
Mary Kabakian says
These are my favorite chocolate chip cookies. They are so easy to make too! Definitely going to hang onto this recipe.
Camille says
If I could leave 10 stars for this recipe, I would. They are so easy and so delicious. They’re taken over as my go-to cookie recipe!!