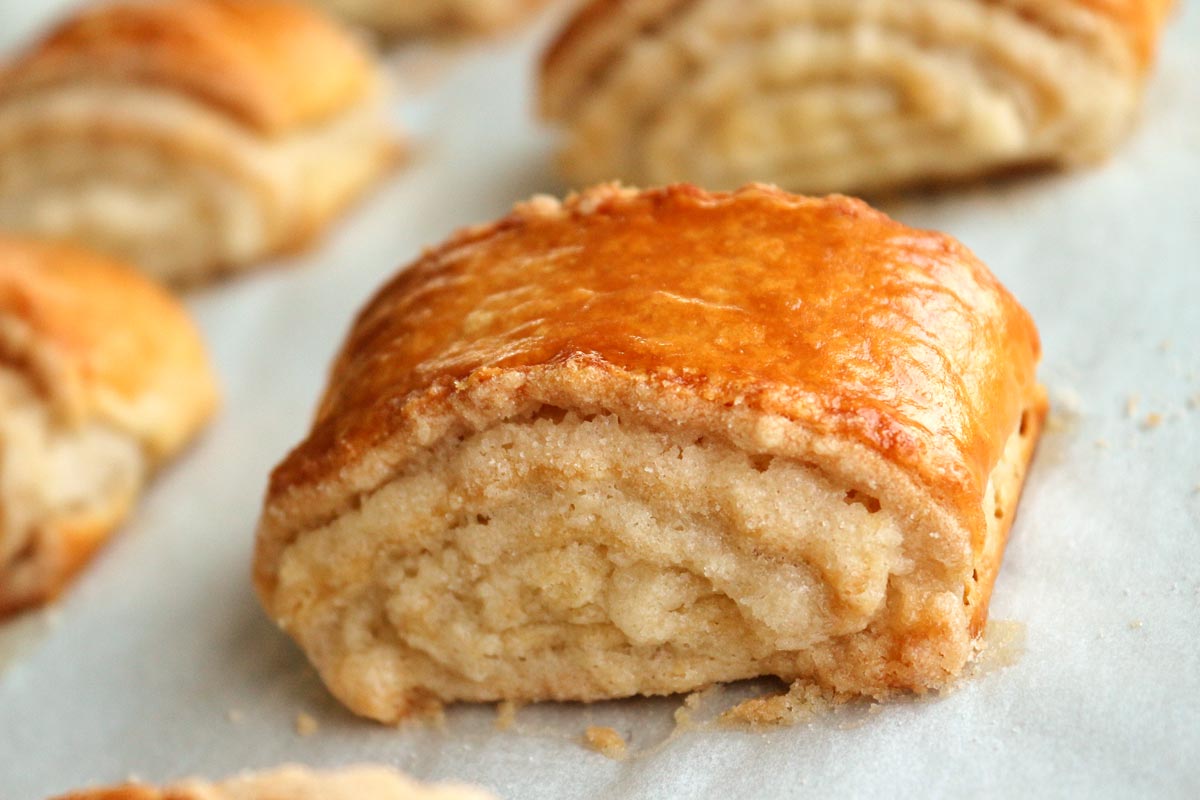
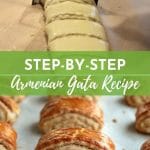
Gata is easily one of the most beloved Armenian desserts. It's a pastry with similarities to both croissants and rugelach, but with a personality of its own. Some call it nazook, but this typically refers to a walnut-filled version made by Iranian Armenians. Crisp on the outside, flaky within, with spirals of vanilla-laced sweetness throughout, it's a divine dessert any time of year.

Whether you call these morsels gata (as my family does) or nazook (as some Iranian-Armenians typically do), the pastry itself is amazing! There is often regional differences in terminology for Armenian recipes.
Many Armenians grew up in various countries throughout the Middle East and Near East because of wars in the area. Vocabulary and cooking methods for popular dishes vary because of this. My family comes from Yerevan, the capital of Armenia, and to us this is gata 🙂 There is also a flat version of gata, but this rolled one is my favorite!
My aunt has perfected her gata-making technique over years of tweaking. She recently passed those secrets on to me. And lucky for you, I'm in a sharing kind of mood!
Not only are the ingredients important to yield the perfect gata, but the tricks she uses make the process easier. Thus now we can all create an all-around excellent pastry using this incredibly detailed recipe.
How to make Armenian Gata: Day 1
This is a two-part process and must begin the day or evening before baking the pastries. The dough is very easy to make, especially with the use of a food processor.
This recipe yields a lot of dough. Make half the dough at a time, and then combine the two halves. This will give the dough plenty of room to move around the bowl of the food processor.
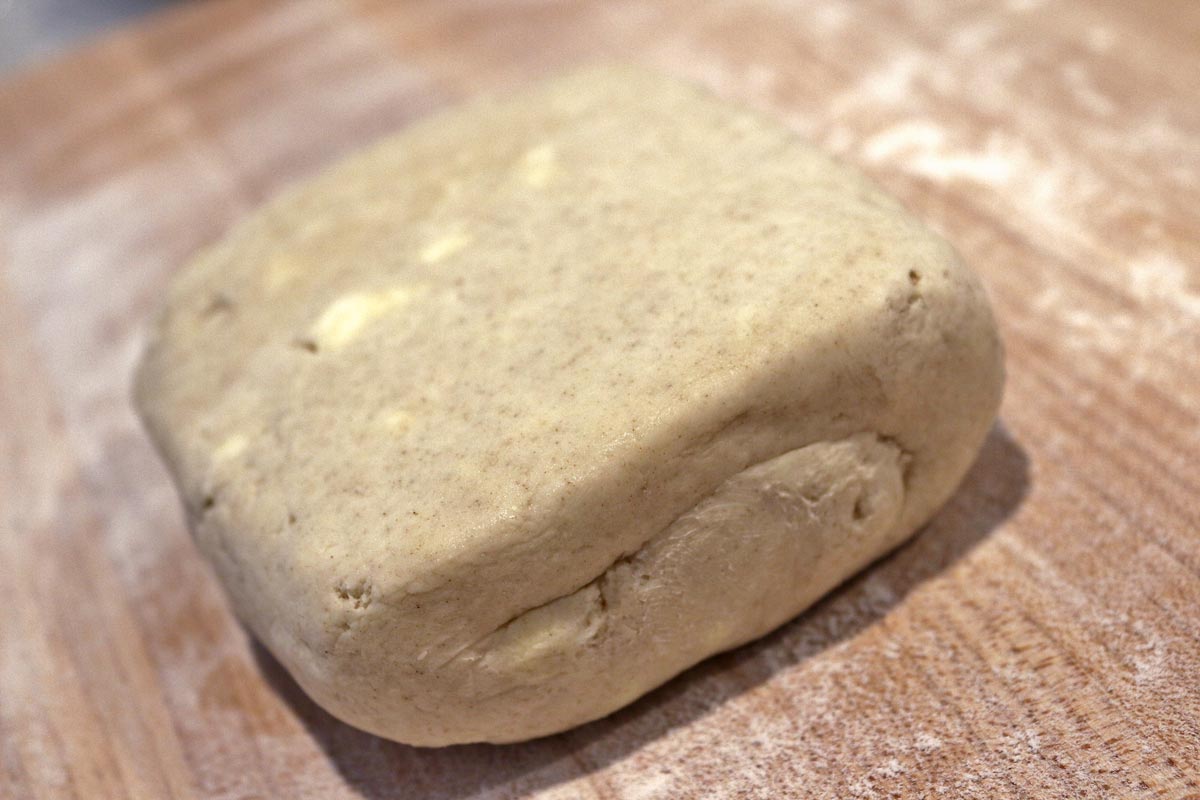
Ingredients in the dough include flour, butter, baking soda, baking powder, and sour cream. After making the two halves of dough, and pressing them into one mass, you will need to laminate the dough.
First you will cut the dough into four equal parts. Then for each quarter fold the dough multiple times in a technique similar to making croissants, but without the block of butter.
Here the butter is already worked into the dough via the food processor step, similar to making pie dough. These "laminated" dough squares rest in the fridge until we are ready for step two the following day.
Day 2
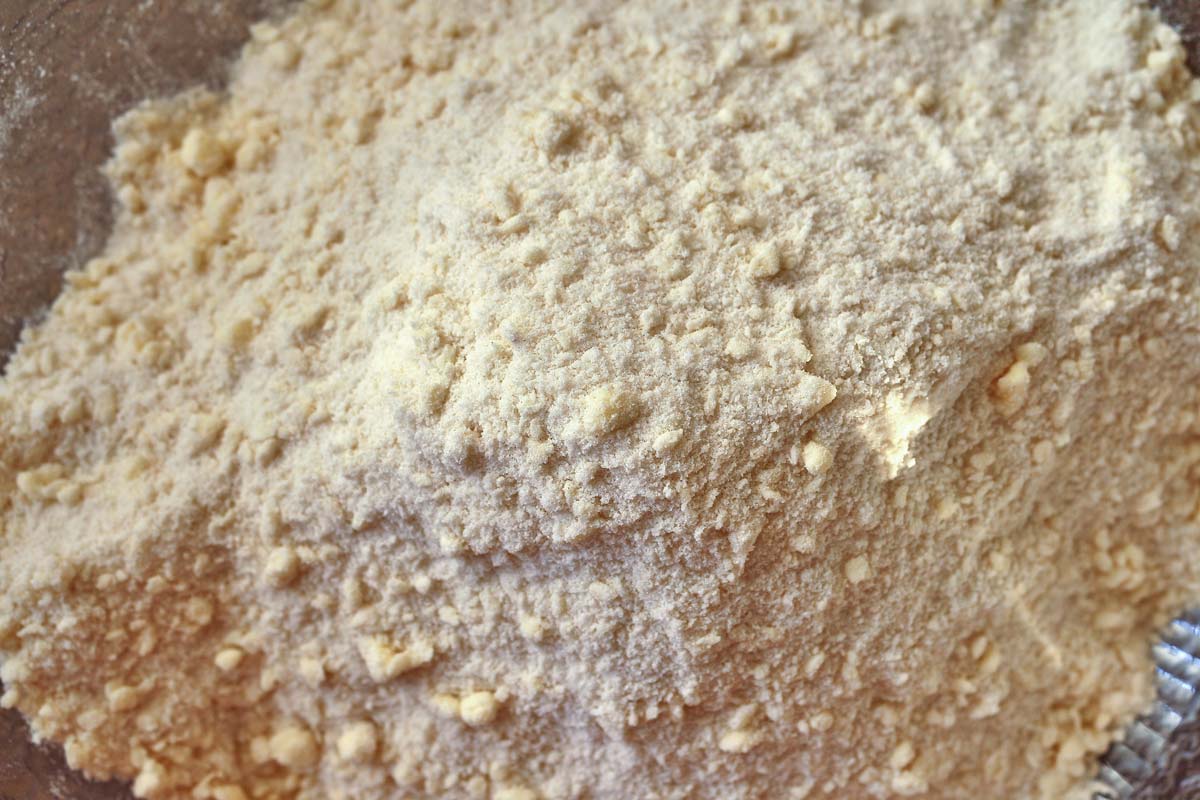
The next day, you'll begin by making the filling for the gata, referred to as "khoreez" in Armenian. This process begins similarly to the dough, by blitzing flour and butter together in the food processor. You will then add sugar and vanilla to yield a sweet, sandy filling.
Working with one square of dough at a time, roll it out into a thin rectangle. The thinner it is, the more layers you'll yield when you roll it up! Cover the dough in the "khoreez" filling, leaving a small uncovered edge for sealing.
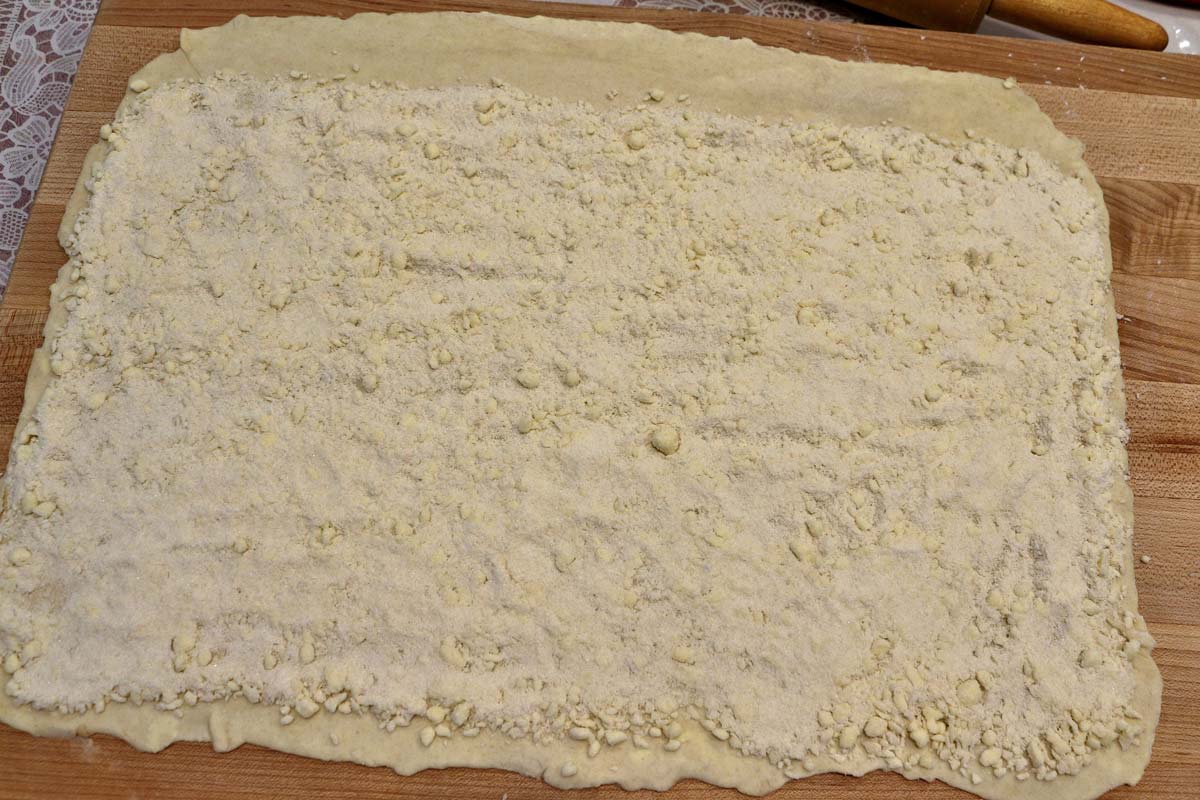
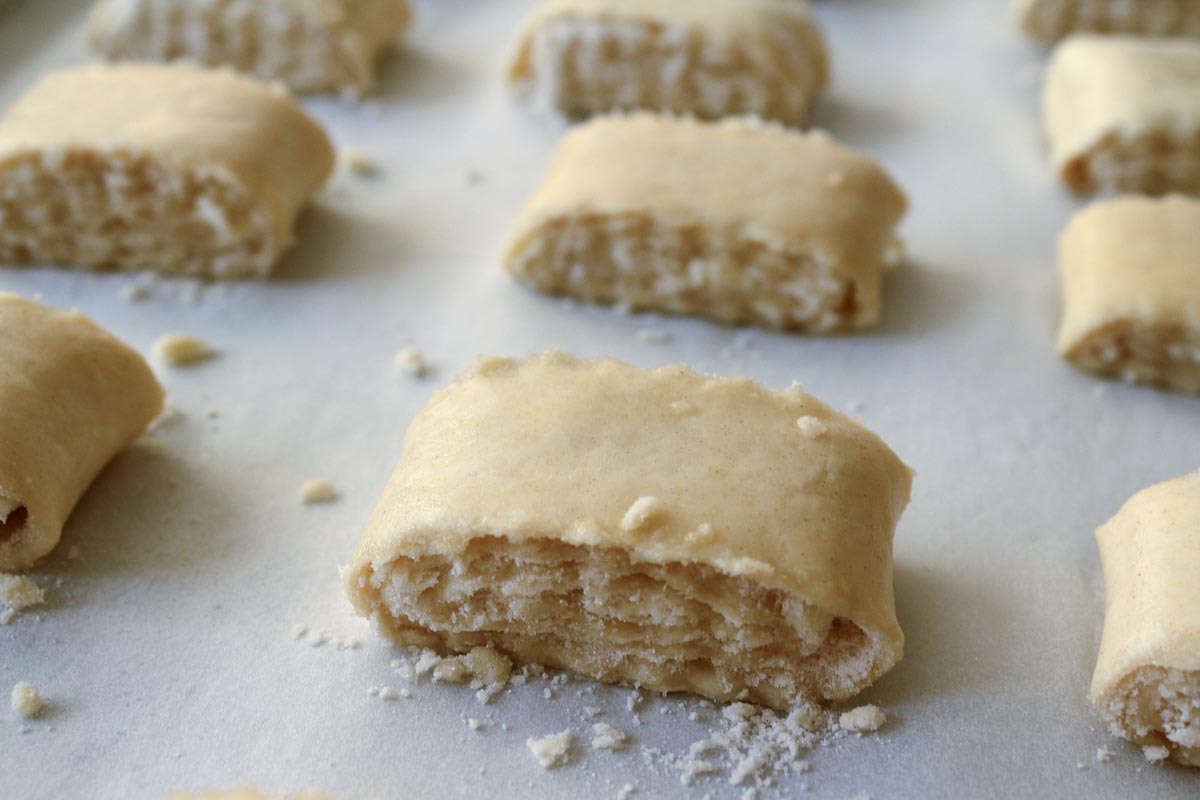
Use the palms of your hands to press the filling into the dough to make the rolling process less messy. Tightly roll the dough into a spiral, similar to assembling a jelly roll.
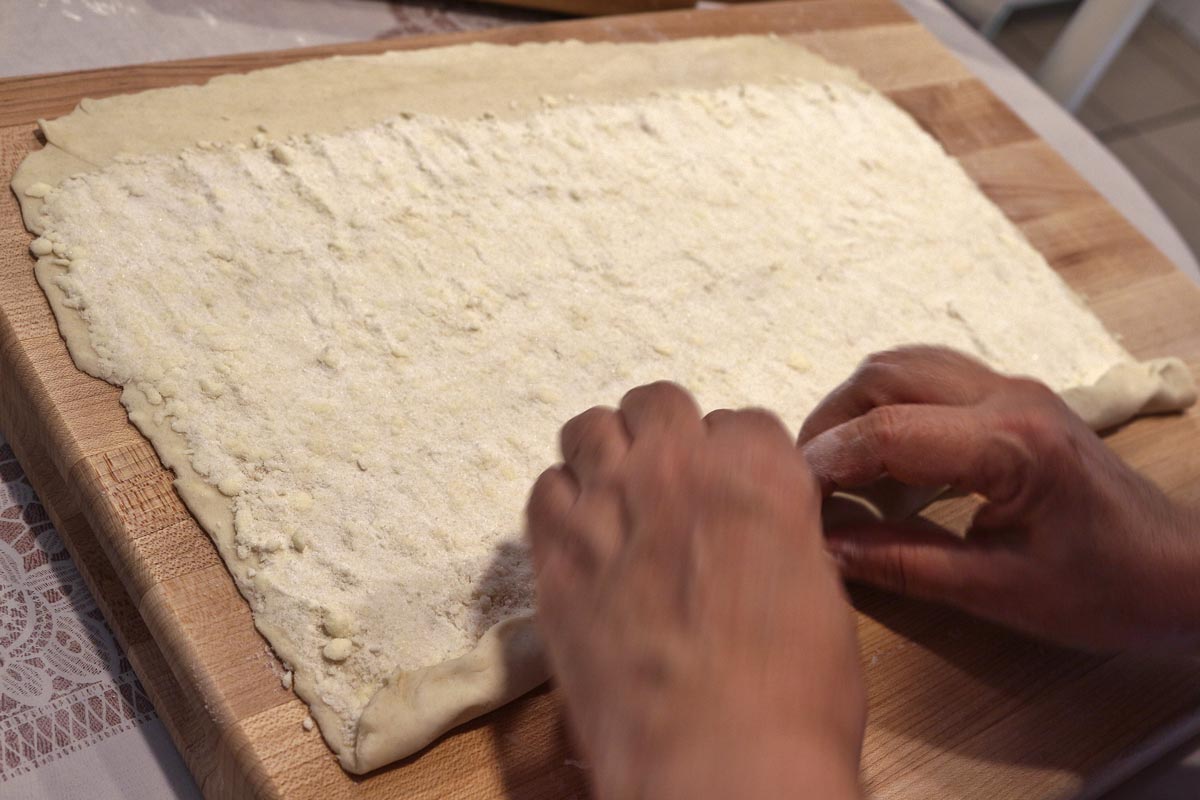
Finally, use a rolling pin to gently flatten the roll. Don't use a lot of pressure. Simply allow the weight of the rolling pin to do the work for you. Now, we're ready to finish the gata!
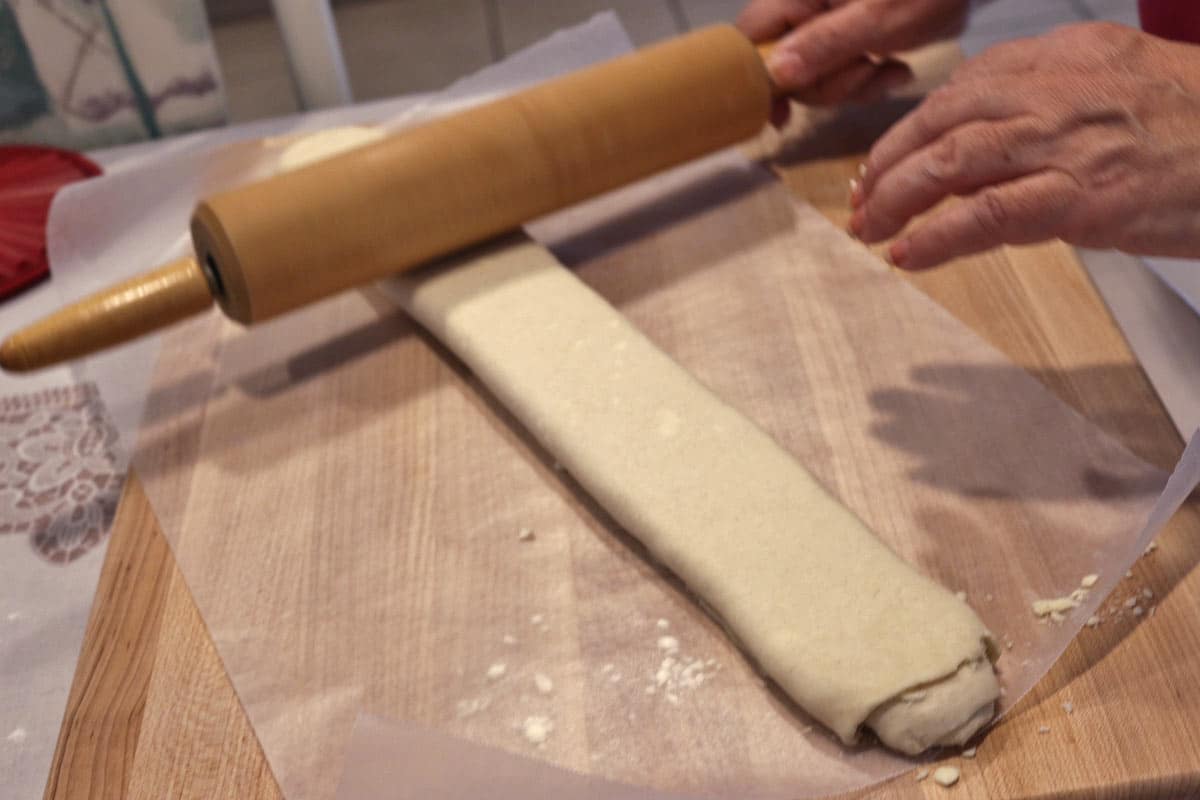
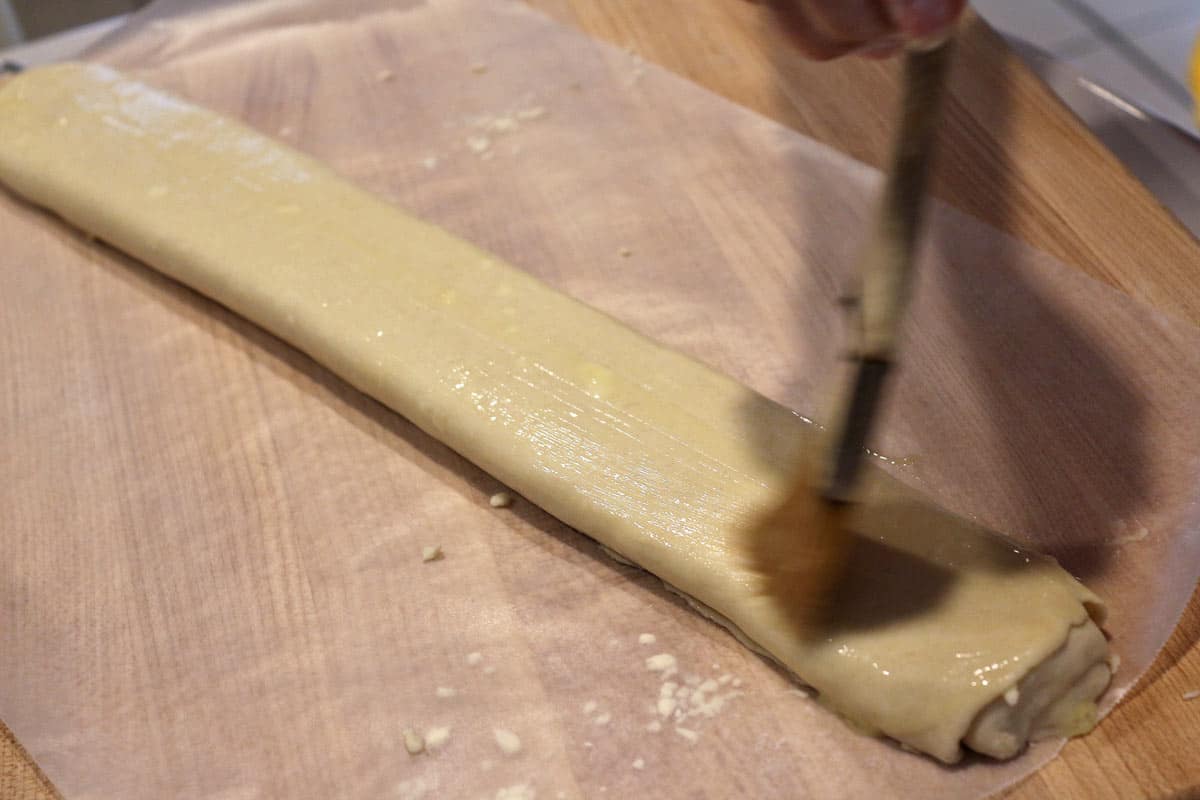
It's easier and less messy to brush the entire roll with egg wash before cutting it into pieces.
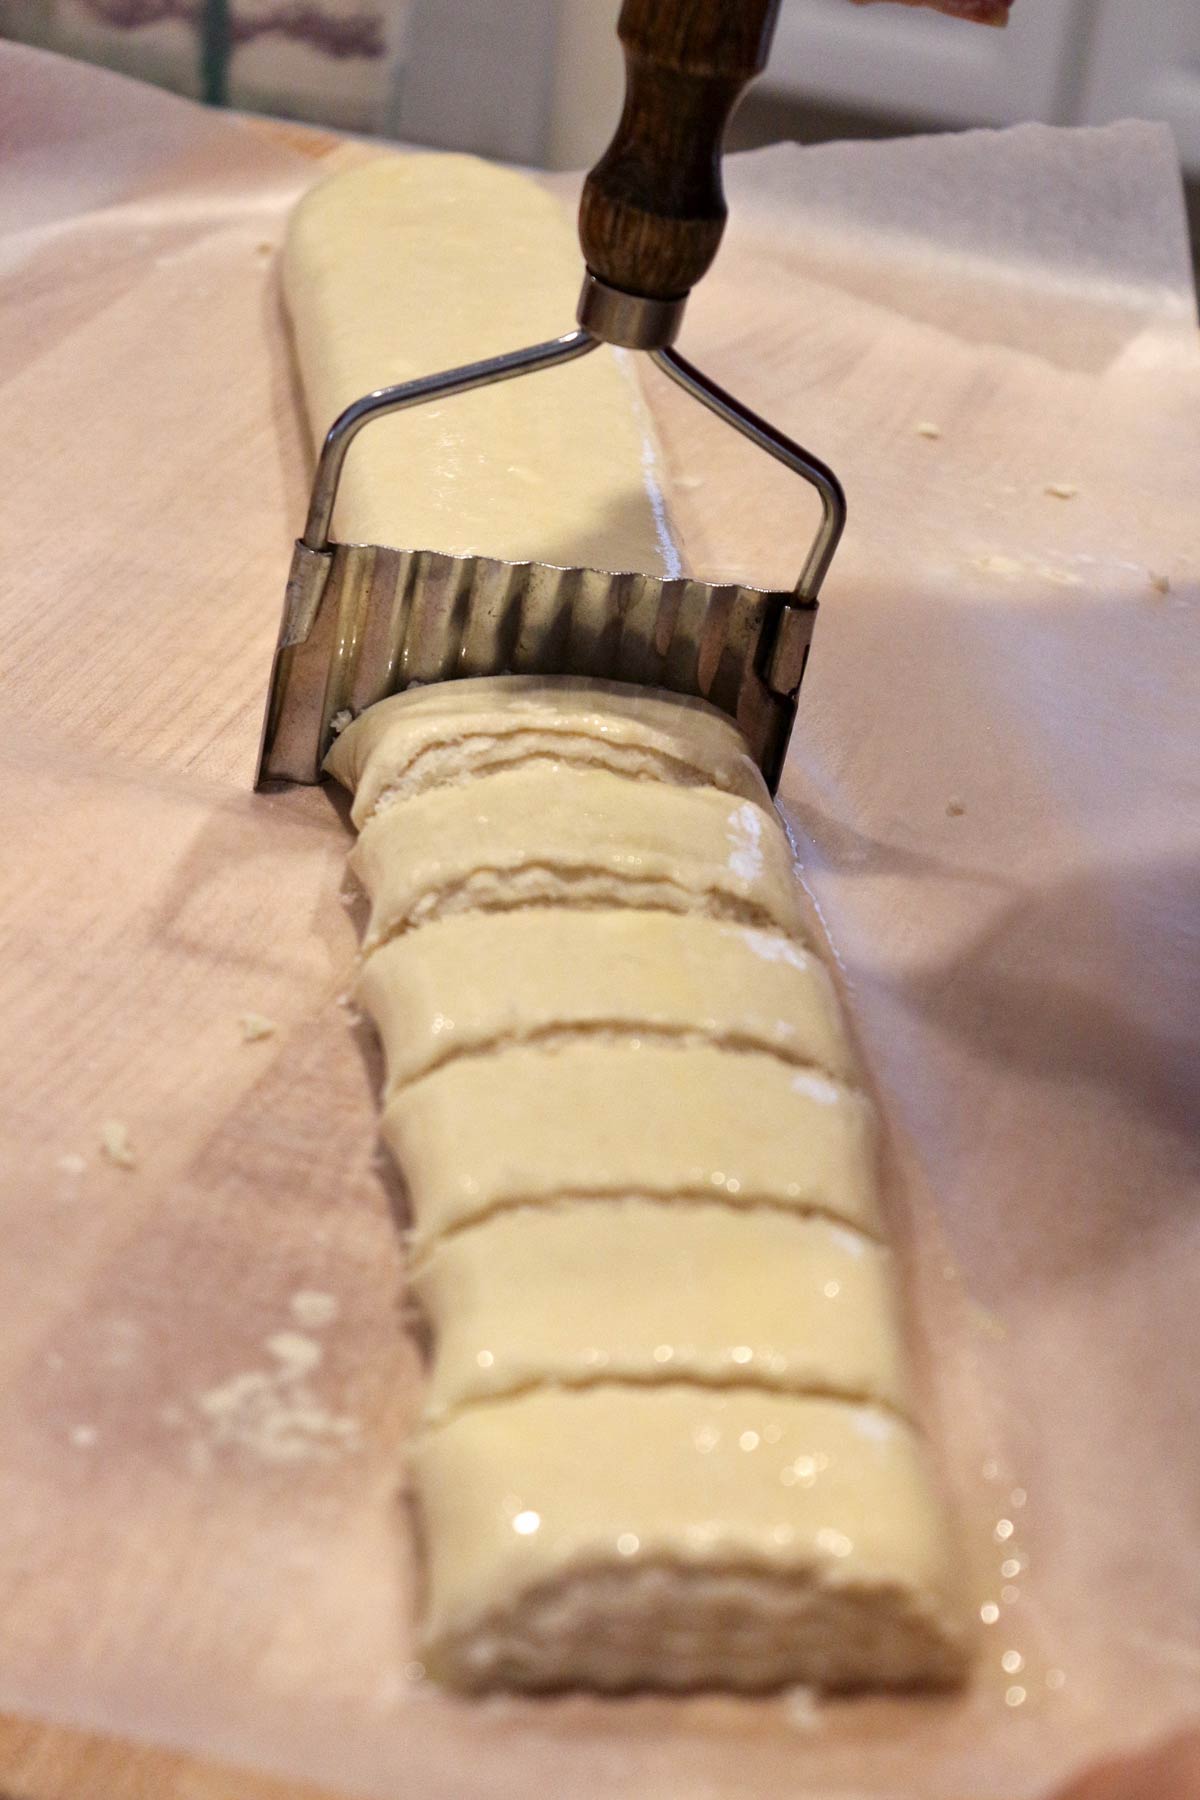
It is traditional to use a serrated vegetable cutter when portioning gata. This results in beautiful serrated edges, and picture-perfect gata! If you're unable to acquire such a tool, a dough scraper will work in a pinch, but won't yield the same refined look.
Arrange the gata on parchment-lined baking sheets. Bake the gata one tray at a time for 25 to 35 minutes at 350 degrees F, rotating the pan halfway through the baking time. You can use this time to work on assembling the remaining gata. Multitasking for the win!
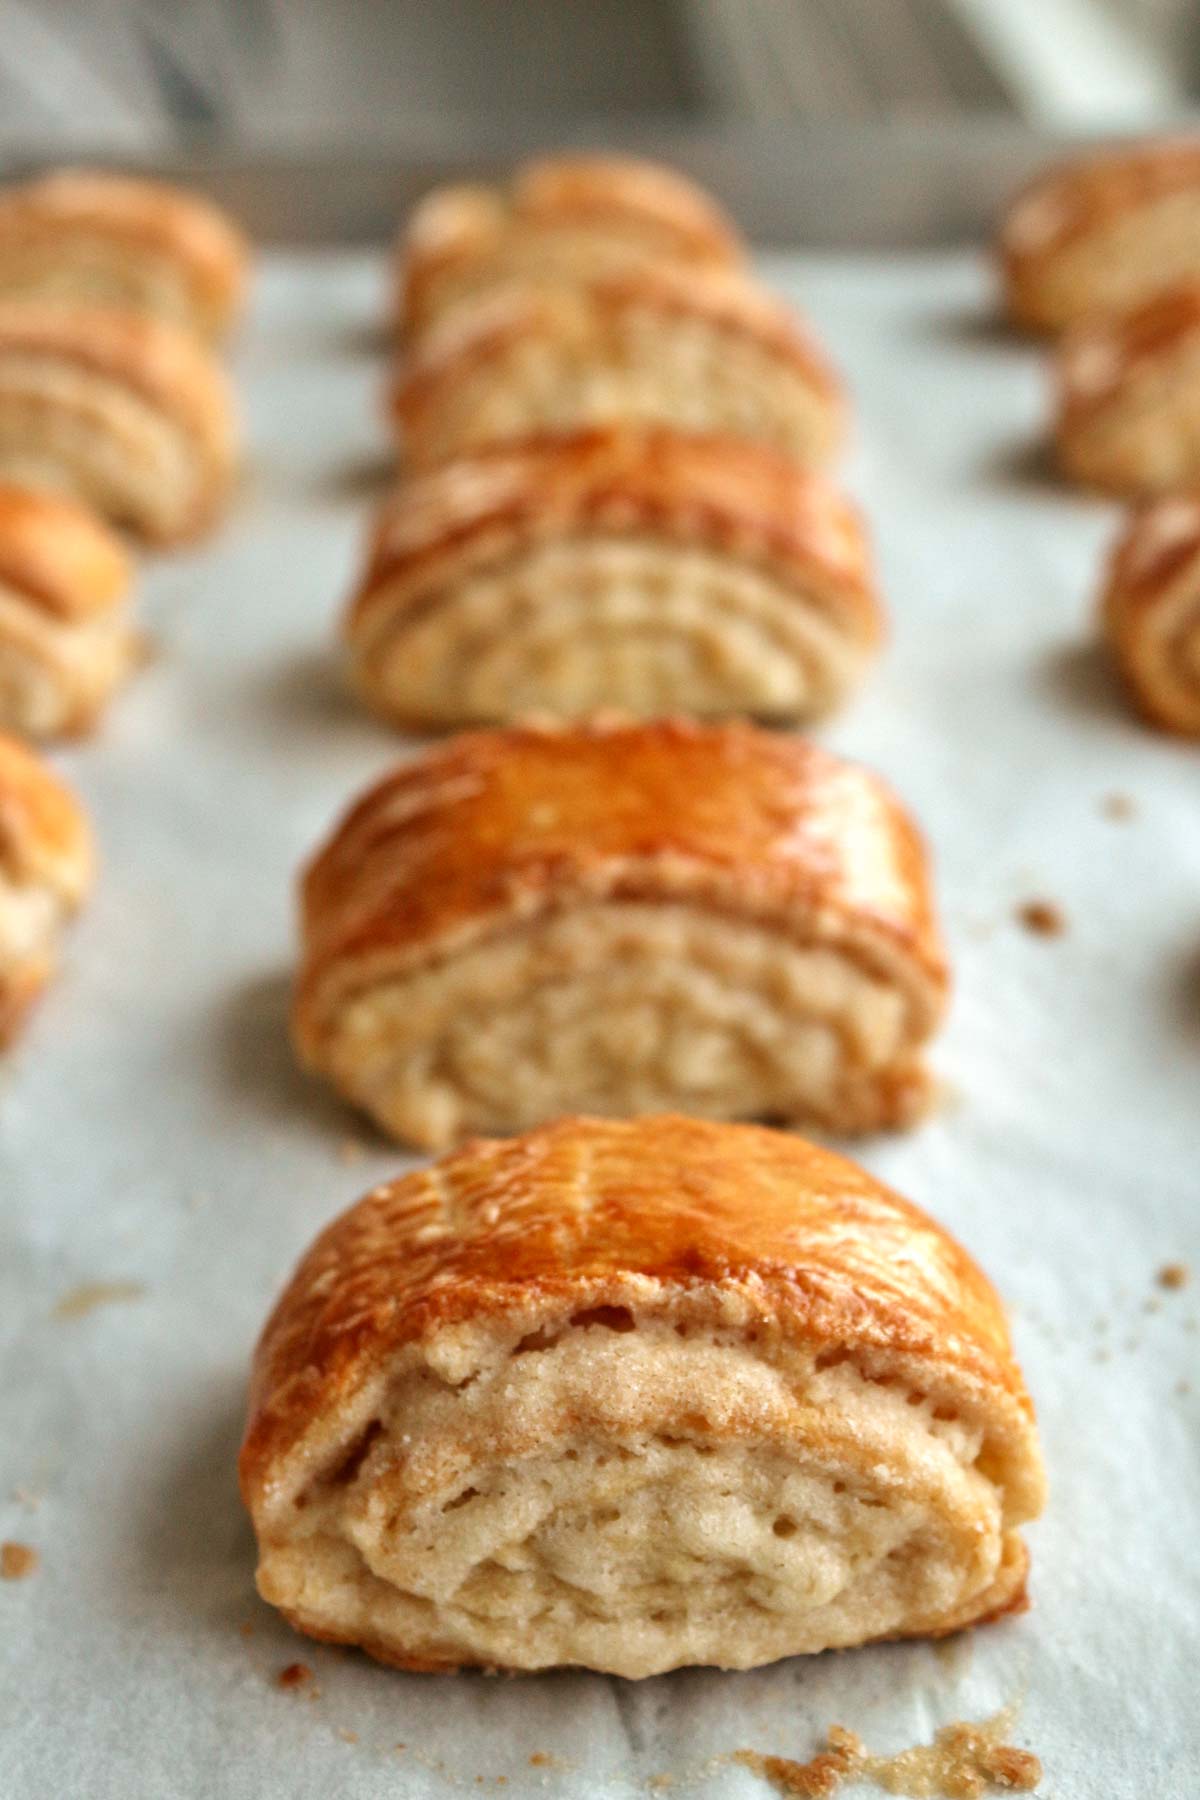
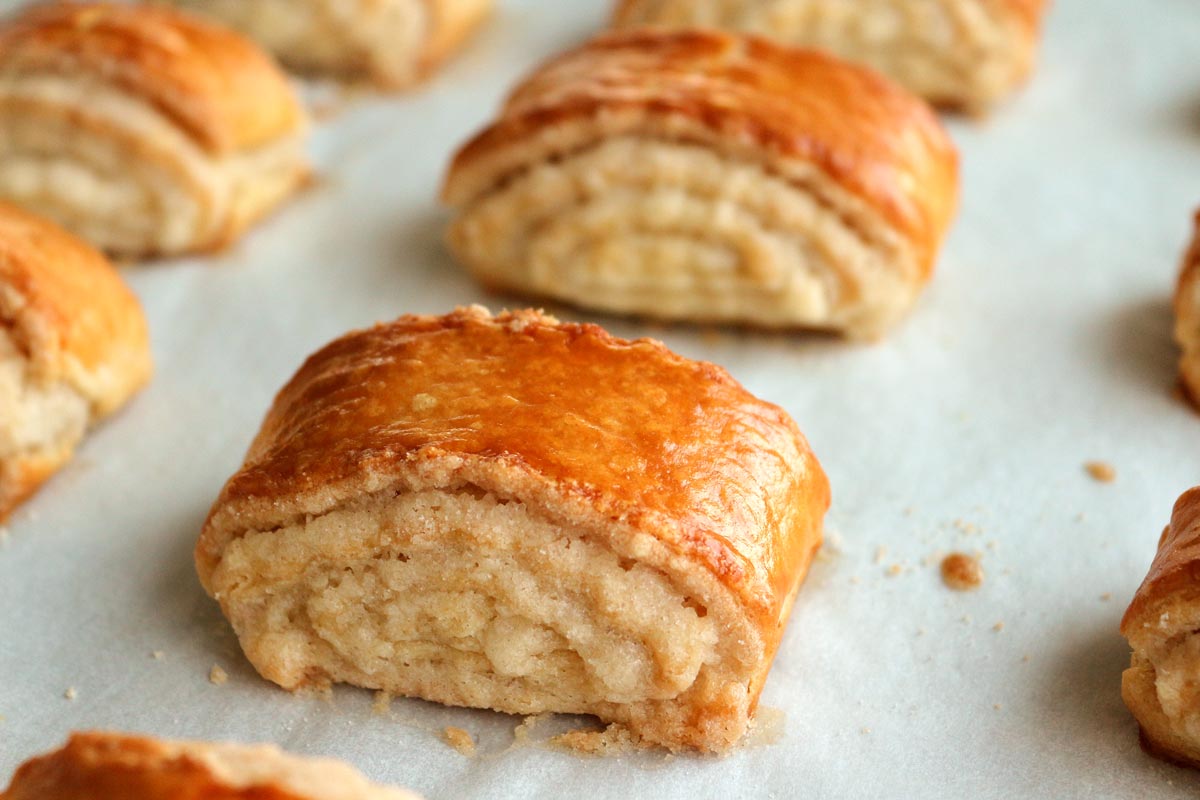
The gata will bake until golden, showing off their lovely flaky layers and sweet filling. The delicate vanilla flavor shines through these crisp and delectable sweets.
Please scroll to the bottom of the post for the full recipe (in a printable recipe card) including ingredient amounts and detailed instructions.
Although the process to make gata seems lengthy, it's really not. You will certainly need to plan ahead. Other than that, as long as you use these convenient tricks you'll find that the resulting gata is absolute perfection.
Armenian gata is especially great at Christmastime and around Easter, but it's delicious any time of year. Have you ever eaten these delicious treats before?
Other recipes you may like
- Chorek (Armenian Sweet Bread)
- Paklava (Armenian Baklava)
- Sari Burma (Burma Baklava/Rolled Baklava)
- Kadaif or Kadayif (Ricotta Cheese Kunafa)
- Atayef bil Ashta (Cream Filled Pancakes)
- Pirog with Apricot Jam
- Armenian Khalkha (Simit/Kekhke)
- Chocolate Rugelach
- Browse all Armenian Recipes and Dessert Recipes
Tried this recipe? Please leave a star ⭐️⭐️⭐️⭐️⭐️ rating in the recipe card below and/or a review in the comments section further down the page. You can also follow me on social media on Facebook, Instagram, and Pinterest!
Armenian Gata
Ingredients
Dough:
- 454 grams (16 ounces) full-fat sour cream
- 6 grams (1 teaspoon) baking soda
- 4 grams (1 teaspoon) baking powder
- 500 grams (4 cups) all-purpose flour
- 255 grams (2 ¼ sticks or 9 ounces) unsalted butter, cold, cut into 1 tablespoon-sized pieces
Filling (”Khoreez”):
- 188 grams (1 ½ cups) all-purpose flour
- 170 grams (1 ½ sticks or 6 ounces) unsalted butter, cold, cut into 1 tablespoon-sized pieces
- 300 grams (1 ½ cups) granulated sugar
- 1 teaspoon pure vanilla extract
To Finish:
- 1 egg chalaza removed (thick white part by the yolk–use the egg shell to remove it), beaten
Instructions
Dough:
- The dough needs to be made the day or night before you assemble and bake your gata. Start by adding the baking soda and baking powder to the sour cream and mix it until thoroughly combined. Set aside.
- Add half the flour and half the butter to the bowl of a food processor (if you have a really large food processor bowl you can do it all at once, but it’s best to split it up if not). Pulse the mixture several times until it looks sandy and contains small pea-sized bits of butter.
- Add half the sour cream mixture and mix until it comes together into a doughy mass. Remove the dough to a lightly floured cutting board or work surface and repeat with the remaining flour, butter, and sour cream mixture in the food processor. Add the other half of the dough to the dough already on the work surface and gently press it together to form a single dough (do not knead it, but just absorb one dough half into the other).
- Cut the dough into 4 equal parts. One at a time, on a lightly floured surface, use your hands to press each dough piece flat, about ½-inch thick, then fold it into thirds like a letter, turn 90 degrees and fold again into thirds to yield a perfect square. Use your hands to straighten the edges and make sure the corners are relatively sharp. Wrap in plastic wrap and place in an air-tight container. Repeat with the three other pieces of dough and add them to the air-tight container. Cover and refrigerate overnight.
Filling (”Khoreez”):
- The following day, make the filling. Add the flour and butter to the bowl of a food processor and pulse the mixture several times until it looks sandy and contains small pea-sized bits of butter. Add the sugar and vanilla and quickly pulse just a few more times to combine, but not enough to form a dough. Pour this crumbly filling into a wide, flat bowl and use a large spoon to divide it into 4 quadrants (just draw lines). Set aside.
Assembly:
- Preheat the oven to 350°F with the oven rack in the center. Line 3 baking sheets with parchment paper and set aside.
- Remove 2 of the refrigerated dough squares from the refrigerator at a time. Lightly flour a work surface and gently roll out one of the dough squares into a rectangle about 1/16th-inch thick and about with dimensions of about 12-by-15-inches (this doesn’t have to be perfect, and may be slightly different in size if your four pieces of dough weren’t divided evenly). Do your best to create straight edges and corners for your rectangle, and an even thickness, dusting with minimal flour as necessary. Arrange the rectangle so the longest edge is facing you with the shorter edges on either side.
- Add ¼ of the filling to the rectangle and use your hands to spread it over the surface, leaving about a 1-inch border at the furthest edge clear of filling, but otherwise spreading the filling from edge to edge. Use the palms of your hands to firmly press the filling into the dough. This will make it easier to roll without the filling falling out too much.
- Beginning with the edge closest to you, start rolling the dough tightly. Sometimes it’s easier to simply make a small fold across the length, using your dough scraper for assistance, and then continue with the rolling. When finished rolling, gently press the top of the roll to help seal.
- Carefully move your roll to a clean piece of parchment or wax paper on your work surface. Lay it diagonally if you must so it doesn’t hang off the edges. Use your rolling pin to gently flatten the roll starting at the center and moving outward, and then again starting at the center and moving outward in the opposite direction. You are not rolling it out, but just using the natural momentum of the rolling pin to flatten it so it’s not rounded like a jelly roll.
- Brush the top and sides of the roll with the beaten egg. Use a serrated vegetable cutter (if you have one–and if not, a dough scraper will work but won’t yield the pretty serrated edges) to cut the dough into 1 ¼-inch slices. Very gently use a small spatula or your dough scraper to remove each piece to the prepared pans. The end pieces aren’t pretty, but will still be delicious for the chef, so make sure you add those to your pan as well.
- When finished with the first roll, dump out any extra crumbs from your parchment paper (as long as they’re not eggy) back into the bowl of filling, and use your dough scraper to clean any extra crumbs from you original work surface and add those back to the bowl as well.
- Repeat the process with the remaining dough squares on your clean, lightly floured work surface (you can fold the parchment in half lengthwise and reuse it again once more, and then start fresh on dough #3 with a clean piece).
Baking and Finishing:
- Bake the gata one tray at a time for about 25 to 35 minutes, rotating the pan from front to back about halfway through baking, until the tops are dark golden brown, and the dough on the sides is no longer pasty looking, and appears to be cooked through (it may even start to look slightly golden). Remove from the oven and replace with the next pan of gata. Repeat the baking process until all pans are baked, one at a time.
- Cool the gata completely before removing from the baking sheets. To store, place them either on a large baking sheet, pan, or serving dish, but cover with a large tea towel as opposed to foil or plastic wrap, which will cause the gata to soften.
- You may freeze the gata in a sealed container lined with parchment or wax paper on the bottom, on top, and in between the layers. Refresh the thawed gata, if needed, in a 350°F oven for about 5 minutes or until they are heated through. This will help re-crisp them if they have softened (you can also use this trick if your gata softens after a few days of standard storage). The final result should be crisp on the outside, and flaky throughout.
Nutrition
*All nutritional information is based on third-party calculations and should be considered estimates. Actual nutritional content will vary with brands used, measuring methods, portion sizes and more.*









Narine says
so yummmmmmy!
Brad Kooshian says
So excited to try this. I grew up eating this but I've never made it. My Armenian Grandmother always served this with cheese and fruit for breakfast when we were visiting as kids. Both grandparents have both been gone since the late 80's but I have been trying to replicate many of the recipes I grew up on. My 11 year old "adopted" niece (my dear friend''s daughter) LOVES to cook with me.and has really come to love many Armenian foods. She's such a fan of Pilaf and Boereg that I always tell her that my grandmother would insisted that she was Armenian. "I mean, just look at those Armenian features!" (She's a fair skinned blue eyed blond. Lol)
Shake Chakmakian says
Best ever
Nonna says
Unbelievable we never had Gata as good as this one. And that's not only my opinion. My mother said she never was able to make that delicious gata and she is 89 years old. Thank you and thanks to your aunt.
Karen Walker says
I made this and won second place in a local baking competition (1st place was rightfully awarded to a very fancy cake creation). Thanks for the detailed instructions and photos. My gata was outstanding!
Victoria says
Hi Karen,
That is so impressive! Congrats on winning second place. I agree that this gata is truly award-worthy 🙂 I'm glad the judges thought so too!
Paul Durand says
Hey Victoria!
I make gata with your recipe every week, and it's soooo good that even my friends and family are always asking when I'll be baking some more.
Much love from Colombia 🙂
Victoria says
Hi Paul! That’s impressive! I’m so glad everyone loves the gata! It’s one of my favorites too 🙂
Lachelle says
Hi! Just curious if anyone has ever tried this with coconut sugar ?
Victoria says
Hi Lachelle,
I haven't tried this recipe with coconut sugar myself, but I know that you can commonly swap one for the other in most recipes. Coconut sugar is a dark brown color and would definitely yield a very different looking gata pastry though. I think the sweetness may be similar if you want to try it out. Let me know how it goes!
Regina Garabedian says
Can't wait to try it from all of the wonderful comments and accolades.
Latoya says
I don’t have a food processor what can I use instead?
Victoria says
The food processor is a great time saver, but if you don’t have one you can cut the butter into the dry mixture using a pastry cutter or your fingers, similar to making pie crust or biscuit dough, until it’s crumbly with small bits of visible butter (the size of peas) throughout. Then proceed as directed.
Di says
Hi Victoria,
It turned out great! My boyfriend who was born in Armenia approved Too bad I can’t attach a picture here..
Thank you again
Victoria says
You’re welcome! So glad you both enjoyed the results! Let me know how it goes with the frozen dough 🙂 You can email me a photo using my contact page if you want!
Zohreh says
Hi, I made it and it is wonderful. I reduced the sugar in the filling to 150 gr. I am very happy to choose your recipe. I recommend it to anyone. I made two parts of my dough. Is it possible to freeze half of Khoreez?
Victoria says
Hello, I’m glad you enjoyed the recipe! Yes, you should be able to freeze half of your khoreez for a future batch of Gata. Enjoy!
Di says
Can I freeze half of the dough for later use?
Victoria says
Hi Di,
I personally have never tried to freeze the dough, however it is somewhat similar to pie dough which I have frozen many times. I think you should be fine to be able to freeze half, then thaw in the fridge before continuing with your assembly. Let me know if you try it and how it turns out. I will add that I have often frozen the fully assembled and baked gata with great results, just in case that helps you.
Victoria
Di says
Hi Victoria, thanks for the quick response. I have the dough in the fridge now, will finish making half tonight. I will also freeze the other half dough and let you know how they turn out next time I make them (probably in a couple weeks).
So do you freeze the baked ones as soon as they cool down? When you take them out of the freezer, do you reheat them again?
Victoria says
Hi Di,
Yes, when the gata is completely cool you can freeze it. There are instructions for freezing and then reheating/refreshing the previously frozen gata at the end of the recipe (step 3 under Baking and Finishing). Reheating the gata is more to slightly re-crisp the exterior of the dough rather than to serve the gata warm. It just helps get the texture closer to fresh baked. You can also use that trick with gata that is a few days old if you want to freshen it back up a bit if it softens.
Excited to hear how your gata turns out!
Victoria
SUZAN NAJARIAN-KOJOIAN says
I made my very first batch of gata, EVER, using your recipe, and it was PERFECTION!! Thank you! I can't wait to try out your other recipes. Please keep posting Armenian recipes! I just shared your website to our Armenian Food Challenge page on FB, where the Admin posts a new recipe every two weeks, and we make the dish or desert and share photos.I am actually learning how to cook (about time, I guess, at 49! LOL!)
Victoria says
Wow, Suzan! That's incredibly flattering! Thank you so much. I'm so glad you enjoyed this recipe. It's one of my absolute favorite Armenian recipes (along with manti, of course!). As a new cook/baker, it's a huge accomplishment for you to make gata because I know it's a lot of steps, but I'm glad you found the step by step photos to be helpful.
Please let me know if your challenge group makes any of my other recipes. I'd love to see how they turn out 🙂 I would also kindly ask that if your admin includes my recipes in the challenge to please link to the original post and not copy and paste the recipe. I'm sure you can see for yourself that the step by step photos and additional information is extremely helpful, and I would love to build a community of readers on this page rather than copying and pasting recipes which I know some other Armenian FB groups have done with my recipes in the past.
I have A LOT of Armenian recipes on this page but let me know if you have requests and I can add them to my list to add them in the future.
Best,
Victoria
Sandra Gordon says
My Gata was delicious thanks to Victoria!
100% recommend this recipe!
I am not Armenian but I live in Armenia and have made Gata with several friends there.
No homemade Gata has tasted as good as this one.
I made half the recipe = 24 pieces.
Please try this, you will not be disappointed
Victoria says
I'm SOOOO glad you enjoyed this recipe! I know it's long, but it's detailed and that's why it always turns out so good! I like your idea of halving the recipe, especially if I'm short on ingredients 🙂
Sandra Gordon says
One year and several Gata feasts later, I am happy to report that Gata dough can be successful frozen, thawed and shaped at a later date. I have also pre-shaped and frozen the individual Gata pieces, let them come to room temperature for 30 mins, brushed on the egg yolk and baked them in a preheated oven for 25 minutes with perfect results!
I can't get enough of this recipe!
Thanks again Victoria
Victoria says
Thanks for the update and tips on freezing! I'm so glad you are still LOVING the gata as much as the first time 🙂
Elham says
Thanks for sharing your family recipe.
Is there a vegan version for making Gata?
kabakian83ri says
Hi Elham,
We have never attempted a vegan gata. I'm not familiar enough with vegan baking to provide a surefire way to adapt this recipe, however you could probably use some kind of vegan sour cream and vegan butter and omit the egg brushed on top (I'm not sure if there is a vegan alternative to brush on top of baked goods to get the same shine and color).
Roubina Markarian says
These are very delicious.
I had a lot of fun with all the girls in the family making them for Easter last year.
I was hoping to do it again this year, but COVID-19 ruined my plans.
Victoria says
Awww I'm sorry you weren't able to make them again this year for Easter. It could be something to look forward to when all this craziness is over (hopefully soon). Make gata just because you love it 😀 Maybe this summer? It can be your reward for surviving quarantine!
Mindy says
I made these with my kids this week since we studied Armenia in geography. They were delicious!! I had never heard of these or tried them but we all loved making and eating them. Thank you!!
Mary Kabakian says
This is a very popular and very tasty Armenian pastry. All Armenians are very familiar with this and it's everyone's favorite. Now the rest of the world should try making and enjoying this awesome recipe.
Danae says
This is a very accurate recipe and almost identical to what I've had from the bakery in my hometown. I do think I'll add a pinch of sugar to both the dough and the egg wash as it is a little too bready on first bite. Thanks to you and your Aunt! Since moving I discovered there are no Armenian bakery near me.