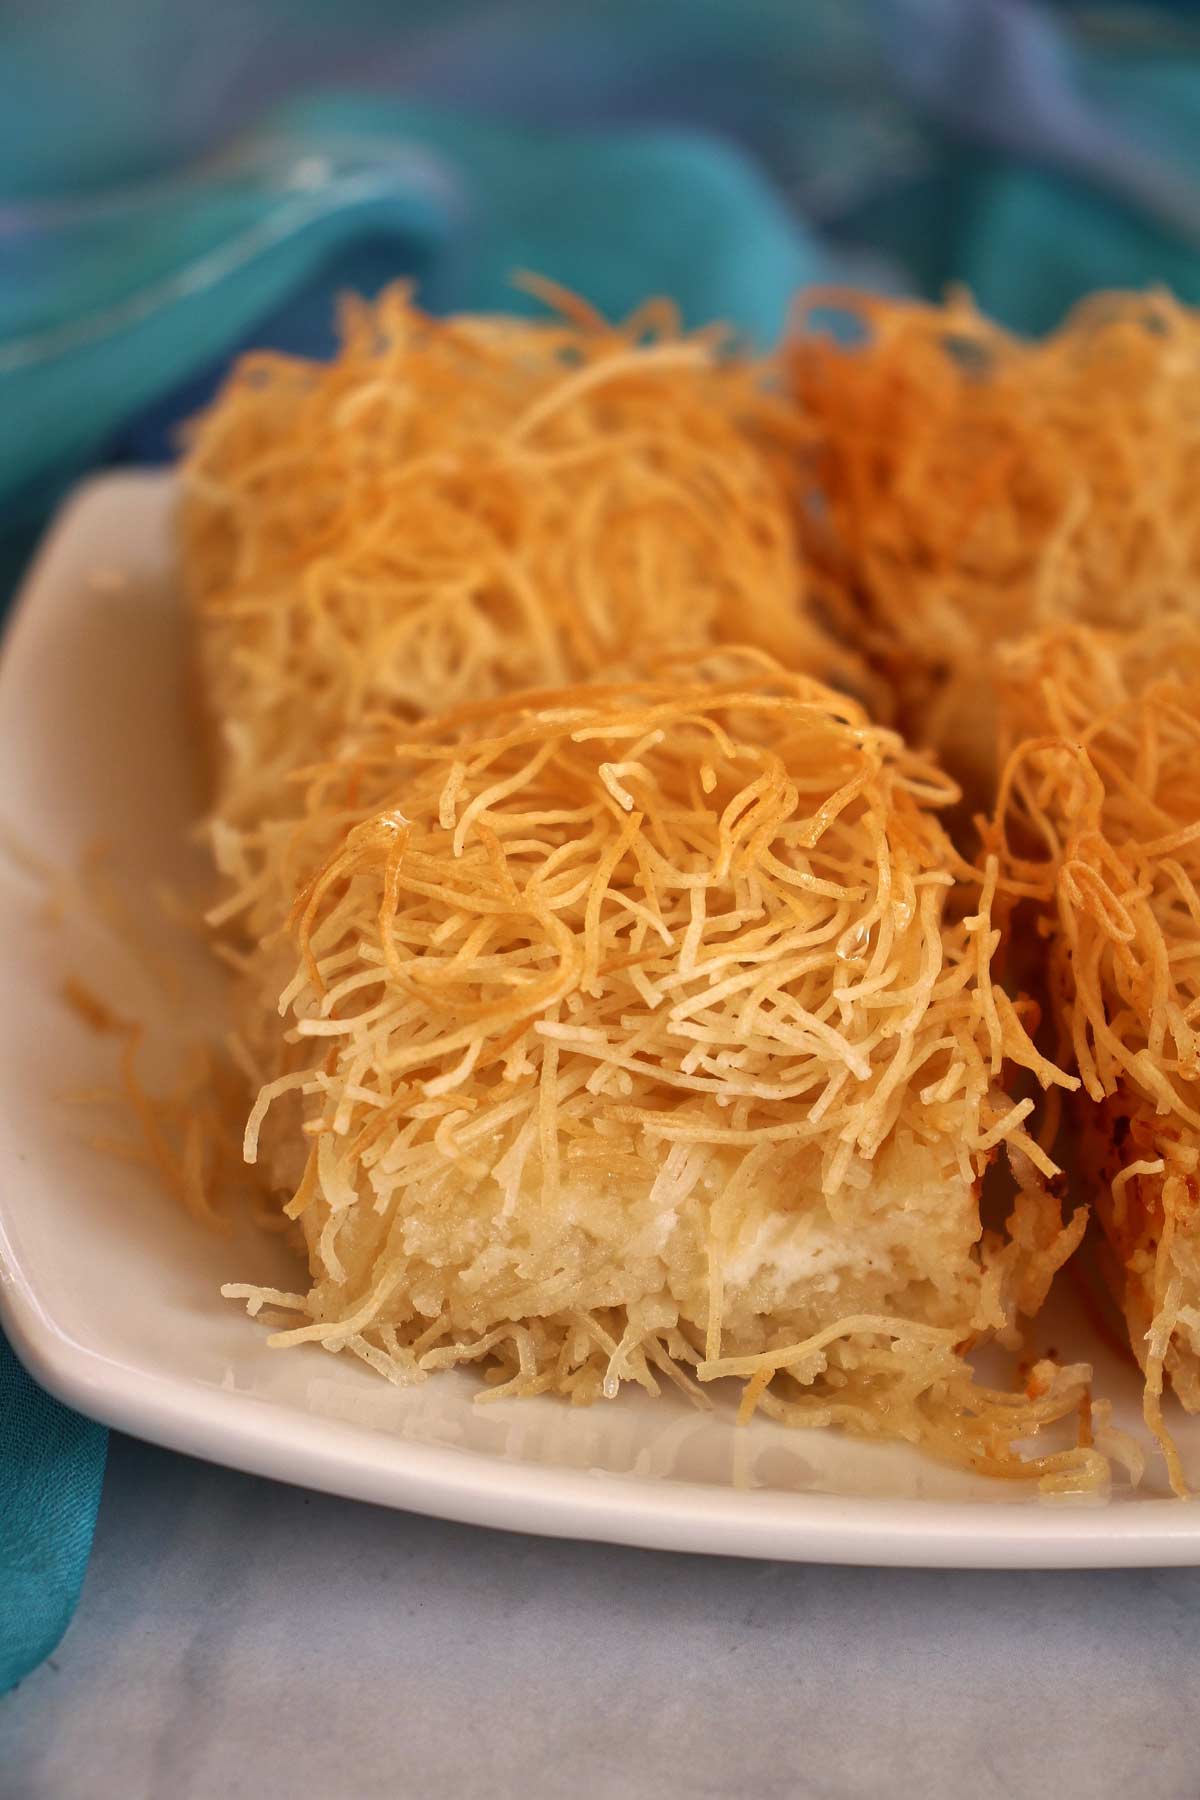
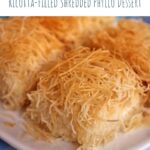
This beloved Middle Eastern dessert goes by many names (and spellings) including Kunafa and Kadaif. It's a decadent pastry using shredded phyllo dough instead of phyllo sheets. This easy version has a creamy ricotta cheese filling and clove-infused syrup.
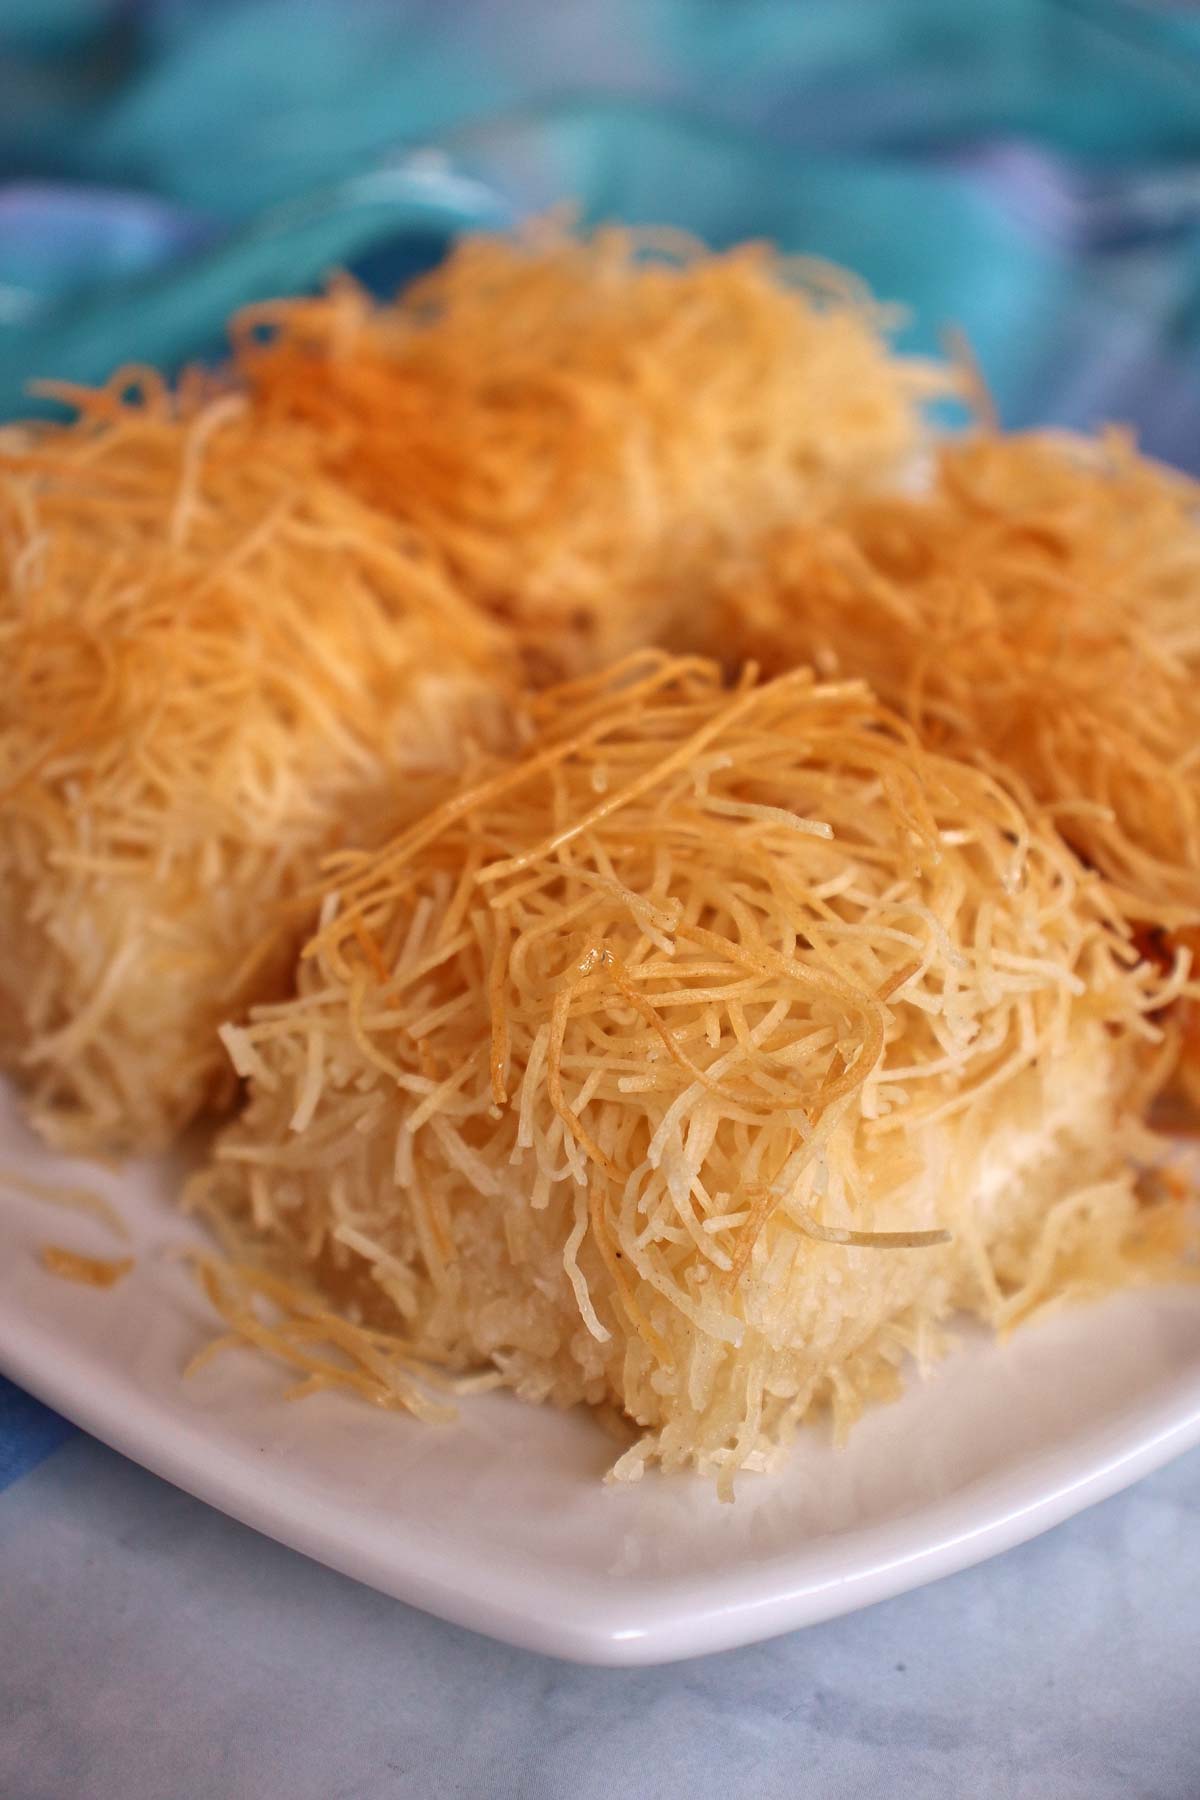
Depending on the region of origin this classic Middle Eastern dessert has differences from its filling to its syrup and even its name. My family has always called it kadaif or kadayif regardless of the filling or shape of the pastry, which is sometimes shaped into rolls or cut into squares or rectangles.
The term also applies to its main ingredient, the shredded phyllo dough or shredded pastry dough, which is why it's likely a blanket term for pastries using it. While kadaif is a common name for both the dough and the finished pastry, when filled with cheese this pastry is also called kunafa, kunefe, kanafeh, knafeh, or kenafeh (depending on the country of origin).
Out of curiosity I actually polled an Armenian Facebook group with members from all over the world to see which term(s) they use. The results were almost 50/50 between some spelling variation of kadayif and kunafa! Regardless of what you call it (or how you spell it) it's a deliciously addictive treat that is incredibly easy to make.
Ingredient notes
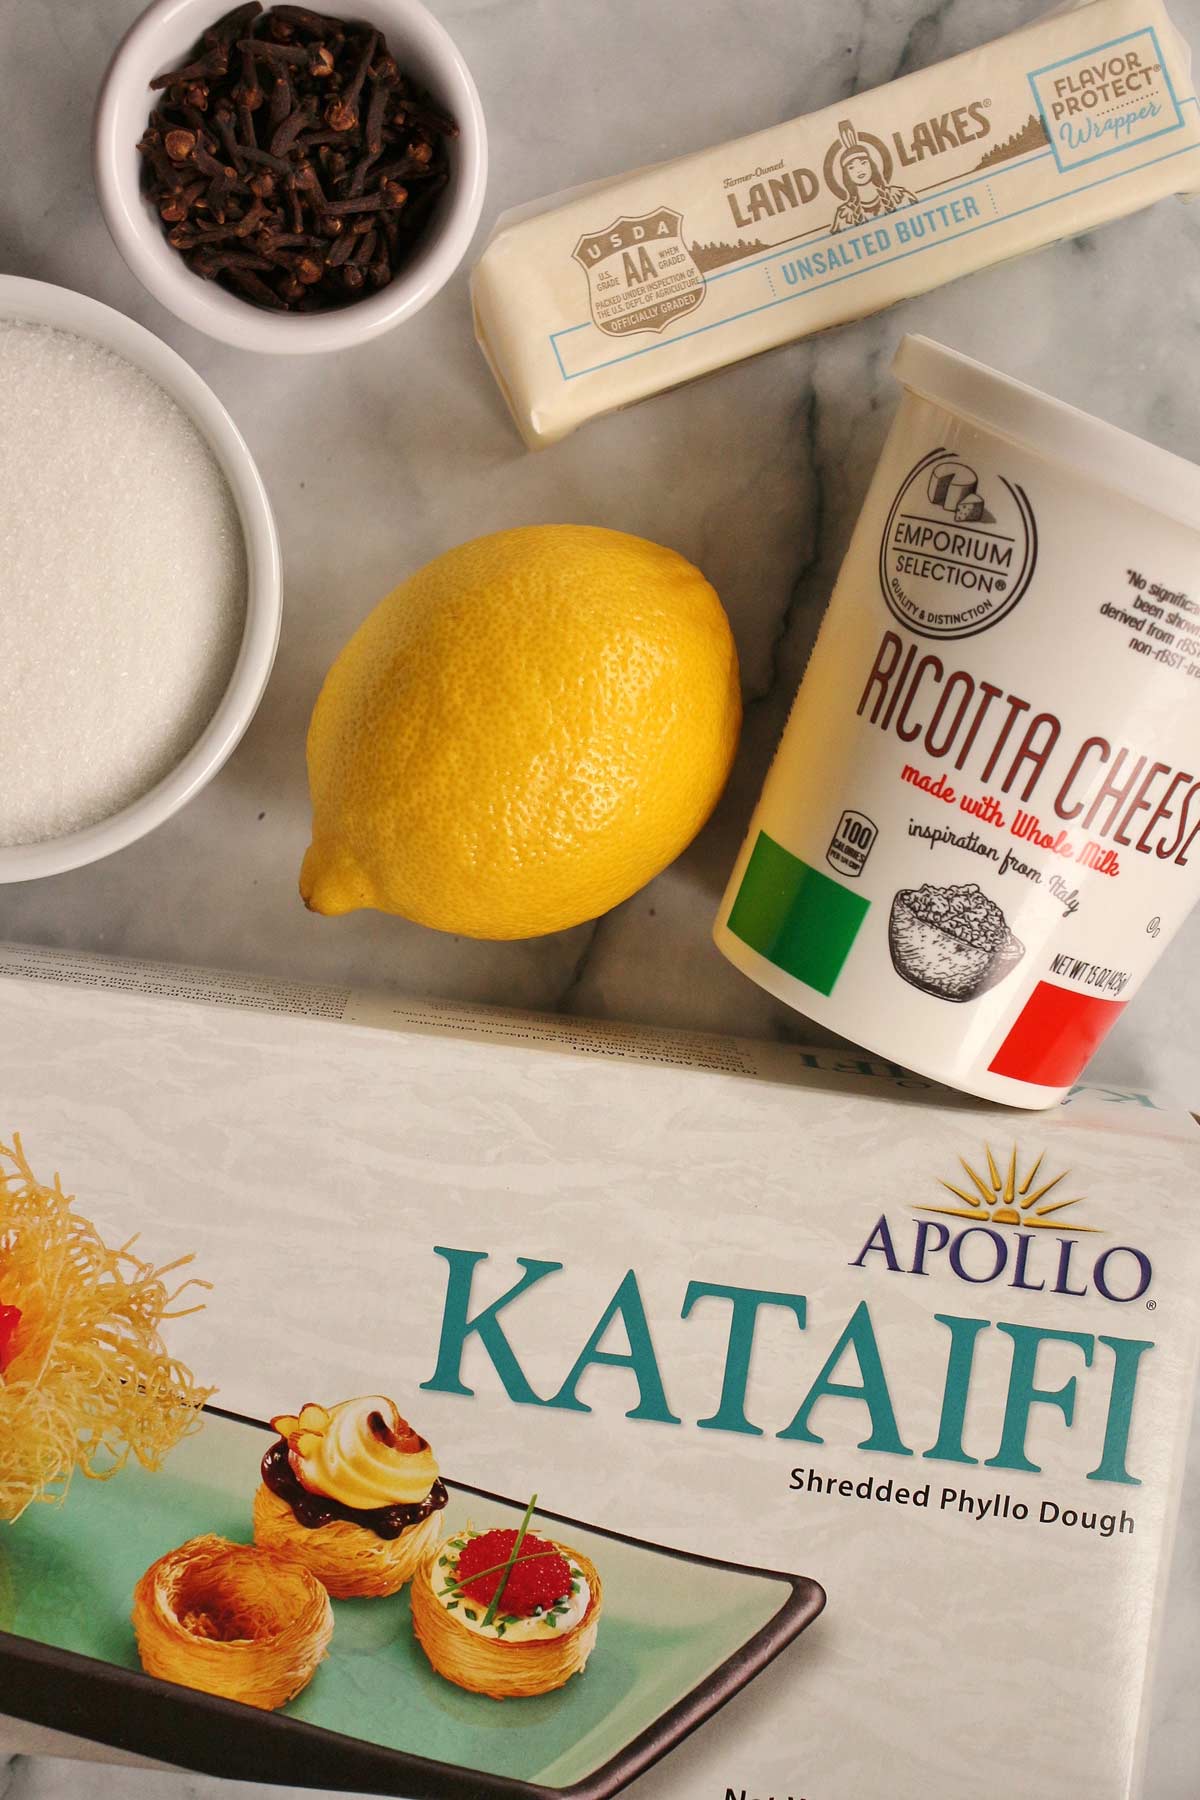
- Shredded Phyllo/Fillo Dough: Different from phyllo dough sheets, shredded phyllo has a stringy texture and is used for a variety of Middle Eastern sweets. It goes by different names/spellings including kadaif, kadaïf, kadaifi, and kadayif. Kadaif dough is typically sold frozen and is usually available in Greek or Middle Eastern markets. Place your box in the refrigerator overnight to gently thaw it before using.
- Clarified Butter: It is important to use clarified butter rather than regular melted butter. Butter contains fat, water, and milk proteins, but you want to isolate the butterfat. You can clarify butter yourself (I include instructions in my tips below) or purchase ghee (clarified butter). If you use store-bought ghee, reduce the amount of butter in the recipe to about 6 ounces (by weight) to make up for the evaporation of water and skimming of milk solids.
- Ricotta Cheese: Some kadaif recipes use melty, stringy cheeses for the filling (and serve it piping hot), while others use a Middle Eastern custard called ashta. I simply use ricotta cheese in this kunafa recipe, which provides a creaminess on its own with minimal effort. I recommend using full fat ricotta cheese made with whole milk.
- Sugar: Plain white granulated sugar is best for making the sugar syrup.
- Lemon Juice: This serves a very important purpose in making the syrup. Believe it or not it’s not simply for flavor. When boiling the sugar and water together for your syrup it will be quite cloudy. The moment you add the lemon juice you’ll see the mixture becomes clear. The lemon juice helps clarify your syrup and prevent it from crystalizing. Do not skip it!
How to make it
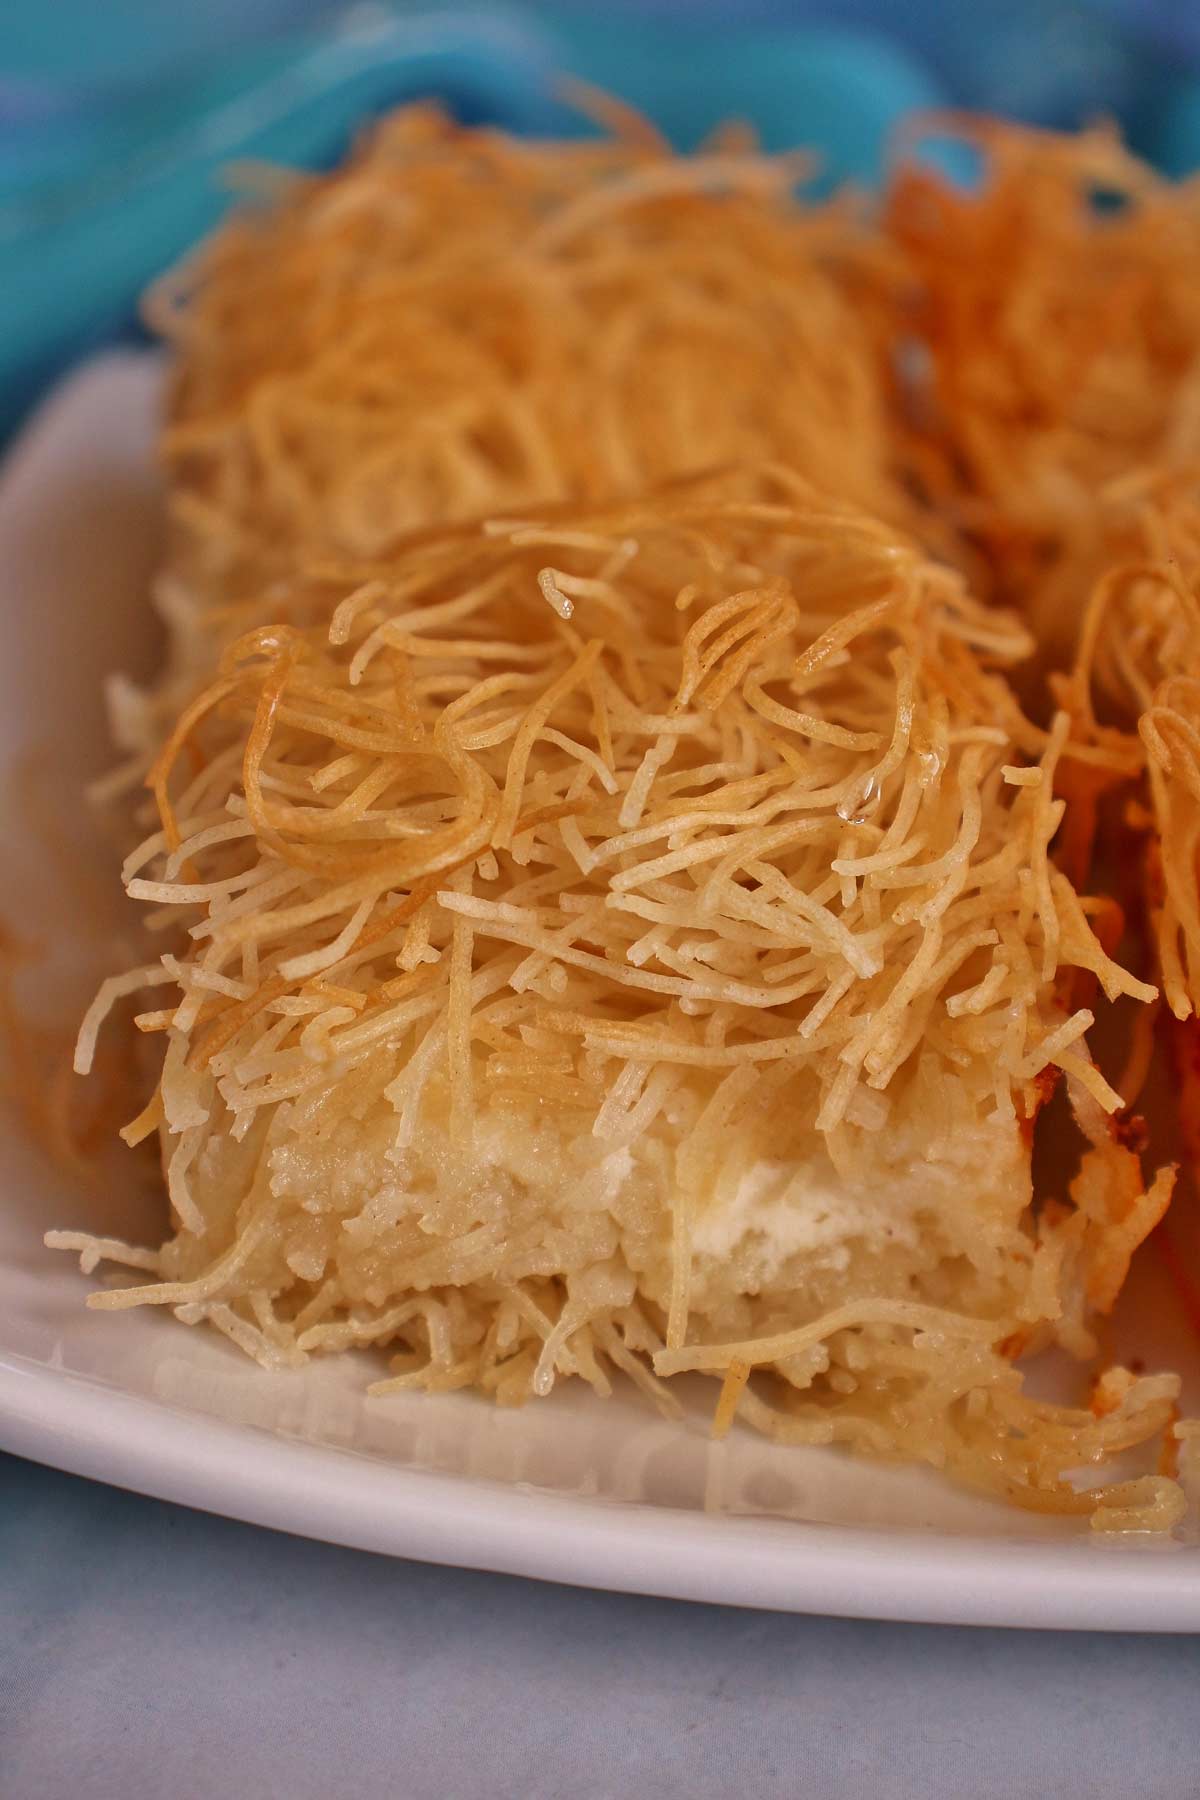
Add the kadaif dough to a large bowl and break it up with your fingers so it's loose (no chunks of dough).
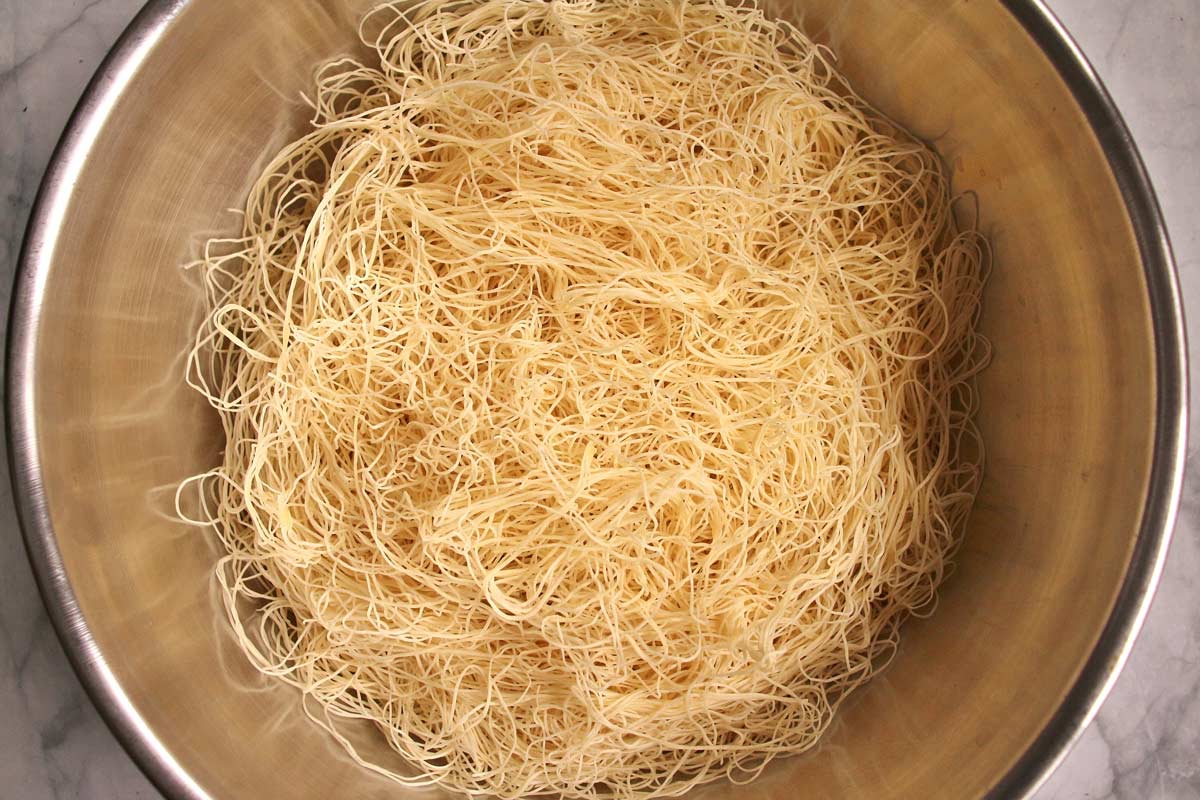
Combine the kadaif dough with the clarified butter and mix with your hands to coat thoroughly. Spread half the dough in a 8-by-12-inch baking pan or dish (alternatively use a round pan of similar size), pressing down lightly (PHOTO 1). Spread the ricotta cheese over the surface (PHOTO 2).
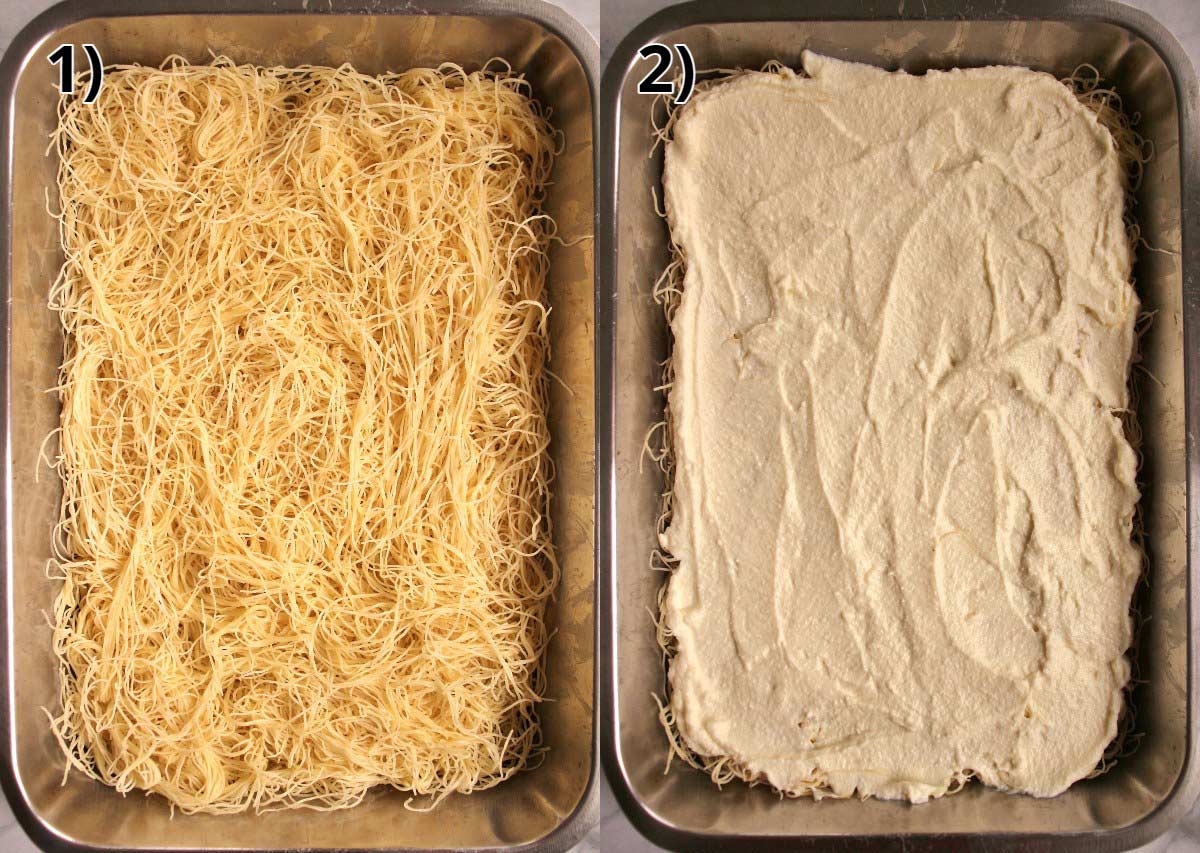
Then top with the rest of the buttery dough, pressing down firmly (PHOTO 3). Bake at 400°F until golden brown, about 30 to 40 minutes. Remove from oven and cut into a 4-by-6 grid to yield 24 squares (PHOTO 4). Cool completely.
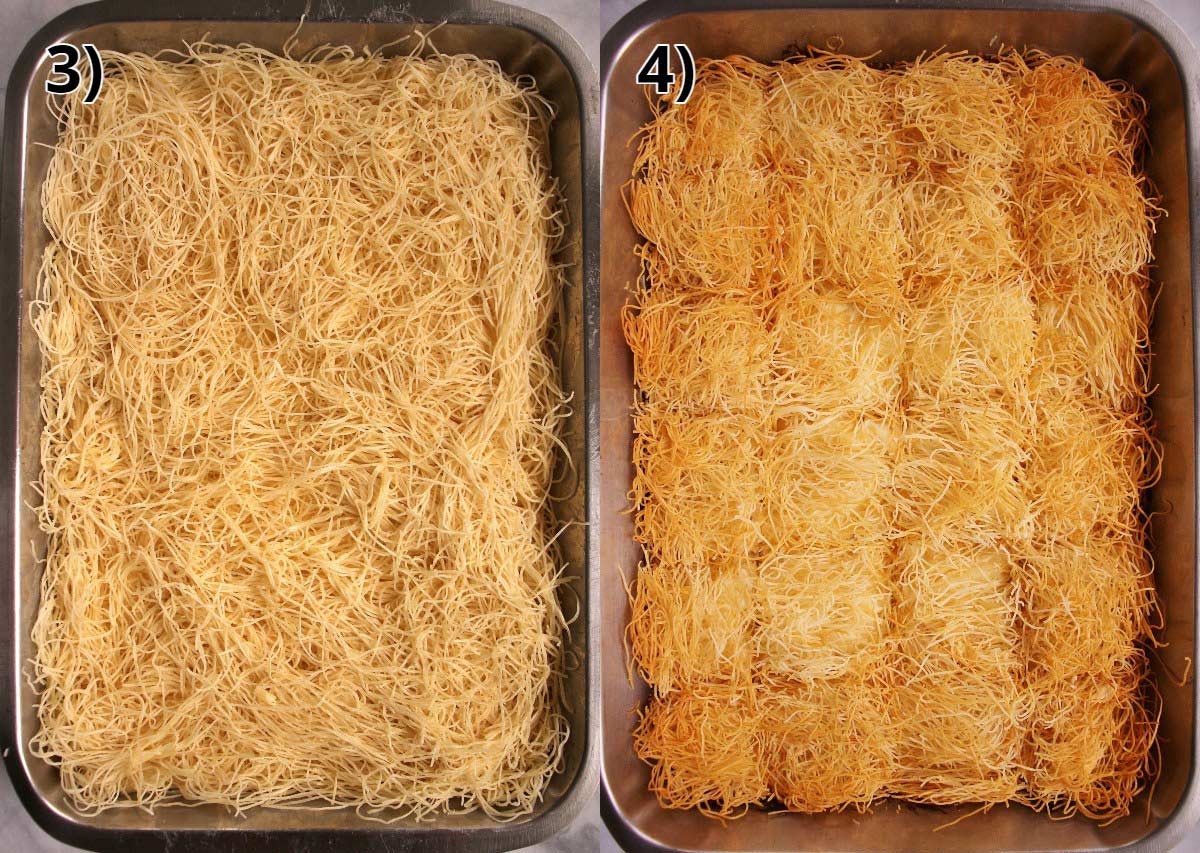
Prepare the syrup by dissolving the sugar in the water over high heat (PHOTO 5). Bring to a boil then add the lemon juice and cloves (PHOTO 6).
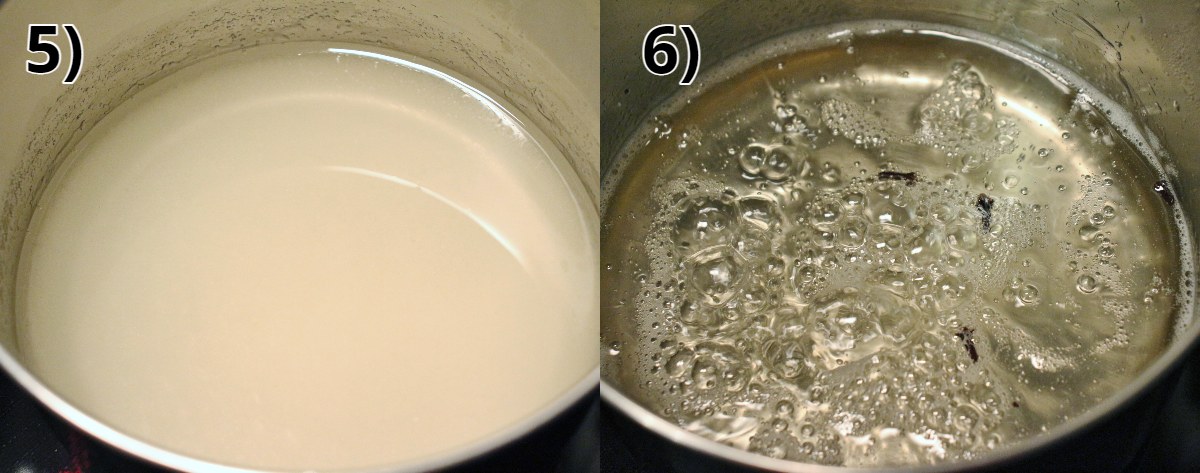
Lower the heat and simmer for about 10 minutes. Remove from the heat and rest for about 17 or 18 minutes until the syrup is warm, but not too hot (about 160 to 165°F).
Discard the cloves and ladle the very warm syrup over the pan of kunafa and let it soak until mostly absorbed, about 1 hour. Most of the syrup should soak into the dough. Use a sharp knife and go over all the previous cuts, making sure the ricotta cheese kunafa is cut all the way through before serving.
Please scroll to the bottom of the post for the full recipe (in a printable recipe card) including ingredient amounts and detailed instructions.
Expert tips and FAQ
It's best to eat this cheese kunafa within a day or two of baking it (ideally the day you make it). It will continue to soften in the days following but will still be absolutely delicious, just with a different texture. It's not as firm as baklava or paklava. I recommend eating it with a fork.
You want to store your kunafa uncovered or partially covered. Allowing for some air circulation will help prevent it from softening quickly.
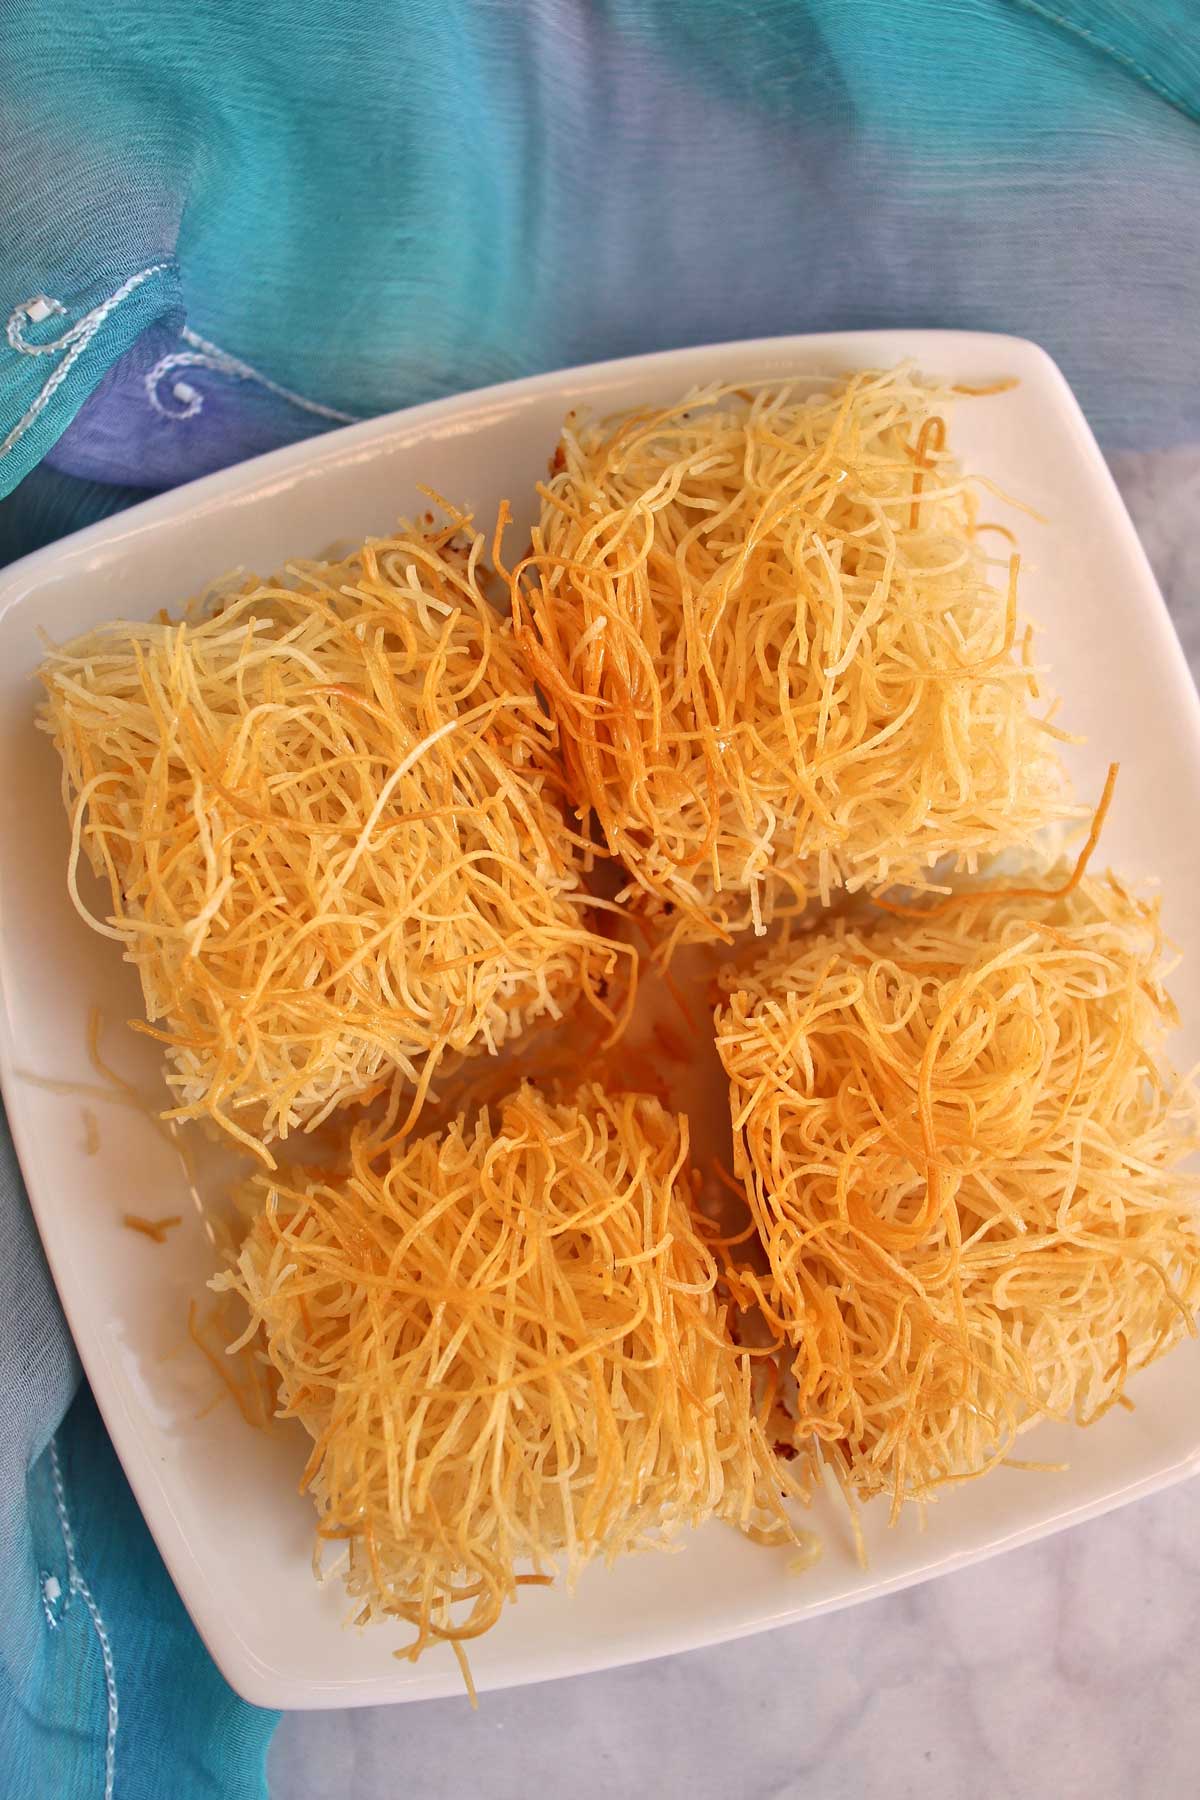
You can make this is a 9-by-13-inch pan if that is all you have but the pieces may turn out thinner/flatter than those pictured (which is fine, it's just personal preference). You can also use a round pan to assemble this kunafa, and cut it into wedges instead of squares.
It is very important that the kadaif and syrup are 2 different temperatures. Some people pour cold syrup over hot kadaif but we always do the opposite with cooled kadaif and hot syrup. If both are hot, the result will be mushy. If they are both cold, the syrup won't soak into it.
Variation: To make a nut filling, combine 8 ounces finely chopped walnuts, 2 tablespoons sugar, and 2 teaspoons ground cinnamon. Follow the recipe as directed, substituting this nut filling for the ricotta kunafa filling.
Kadaif dough is made out of flour and water which is combined into a thick batter. The batter is then poured through perforations over a metal hot plate. As the batter hits the hot metal, it partially cooks and dries into long thin strands.
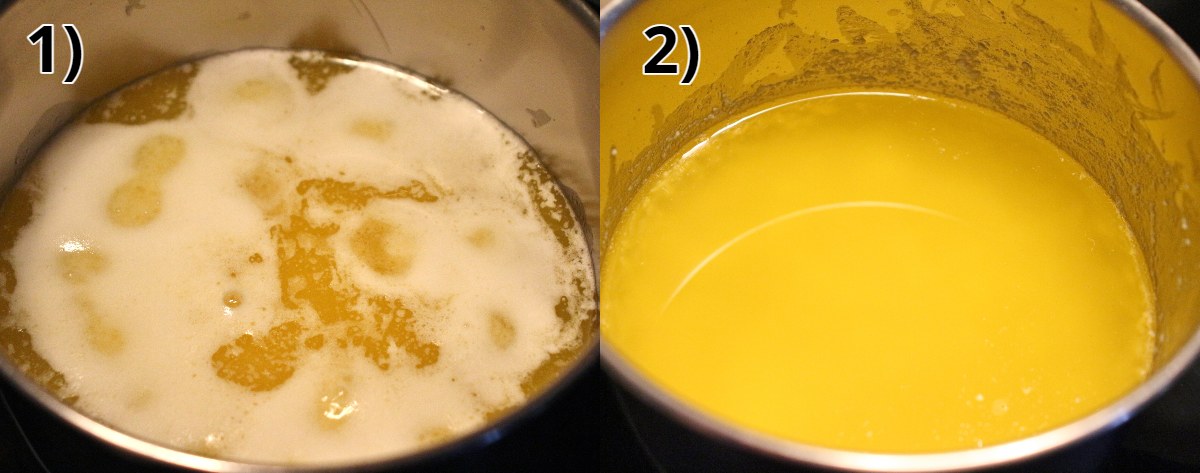
Add unsalted butter to a saucepan. Melt it over medium-low heat without stirring it (you want the components of water, fat, and milk solids to separate without disturbance). The butter will begin to boil and milk proteins will form a white layer on the surface (PHOTO 1). It’s actually the water in the butter that is boiling, not the butterfat. You want to continue to cook the butter until all of the water has gently boiled off. You’ll notice the boiling itself will calm down as the water content diminishes.
Remove from the heat and use a spoon to skim off all the white milk solids floating on the surface, and discard (it’s easier to skim it without disturbing the layers once it’s no longer actively bubbling) (PHOTO 2). Now you can use the clarified butter, which is the pure butterfat. If you notice any white milky liquid on the bottom, that is residual water that hasn’t boiled off. Just use the yellow fat and stop once you hit the white watery residue at the bottom.
Other recipes you may like
- Paklava (Armenian Baklava)
- Sari Burma (Burma Baklava/Rolled Baklava)
- Atayef bil Ashta (Middle Eastern Cream Filled Pancakes)
- Armenian Gata
- Chorek (Armenian Sweet Bread)
- Matzoon Cookies (Armenian Yogurt Cookies)
- Za'atar Manakish (Lebanese Za'atar Flatbread)
- Browse all Armenian and Middle Eastern Recipes
Tried this recipe? Please leave a star ⭐️⭐️⭐️⭐️⭐️ rating in the recipe card below and/or a review in the comments section further down the page. You can also follow me on social media on Facebook, Instagram, and Pinterest!
Kadaif or Kadayif (Ricotta Cheese Kunafa)
Ingredients
- 1 pound kadaif (shredded phyllo dough)
- 8 ounces (2 sticks / 226 grams) unsalted butter, melted and clarified
Filling:
- 15 to 16 ounces ricotta cheese, mixed vigorously to make smooth and spreadable
Syrup:
- 2 cups (400 grams) granulated sugar
- ¾ cup water
- 1 tablespoon lemon juice
- 5 whole cloves
Instructions
- Preheat oven to 400°F. Add the kadaif dough to a large bowl and break it up with your fingers so it's loose (no chunks of dough). Combine the kadaif dough with the clarified butter and mix with your hands to coat thoroughly.
- Spread half the dough in a 8-by-12-inch baking pan or dish (alternatively use a round pan of similar size), pressing down lightly. Spread the filling over the surface and then top with the rest of the buttery dough, pressing down firmly.
- Bake until golden brown, about 30 to 40 minutes. Remove from oven and cut into a 4-by-6 grid to yield 24 squares. Cool completely before moving on.
- Prepare the syrup by dissolving the sugar in the water over high heat. Bring to a boil then add the lemon juice and cloves. Lower the heat and simmer for about 10 minutes. Remove from the heat and rest for about 17 or 18 minutes until the syrup is warm, but not too hot (about 160 to 165°F).
- Discard the cloves and ladle the very warm syrup over the pan of kunafa and let it soak until mostly absorbed, about 1 hour. Most of the syrup should soak into the dough. Use a sharp knife and go over all the previous cuts, making sure the kunafa is cut all the way through before serving.
Notes
- This kunafa is best enjoyed within a day or two of baking it (ideally the day you make it). It will continue to soften in the days following but will still be absolutely delicious, just with a different texture. It's not as firm as baklava or paklava, and is best enjoyed with a fork.
- You want to store your kunafa uncovered or partially covered at room temperature. Allowing for some air circulation will help prevent it from softening quickly.
- You can make this is a 9-by-13-inch pan but the pieces will be a bit thinner/flatter than those pictured (which is fine, it's just personal preference). You can also use a round pan to assemble this kunafa, and cut it into wedges instead of squares.
- If desired, you may very carefully invert the kadaif after baking into another pan of the same size, press it down again and continue to bake another 10 minutes. This will give it a smoother appearance.
- If you use store-bought ghee (clarified butter), reduce the amount of butter in the recipe to about 6 ounces (by weight) ghee/clarified butter to make up for the evaporation of water and skimming of milk solids by clarifying it yourself.
- It is very important that the kadaif and syrup are 2 different temperatures. Some people pour cold syrup over hot kadaif but we always do the opposite with cooled kadaif and hot syrup. If both are hot, the result will be mushy. If they are both cold, the syrup won't soak into it.
- Variation: To make a nut filling, combine 8 ounces finely chopped walnuts, 2 tablespoons sugar, and 2 teaspoons ground cinnamon. Follow the recipe as directed, substituting this nut filling for the ricotta.
Nutrition
*All nutritional information is based on third-party calculations and should be considered estimates. Actual nutritional content will vary with brands used, measuring methods, portion sizes and more.*



Martha says
I have never heard of this dessert and I'm very excited to try it. I have a question that I need your help with, please. I love nuts and I'm wondering if I may use both the ricotta and nuts in the filling. If so, what adjustments, if any, would you recommend? Thank you. ❤️
Victoria says
Hi Martha,
I've never tried it with both but I bet it would be delicious! I'm not sure if you'd need to make adjustments. You could just add both and it would have a bit thicker filling but I'm sure it would still be good. If you try it, please report back and let us know how it turned out 🙂
Susan Finesman says
I bought a bag of dried kadayif...any idea how to use it?
Victoria says
Hi Susan,
I've never purchased dried kadayif, only the refrigerated/frozen type so unfortunately I don't have any guidance on how to use it. I am guessing the packaging doesn't have instructions? You might be able to just use it as a straight substitute but I honestly have no idea since I have no experience with that product. Sorry!
Tiffany says
I am completely intrigued with this recipe and I'm currently finishing it up. I used the dried kadayif and my recipe turned out just fine! I AM IN LOVE WITH THIS DISH ❤️