An Armenian savory cookie that goes by many names: Khalkha / Simit / Kekhke. If you ask Armenians (I did) what they call it, you'll get a lot of different answers, but we are unified in loving these cracker-cookies! There are sweet versions too, but this is the savory one my family prefers.
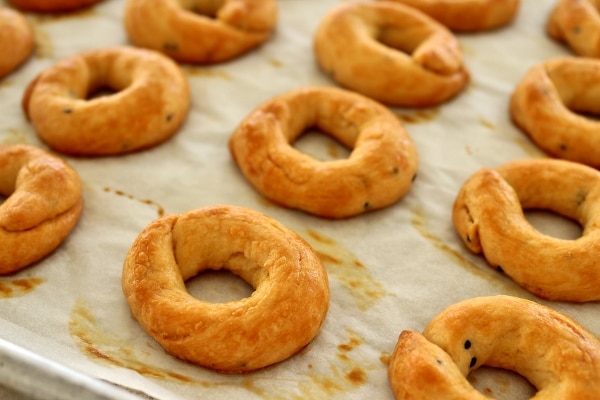
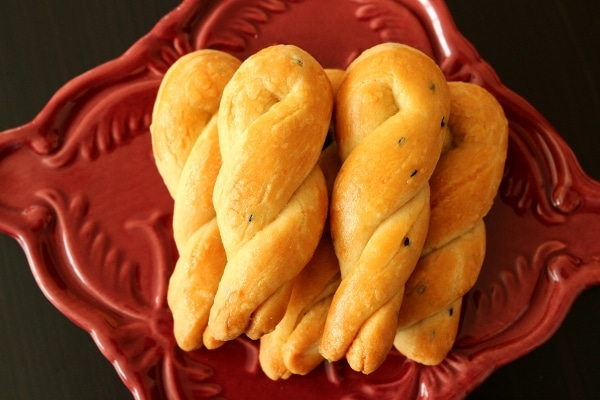
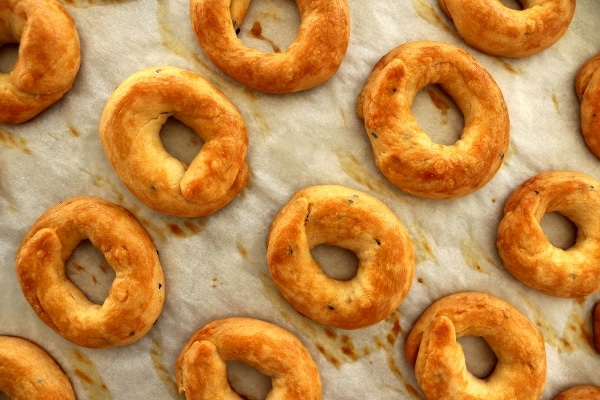
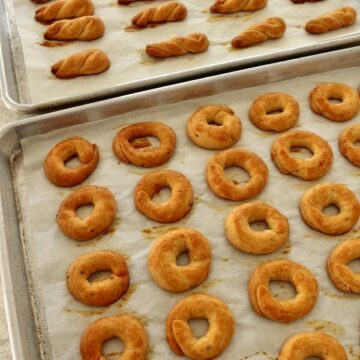
Khalkha is a crispy, savory cookie. The word khalkha actually means "ring" in Turkish, as in a ring shape, not a piece of jewelry. While its name refers to a round, ring-like shape, many people prefer to create twisted khalkhas instead. The shape makes little difference to the overall enjoyment of these buttery, rich snacks.
There are many Armenians who make these cracker-like cookies a bit differently, and call them different names. I think it's important to include some of these variances so we cover all our bases.
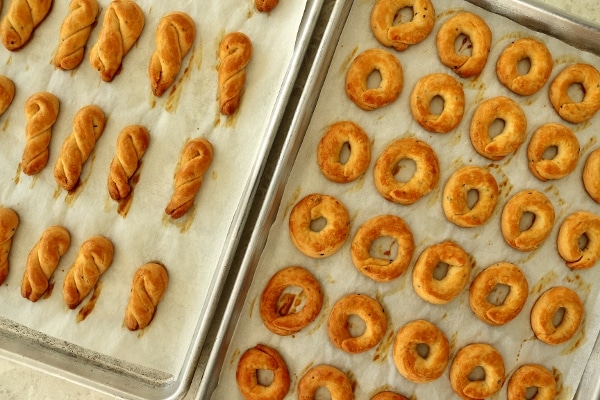
Many Armenians refer to these cookies as simit, which actually means "sesame seeds" in Turkish. This generally refers to versions that contain or are topped with sesame seeds but can broadly identify the others. There are also breads that are covered in sesame seeds which go by the same name. I would say the majority of Armenians I asked use this terminology for this recipe.
The other dominant nomenclature for this recipe is kekhke or aghi kekhke (salty kekhke for the non-sweet version). From my research kekhke is a slightly sweeter recipe which is shaped the same and contains some sugar and mahlab, a spice also used in chorek.
And speaking of chorek, there are still others who call these smaller twists chorek. My family reserves that name for the sweet bread we make around Christmas and Easter. In any case, as you can see there are a lot of different terms, and a lot of different ways to make these baked treats.
Childhood memories
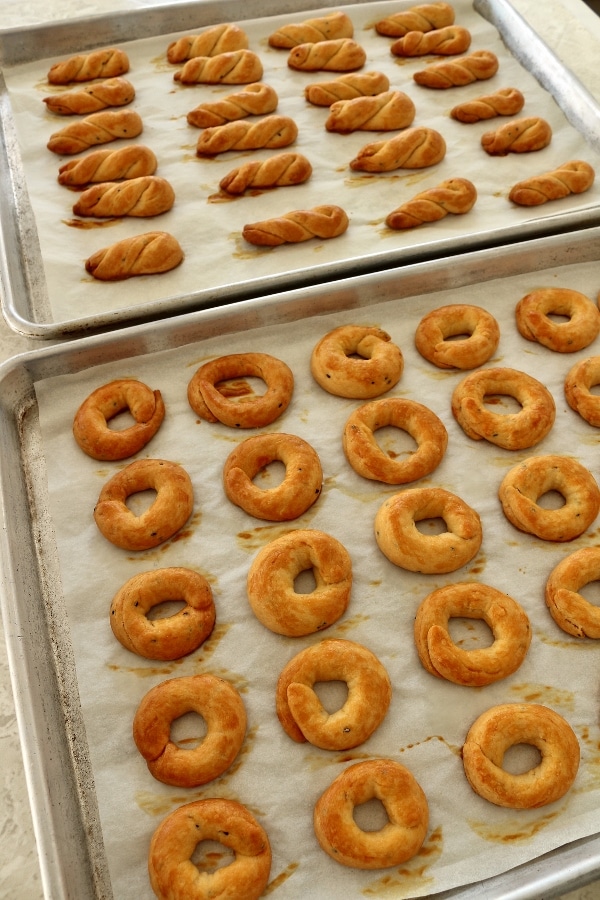
One of my earliest memories in the kitchen is shaping khalkha with my grandmother, or dadeek as I called her. She would make a batch of buttery, yeasted dough, flecked with nigella seeds, and we would shape them together. She stuck with the traditional shapes, while I would treat the dough almost like Play-Doh and make letters, faces, etc.
When I was growing up, these were common treats in our home. They were also part of a breakfast ritual that still reminds me of my late grandmother any time I partake in this practice.
My dadeek would make a mug of Lipton tea. She'd add a touch of sugar and a fresh squeeze of lemon, and then break up some khalkha into large pieces and add them to the tea. Then she would fish out the bites of tea-soaked khalkha with a spoon. At first they still retain some of their texture, and later are much softer and falling apart.
Wash it all down with the remnants of the tea, now a bit polluted with nigella seeds and wet khalkha crumbs. It was one of the most comforting "breakfasts" from my childhood! I would watch Gilligan's Island while enjoying my tea and khalkha breakfast!
How to make khalkha
Khalkha can be time consuming to make, mainly because of the step of shaping them. Honestly, you can easily just cut them into short breadstick-shapes and call it a day, but I think it's worth a little extra effort. Even though this is a yeasted-dough, that's not very daunting, and the proofing time isn't excessive.
You'll start by combining warm water with dry-active yeast. Give it about 10 minutes to "bloom" and soften. In a large bowl add the nigella seeds and salt, and then top with the water/yeast mixture, then melted butter and oil. Slowly add the flour and mix until it's all combined. Knead the dough until it's smooth and pliable.
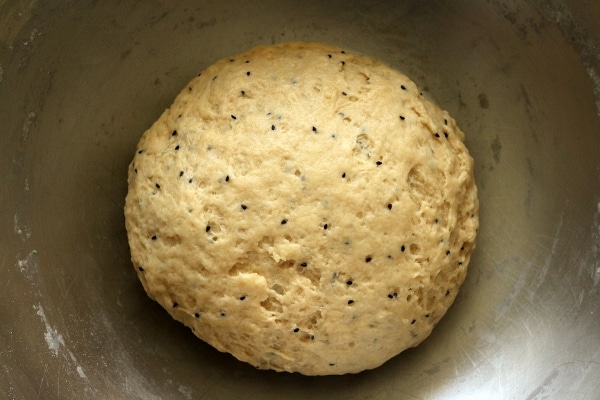 |
| Before proofing |
Next you'll have to proof your dough, which means allow it to rise. Cover the bowl with a kitchen towel and set it aside in a warm spot. I sometimes turn on my oven very briefly, and then turn it off so it's just warm but not too hot. You don't want to bake the dough just yet! Proof the dough for about 1 ½ hours or until doubled in size.
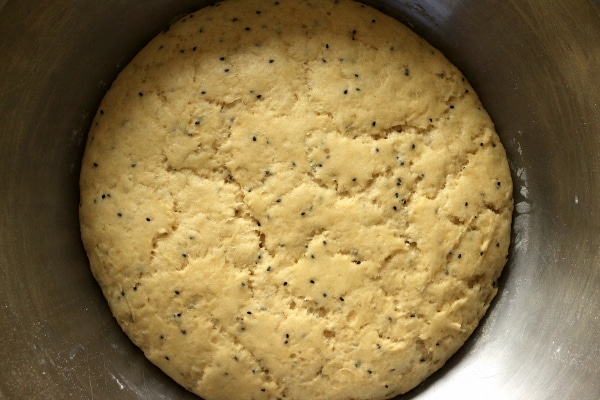 |
| After proofing |
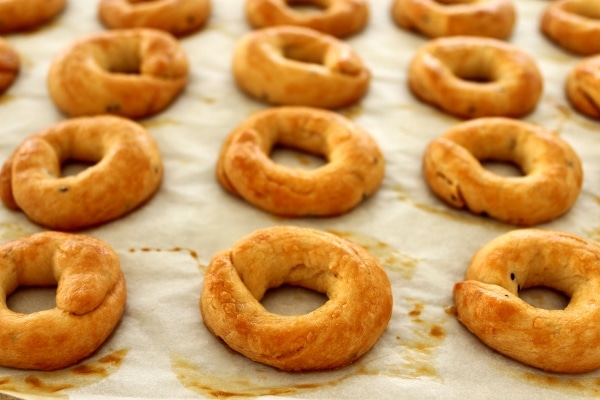
Finally, it's time to shape and bake these guys. You have a couple options here. You can form them into rings (like the name khalkha implies) or twists. Brush the tops with egg wash, and bake until golden and crisp.
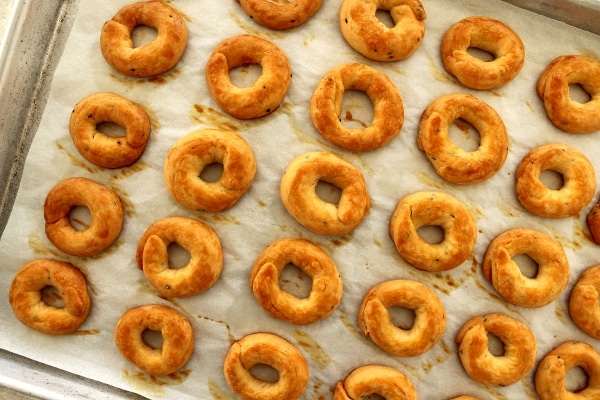
Please scroll to the bottom of the post for the full recipe (in a printable recipe card) including ingredient amounts and detailed instructions.
Whether you enjoy these crisp khalkhas with your morning tea or as an afternoon snack, they are decadent and satisfying. It's also impossible to eat just one! Just beware, they are far from fat-free, but worth a bit of indulgence if you ask me 🙂 They also freeze really well, so plan on making the entire recipe even if you aren't feeding an army. It will keep, and you will thank me later!
Other Middle Eastern baking recipes you may like
- Armenian Gata (Nazook)
- Chorek (Armenian Sweet Bread)
- Matzoon Cookies (Armenian Yogurt Cookies)
- Easy Cheese Borek
- Paklava (Armenian Baklava)
- Sari Burma (Burma Baklava/Rolled Baklava)
- Kadaif or Kadayif (Ricotta Cheese Kunafa)
- Atayef bil Ashta (Cream Filled Pancakes)
Tried this recipe? Please leave a star ⭐️⭐️⭐️⭐️⭐️ rating in the recipe card below and/or a review in the comments section further down the page. You can also follow me on social media on Facebook, Instagram, and Pinterest!
Armenian Khalkha (Simit/Kekhke)
Ingredients
- 1 ½ cups warm water
- 2 teaspoons dry active yeast
- 1 tablespoon nigella seeds
- 2 teaspoons kosher salt
- 8 ounces (2 sticks) unsalted butter melted
- ⅓ cup vegetable oil
- 6 cups all-purpose flour
- 1 egg beaten
Instructions
- Mix the warm water and yeast in a small bowl and allow the yeast to bloom for about 10 minutes until softened and dissolved.
- In a large mixing bowl, combine the nigella seeds and kosher salt. Stir in the water/yeast, melted butter, and oil. Slowly add the flour, stirring with a wooden spoon until it becomes thick enough to mix with your hands. Continue to mix/knead the dough until it becomes smooth, soft, and pliable.
- Cover with a kitchen towel and allow to proof in a slightly warm space for 1 ½ hours, or until about double in size.
- Preheat the oven to 375°F placing the racks in the upper and lower thirds of the oven. Line several baking sheets with parchment paper and set aside.
- Cut portions of the dough with a knife, covering the remaining dough until needed. Roll each portion into a rope about ¼-inch thick on an unfloured work surface (alternatively, pinch off smaller pieces of dough and roll them out individually). To create twists, cut into segments about 4-to-6-inches in length. Fold each segment to bring the ends together, pressing gently, and then twist (the length will determine the size of the twists). To create rings, cut the segments into 4-inch pieces and pinch together the opposite ends to yield a circle. Place each twist or ring on the parchment-lined baking sheets, setting them about 1-inch apart.
- Brush the beaten egg over each khalkha and then place baking sheets in the oven (you may need to bake them in batches) for about 30 to 35 minutes, rotating the pans from front to back and top to bottom halfway through. The khalkhas are done when they are golden and crisp. Remove from the oven and allow to cool completely before serving.
- Khalkha can keep in an airtight container for about a week and can be frozen.
Notes
- This recipe uses kosher salt (aka cooking salt, kitchen salt, coarse salt outside of the US). If you are using table salt, definitely scale down the salt as that is a saltier type of salt! The type of salt will make a big difference in how salty your food tastes, so keep that in mind.
Nutrition
*All nutritional information is based on third-party calculations and should be considered estimates. Actual nutritional content will vary with brands used, measuring methods, portion sizes and more.*



Jen says
Turned out great! Very crunchy and addictive!
gU says
Hi my great grandmother made these the best. i miss them so much i just want to confirm before i try your recipe if these are crispy all the way through. i dont like the ones that are too soft inside. thank you
Victoria says
Hello,
Yes, they are crunchy and firm all the way through. Enjoy!
Sue G. says
my Grandmother would make and she just shaped them cigar shaped and we ate them with either some butter on top or the Armenian string cheese. such great memories. thanks for sharing.
Mireille Hilal says
Victoria,
I was so happy to find your khalkha recipe today. I had a recipe for them a long time ago and lost it. So happy I have found you, and look forward to learn more from you as time goes by. My mother is Armenian and I have a special bond in my heart for her legacy and her cooking. Glad you share your memories with your readers!
Natacha Dreesen says
Hey, thank for sharing this!
Can I use fresh yeast instead of dry?
Victoria says
Hi Natacha!
I'm sure you can substitute it, however I personally haven't tested the recipe with fresh yeast.
After a quick online search I found a conversion you can try: 1 teaspoon active dry yeast = 1/3 block (0.6-ounce size) of fresh yeast. So in this case you would need 2/3 block of fresh yeast in place of the 2 teaspoons of dry active yeast. You should be able to follow the other steps as written, including proofing the fresh yeast in a bit of warm water until bubbly.
Let me know how it turns out! I'd love to hear about your results!
Best,
Victoria
Astghik krikorian says
Hi Victoria.. enjoying going through your recipes thank you ,I am thinking making the sweet version of these cookies (khalkha) can you give the recipe please,thank you so much.
Victoria says
Hello! Happy to hear you are enjoying the recipes. Unfortunately I don’t have a recipe for sweet khalkha. My grandmother only ever made the “salty” kind and that’s the only version I know how to make. Sorry! I hope you’re able to find one.
Ani Emrikian says
Hi, the sweet type is the same recipe but omit the salt and add 2-4 T of sugar depending on how much flour you are using.
Mary Kabakian says
I'm happy that our children are learning these recipes from their grandparents and keeping the family traditions alive. I'm very proud of you, Victoria!