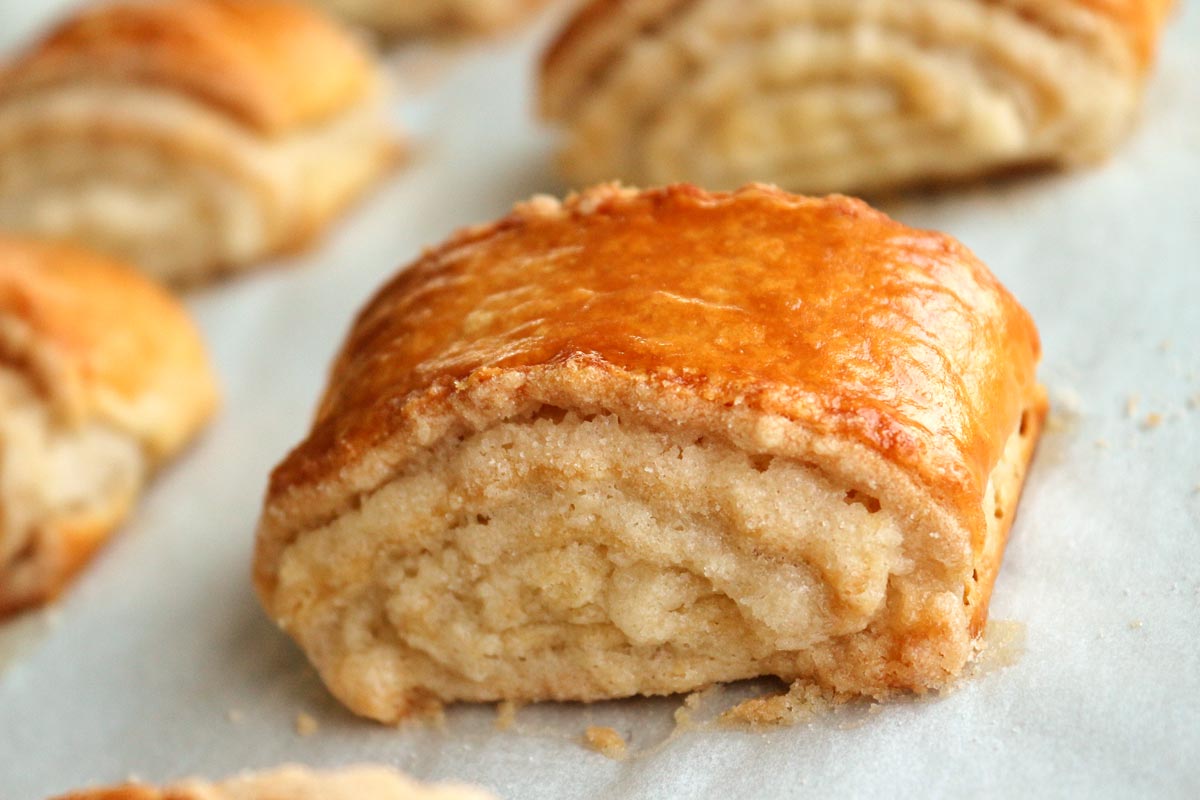
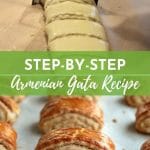
Gata is easily one of the most beloved Armenian desserts. It's a pastry with similarities to both croissants and rugelach, but with a personality of its own. Some call it nazook, but this typically refers to a walnut-filled version made by Iranian Armenians. Crisp on the outside, flaky within, with spirals of vanilla-laced sweetness throughout, it's a divine dessert any time of year.

Whether you call these morsels gata (as my family does) or nazook (as some Iranian-Armenians typically do), the pastry itself is amazing! There is often regional differences in terminology for Armenian recipes.
Many Armenians grew up in various countries throughout the Middle East and Near East because of wars in the area. Vocabulary and cooking methods for popular dishes vary because of this. My family comes from Yerevan, the capital of Armenia, and to us this is gata 🙂 There is also a flat version of gata, but this rolled one is my favorite!
My aunt has perfected her gata-making technique over years of tweaking. She recently passed those secrets on to me. And lucky for you, I'm in a sharing kind of mood!
Not only are the ingredients important to yield the perfect gata, but the tricks she uses make the process easier. Thus now we can all create an all-around excellent pastry using this incredibly detailed recipe.
How to make Armenian Gata: Day 1
This is a two-part process and must begin the day or evening before baking the pastries. The dough is very easy to make, especially with the use of a food processor.
This recipe yields a lot of dough. Make half the dough at a time, and then combine the two halves. This will give the dough plenty of room to move around the bowl of the food processor.
Ingredients in the dough include flour, butter, baking soda, baking powder, and sour cream. After making the two halves of dough, and pressing them into one mass, you will need to laminate the dough.
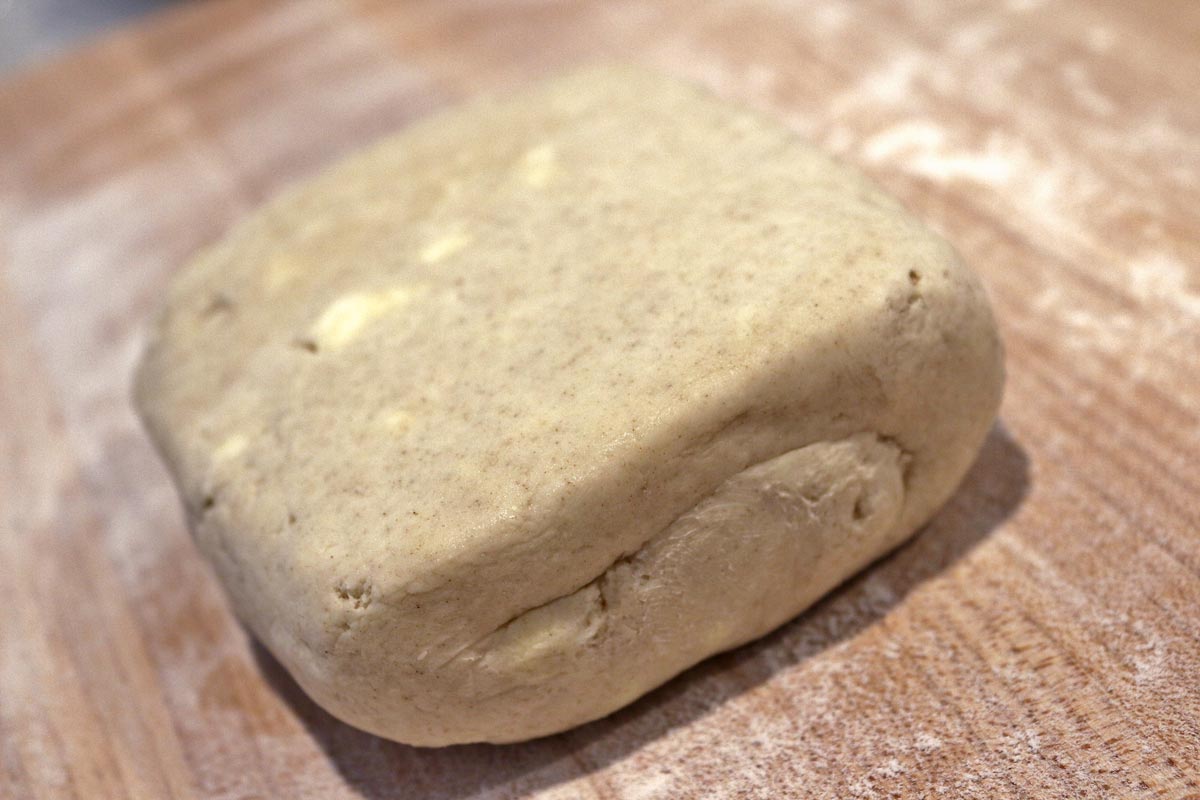
First you will cut the dough into four equal parts. Then for each quarter fold the dough multiple times in a technique similar to making croissants, but without the block of butter.
Here the butter is already worked into the dough via the food processor step, similar to making pie dough. These "laminated" dough squares rest in the fridge until we are ready for step two the following day.
Day 2
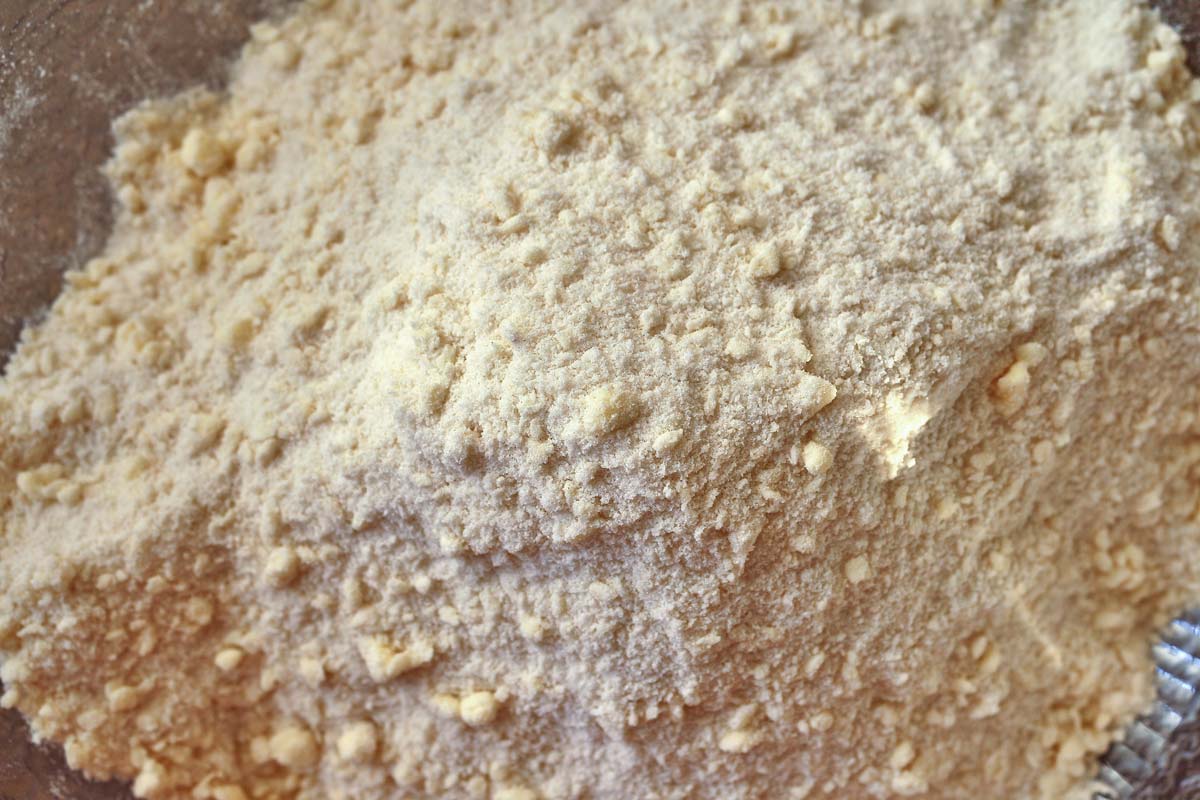
The next day, you'll begin by making the filling for the gata, referred to as "khoreez" in Armenian. This process begins similarly to the dough, by blitzing flour and butter together in the food processor. You will then add sugar and vanilla to yield a sweet, sandy filling.
Working with one square of dough at a time, roll it out into a thin rectangle. The thinner it is, the more layers you'll yield when you roll it up! Cover the dough in the "khoreez" filling, leaving a small uncovered edge for sealing.
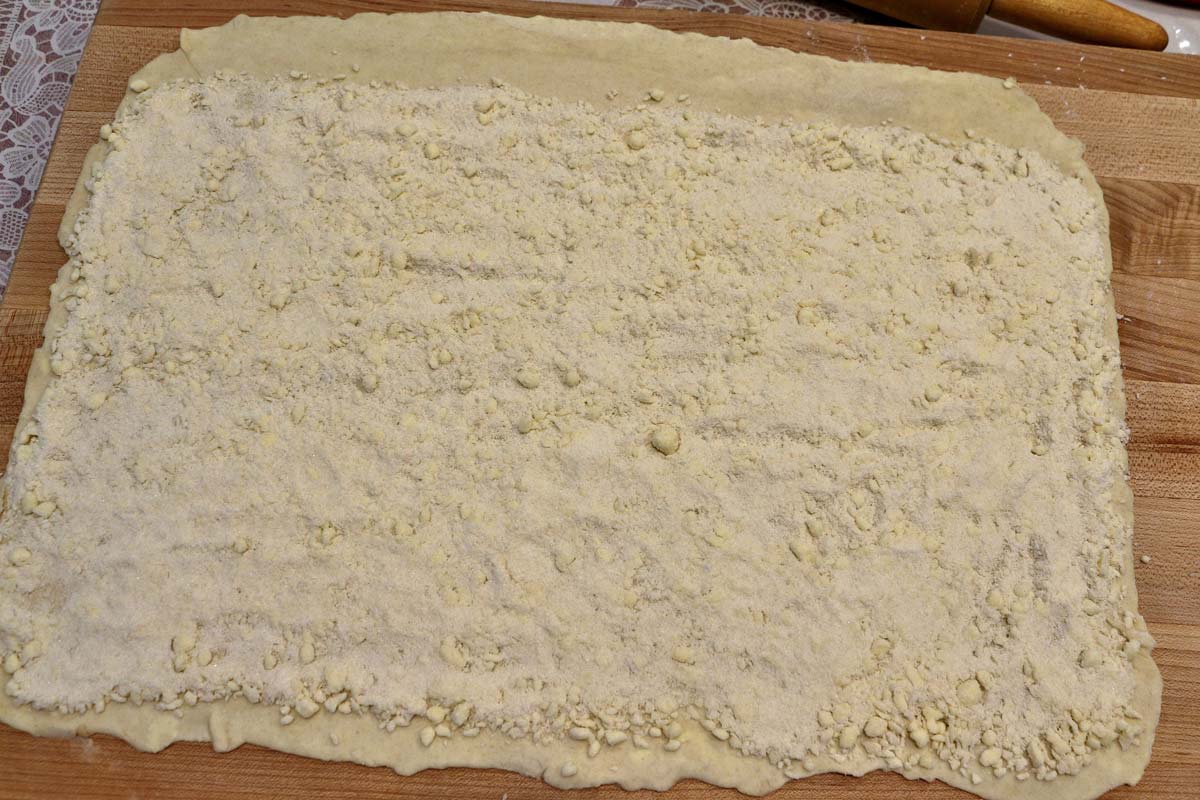
Use the palms of your hands to press the filling into the dough to make the rolling process less messy. Tightly roll the dough into a spiral, similar to assembling a jelly roll.
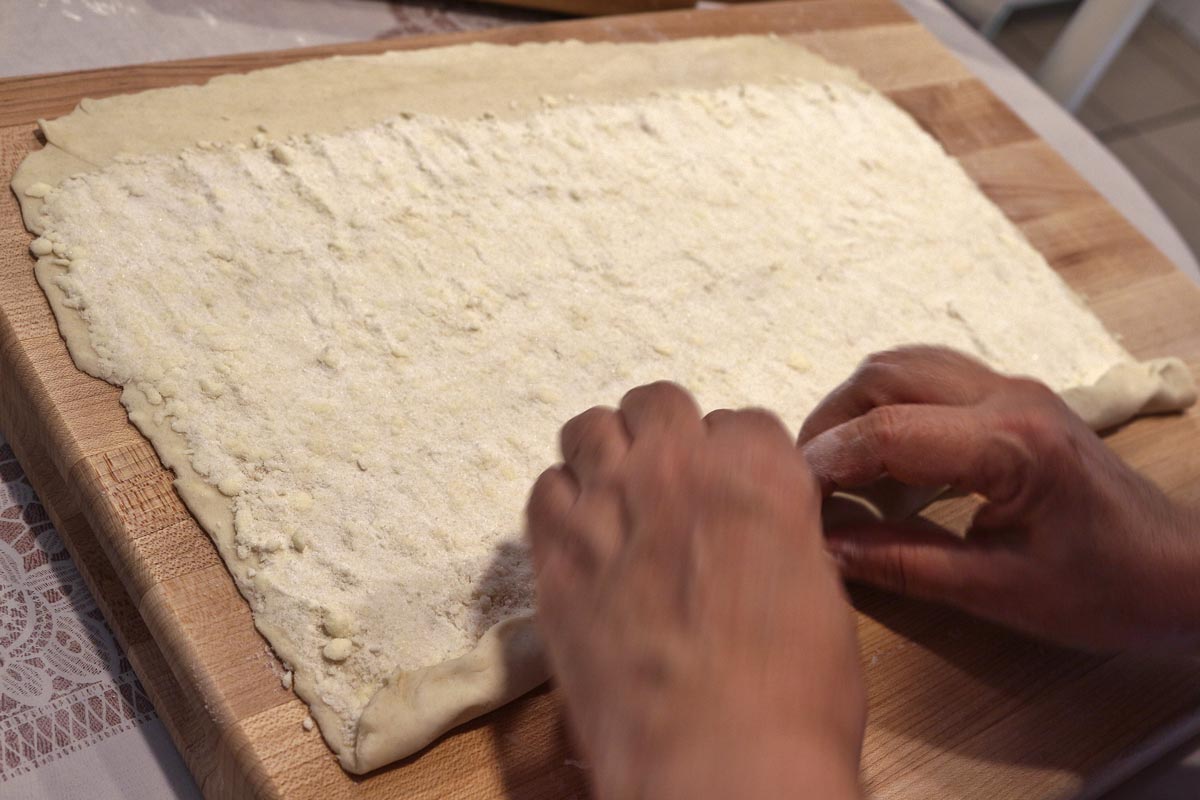
Finally, use a rolling pin to gently flatten the roll. Don't use a lot of pressure. Simply allow the weight of the rolling pin to do the work for you. Now, we're ready to finish the gata!
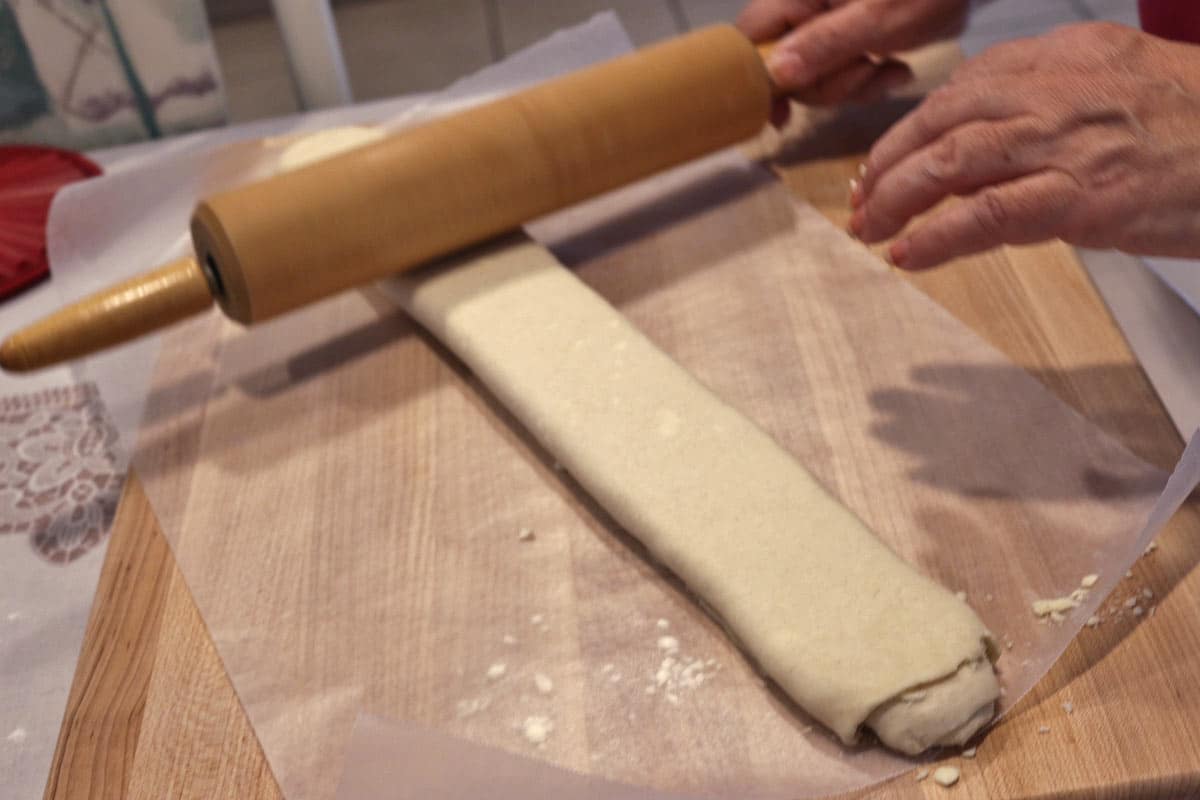
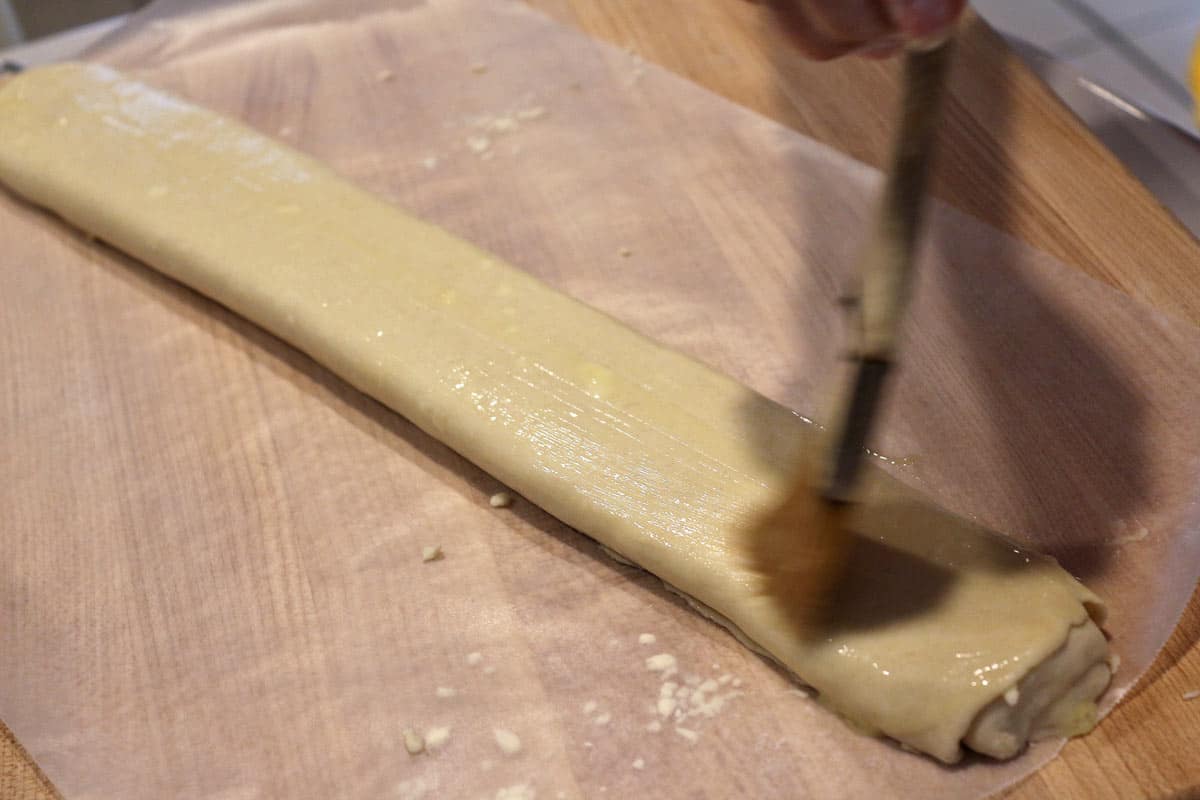
It's easier and less messy to brush the entire roll with egg wash before cutting it into pieces.
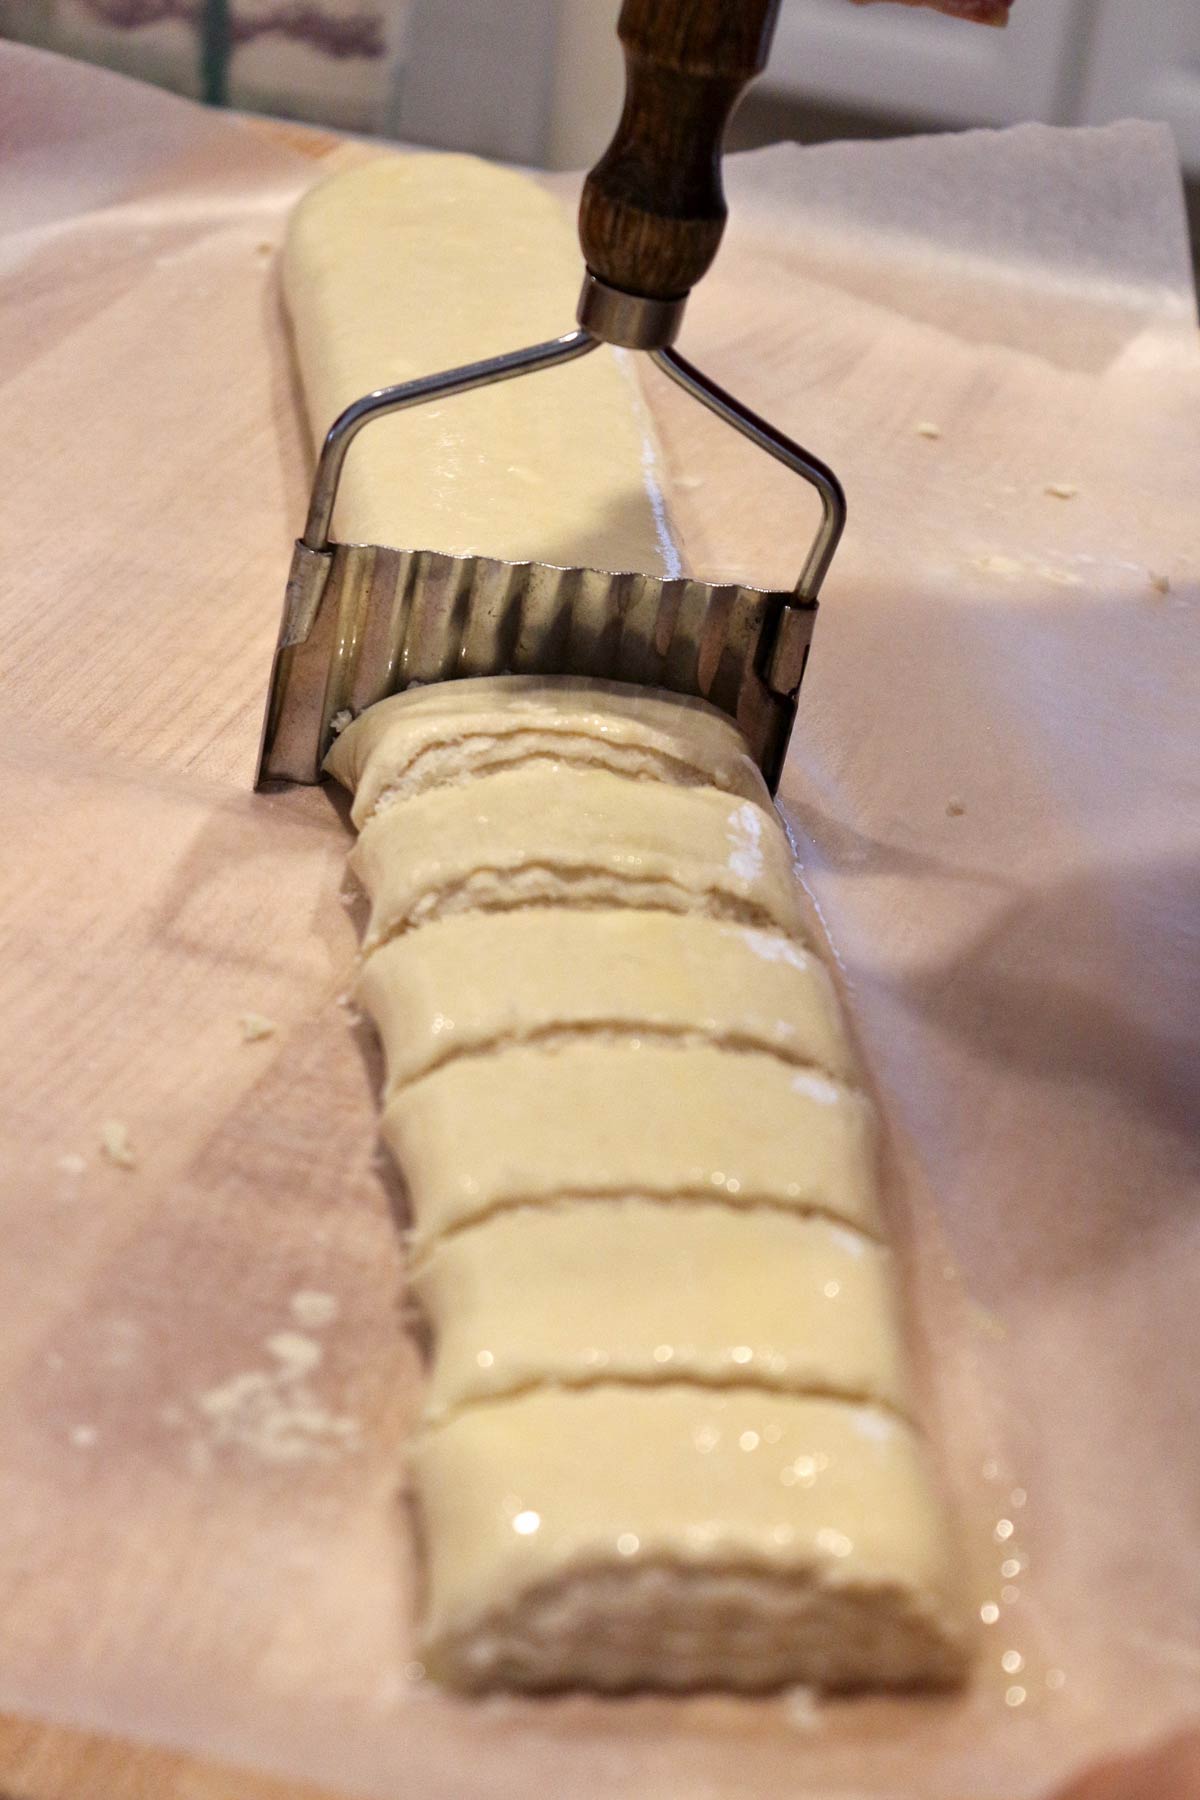
It is traditional to use a serrated vegetable cutter when portioning gata. This results in beautiful serrated edges, and picture-perfect gata! If you're unable to acquire such a tool, a dough scraper will work in a pinch, but won't yield the same refined look.
Arrange the gata on parchment-lined baking sheets. Bake the gata one tray at a time for 25 to 35 minutes at 350 degrees F, rotating the pan halfway through the baking time. You can use this time to work on assembling the remaining gata. Multitasking for the win!
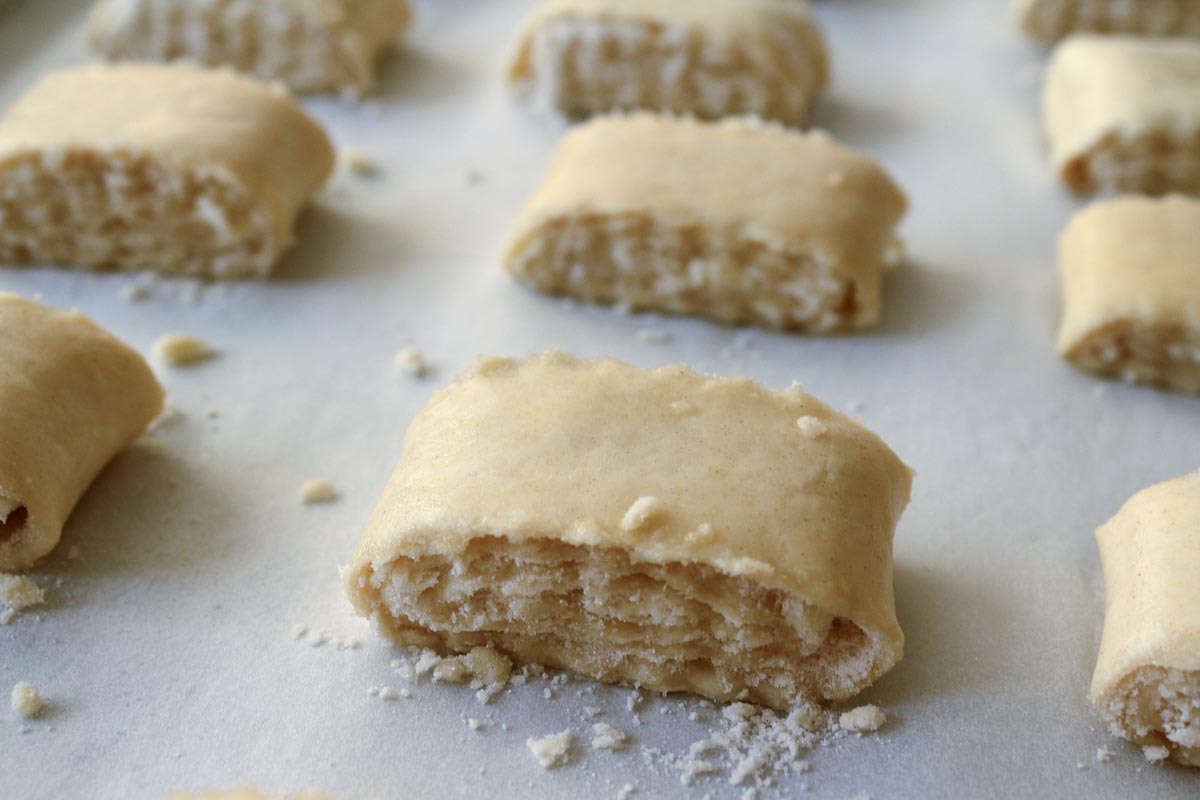
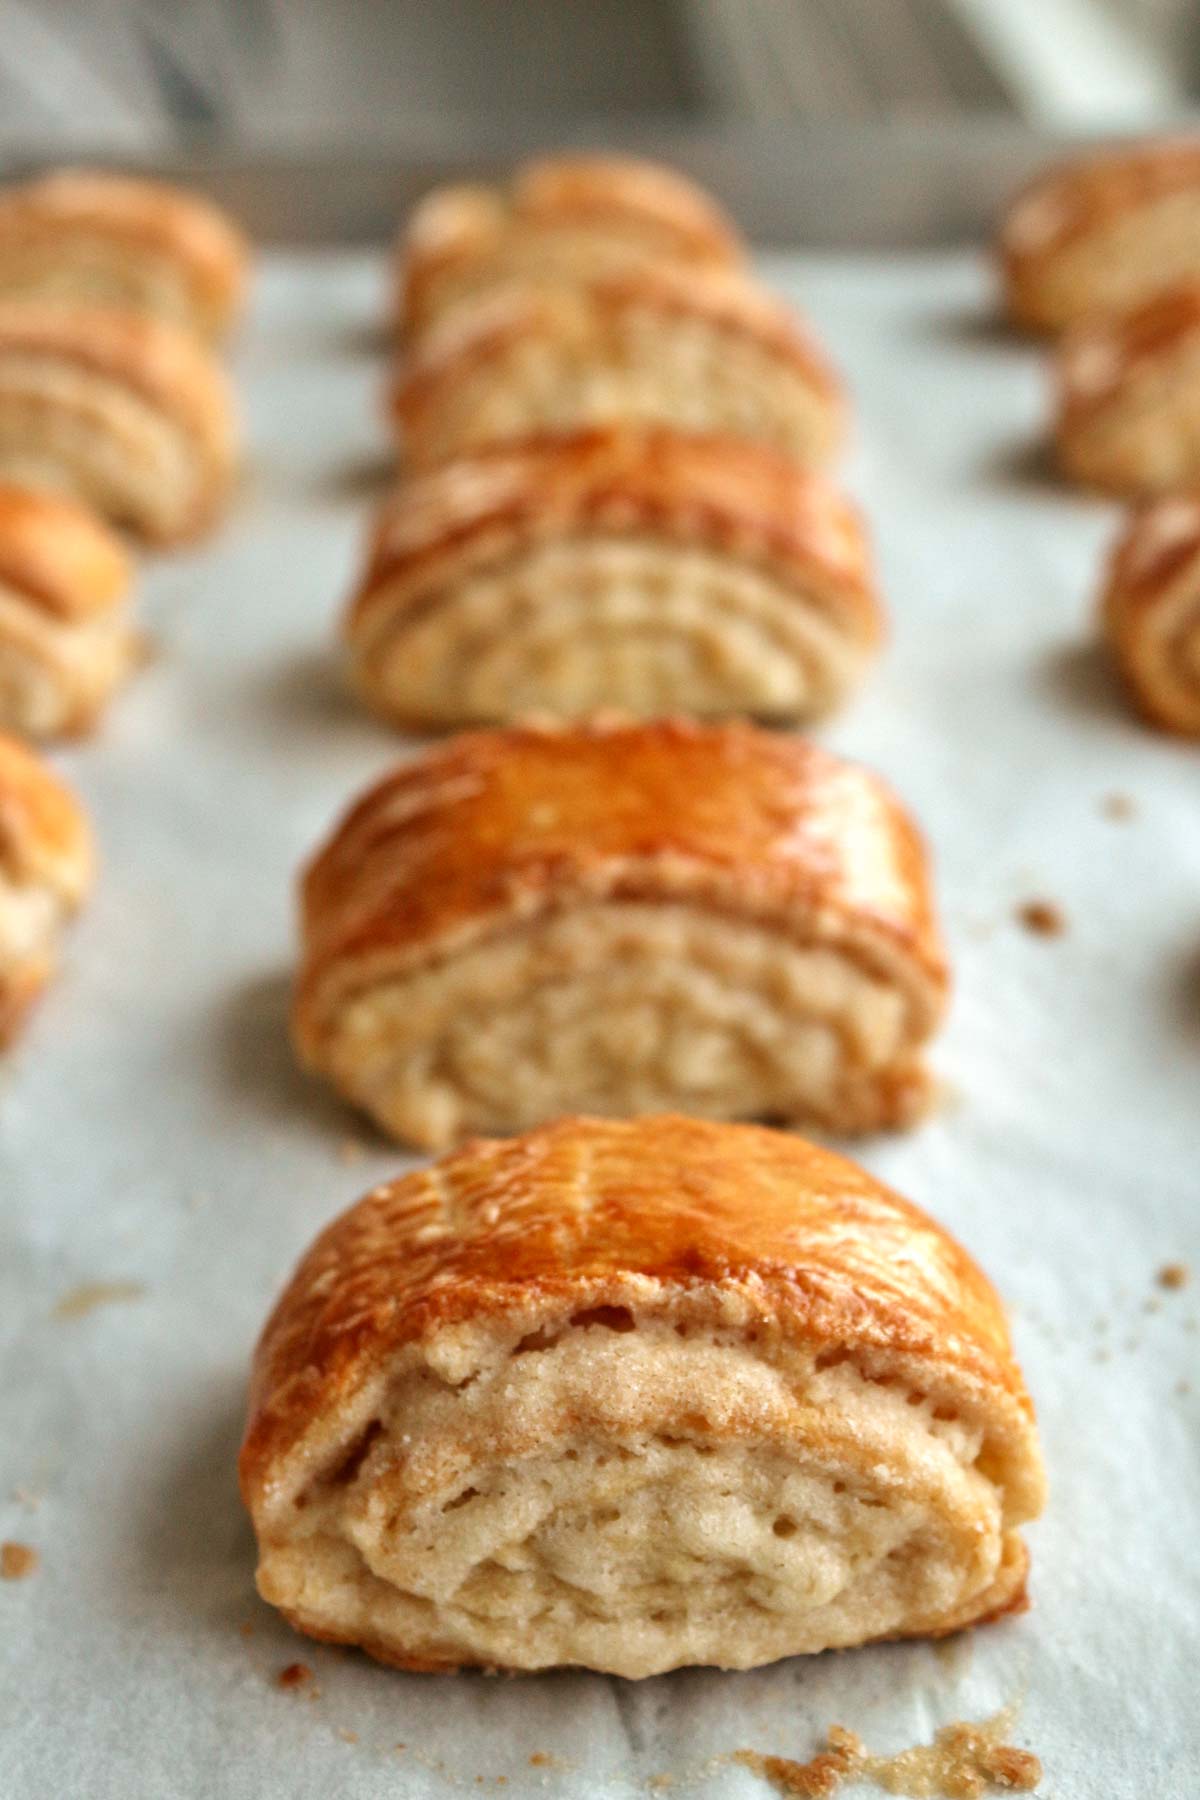
The gata will bake until golden, showing off their lovely flaky layers and sweet filling. The delicate vanilla flavor shines through these crisp and delectable sweets.
Please scroll to the bottom of the post for the full recipe (in a printable recipe card) including ingredient amounts and detailed instructions.
Although the process to make gata seems lengthy, it's really not. You will certainly need to plan ahead. Other than that, as long as you use these convenient tricks you'll find that the resulting gata is absolute perfection.
Armenian gata is especially great at Christmastime and around Easter, but it's delicious any time of year. Have you ever eaten these delicious treats before?
Other recipes you may like
- Chorek (Armenian Sweet Bread)
- Paklava (Armenian Baklava)
- Sari Burma (Burma Baklava/Rolled Baklava)
- Kadaif or Kadayif (Ricotta Cheese Kunafa)
- Atayef bil Ashta (Cream Filled Pancakes)
- Pirog with Apricot Jam
- Armenian Khalkha (Simit/Kekhke)
- Chocolate Rugelach
- Browse all Armenian Recipes and Dessert Recipes
Tried this recipe? Please leave a star ⭐️⭐️⭐️⭐️⭐️ rating in the recipe card below and/or a review in the comments section further down the page. You can also follow me on social media on Facebook, Instagram, and Pinterest!
Armenian Gata
Ingredients
Dough:
- 454 grams (16 ounces) full-fat sour cream
- 6 grams (1 teaspoon) baking soda
- 4 grams (1 teaspoon) baking powder
- 500 grams (4 cups) all-purpose flour
- 255 grams (2 ¼ sticks or 9 ounces) unsalted butter, cold, cut into 1 tablespoon-sized pieces
Filling (”Khoreez”):
- 188 grams (1 ½ cups) all-purpose flour
- 170 grams (1 ½ sticks or 6 ounces) unsalted butter, cold, cut into 1 tablespoon-sized pieces
- 300 grams (1 ½ cups) granulated sugar
- 1 teaspoon pure vanilla extract
To Finish:
- 1 egg chalaza removed (thick white part by the yolk–use the egg shell to remove it), beaten
Instructions
Dough:
- The dough needs to be made the day or night before you assemble and bake your gata. Start by adding the baking soda and baking powder to the sour cream and mix it until thoroughly combined. Set aside.
- Add half the flour and half the butter to the bowl of a food processor (if you have a really large food processor bowl you can do it all at once, but it’s best to split it up if not). Pulse the mixture several times until it looks sandy and contains small pea-sized bits of butter.
- Add half the sour cream mixture and mix until it comes together into a doughy mass. Remove the dough to a lightly floured cutting board or work surface and repeat with the remaining flour, butter, and sour cream mixture in the food processor. Add the other half of the dough to the dough already on the work surface and gently press it together to form a single dough (do not knead it, but just absorb one dough half into the other).
- Cut the dough into 4 equal parts. One at a time, on a lightly floured surface, use your hands to press each dough piece flat, about ½-inch thick, then fold it into thirds like a letter, turn 90 degrees and fold again into thirds to yield a perfect square. Use your hands to straighten the edges and make sure the corners are relatively sharp. Wrap in plastic wrap and place in an air-tight container. Repeat with the three other pieces of dough and add them to the air-tight container. Cover and refrigerate overnight.
Filling (”Khoreez”):
- The following day, make the filling. Add the flour and butter to the bowl of a food processor and pulse the mixture several times until it looks sandy and contains small pea-sized bits of butter. Add the sugar and vanilla and quickly pulse just a few more times to combine, but not enough to form a dough. Pour this crumbly filling into a wide, flat bowl and use a large spoon to divide it into 4 quadrants (just draw lines). Set aside.
Assembly:
- Preheat the oven to 350°F with the oven rack in the center. Line 3 baking sheets with parchment paper and set aside.
- Remove 2 of the refrigerated dough squares from the refrigerator at a time. Lightly flour a work surface and gently roll out one of the dough squares into a rectangle about 1/16th-inch thick and about with dimensions of about 12-by-15-inches (this doesn’t have to be perfect, and may be slightly different in size if your four pieces of dough weren’t divided evenly). Do your best to create straight edges and corners for your rectangle, and an even thickness, dusting with minimal flour as necessary. Arrange the rectangle so the longest edge is facing you with the shorter edges on either side.
- Add ¼ of the filling to the rectangle and use your hands to spread it over the surface, leaving about a 1-inch border at the furthest edge clear of filling, but otherwise spreading the filling from edge to edge. Use the palms of your hands to firmly press the filling into the dough. This will make it easier to roll without the filling falling out too much.
- Beginning with the edge closest to you, start rolling the dough tightly. Sometimes it’s easier to simply make a small fold across the length, using your dough scraper for assistance, and then continue with the rolling. When finished rolling, gently press the top of the roll to help seal.
- Carefully move your roll to a clean piece of parchment or wax paper on your work surface. Lay it diagonally if you must so it doesn’t hang off the edges. Use your rolling pin to gently flatten the roll starting at the center and moving outward, and then again starting at the center and moving outward in the opposite direction. You are not rolling it out, but just using the natural momentum of the rolling pin to flatten it so it’s not rounded like a jelly roll.
- Brush the top and sides of the roll with the beaten egg. Use a serrated vegetable cutter (if you have one–and if not, a dough scraper will work but won’t yield the pretty serrated edges) to cut the dough into 1 ¼-inch slices. Very gently use a small spatula or your dough scraper to remove each piece to the prepared pans. The end pieces aren’t pretty, but will still be delicious for the chef, so make sure you add those to your pan as well.
- When finished with the first roll, dump out any extra crumbs from your parchment paper (as long as they’re not eggy) back into the bowl of filling, and use your dough scraper to clean any extra crumbs from you original work surface and add those back to the bowl as well.
- Repeat the process with the remaining dough squares on your clean, lightly floured work surface (you can fold the parchment in half lengthwise and reuse it again once more, and then start fresh on dough #3 with a clean piece).
Baking and Finishing:
- Bake the gata one tray at a time for about 25 to 35 minutes, rotating the pan from front to back about halfway through baking, until the tops are dark golden brown, and the dough on the sides is no longer pasty looking, and appears to be cooked through (it may even start to look slightly golden). Remove from the oven and replace with the next pan of gata. Repeat the baking process until all pans are baked, one at a time.
- Cool the gata completely before removing from the baking sheets. To store, place them either on a large baking sheet, pan, or serving dish, but cover with a large tea towel as opposed to foil or plastic wrap, which will cause the gata to soften.
- You may freeze the gata in a sealed container lined with parchment or wax paper on the bottom, on top, and in between the layers. Refresh the thawed gata, if needed, in a 350°F oven for about 5 minutes or until they are heated through. This will help re-crisp them if they have softened (you can also use this trick if your gata softens after a few days of standard storage). The final result should be crisp on the outside, and flaky throughout.
Nutrition
*All nutritional information is based on third-party calculations and should be considered estimates. Actual nutritional content will vary with brands used, measuring methods, portion sizes and more.*









Robina Markari says
They are great. I've been making these for at least 3 years, around New Year and Easter. They are a little too sweet for me and my family's tooth, so I reduce the sugar by third, I reduce the butter in khoreez by third also, and replace half the flour with almond flour.
Carol Morse says
This recipe is fabulous! My son married an Armenian girl and her mother is a wonderful cook. I followed this recipe which is a little sweeter but I have a sweet tooth and it was perfect!
Krista says
The Armenian church in my neighborhood sells gata at their events, and I fell in love the first time I tried them! Not being able to wait until the next bake sale, I went online to search for recipes and found yours. A perfect match! Thank you for sharing.
Karen Ramirez says
I just made some for my son last night they turned out fantastic!!
Isabelle says
where are the walnuts?
Victoria says
Hi Isabelle,
This gata recipe doesn't contain walnuts. There are different ways to make gata (or nazook which is the name for the version that usually contains walnuts) and this one is nut-free and features a sweet "khoreez" filling instead.
Nyree says
They are delicious. Reminds me of home. Next time I need to cut them a bit wider.
Kirwan K says
My husband is Armenian and I love baking. Of course I had to try out this recipe. Everyone loves it, including all his family. They still tell every family friend that visits that I make the best Gata! We love this recipe!
Victoria says
What a wonderful endorsement! I'm so pleased to hear they all love the gata! I hope you try some of my other Armenian recipes for your husband and his family. There are so many delicious options 🙂
Kirwan K says
I did make him the Khorovats salad using the oven on Monday for his birthday and it was a hit. He has requested I make it for his family when they all come over to celebrate with us tomorrow!
Victoria says
That's awesome! I am sure they will love it too!
Julie & Nina says
Fabulous recipe. We ran into an issue where the top layer of the gata split. We also found that the inside was partially raw. Trying with a longer bake time.
Rhonda Davis says
Thank you so much for sharing your Aunt's recipe! I plan on making these delicious morsels very soon.
Georgina Rodrigues says
Thank you. I'm half Armenian English married to Portuguese. My grandparents are from Armenia and lived in Burma. I try to keep some Armenian culture on my life. I love your recipes and have acquired a recipe book “The Cuisine of Armenia by Sonia Uvezian which I use occasionally, but your recipes are so much more explanatory! Thank you again.
Lorraine says
I made these as part of my round the world books and bakes challenge. The recipe was easy to follow and I really liked that you can amend the quantity to bake a more mangeable amount.
They tasted great and are still moreish a few days later (with a quick warm in the oven). Will make these again!
Kellen says
Hello!
I want to try this recipe as part of my holiday tins for folks this year. How long do you think the gata will keep in an air tight container?
Victoria says
Hi Kellen,
It should keep for about a week, but the texture will change and it will be a bit less flaky (soften slightly) after the few few days. It's easy to freshen it up in an oven or toaster oven before enjoying, and you can let your friends and family know that is an option if they don't eat them right away. I would still recommend eating the gata within the first few days for the best texture (or freezing to enjoy at a later date).