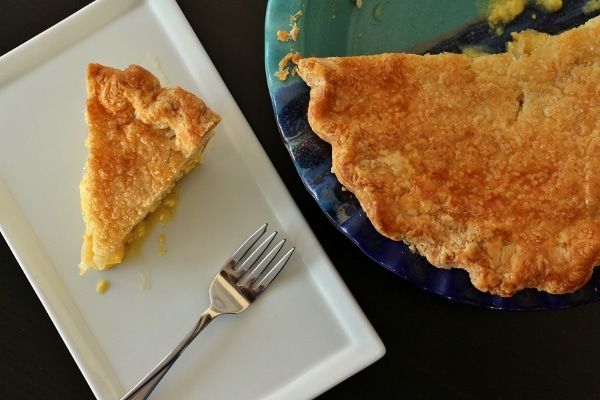
This pineapple pie is a revelation, and one you won't typically see on a pie menu. Lime juice and zest give it an added zing.
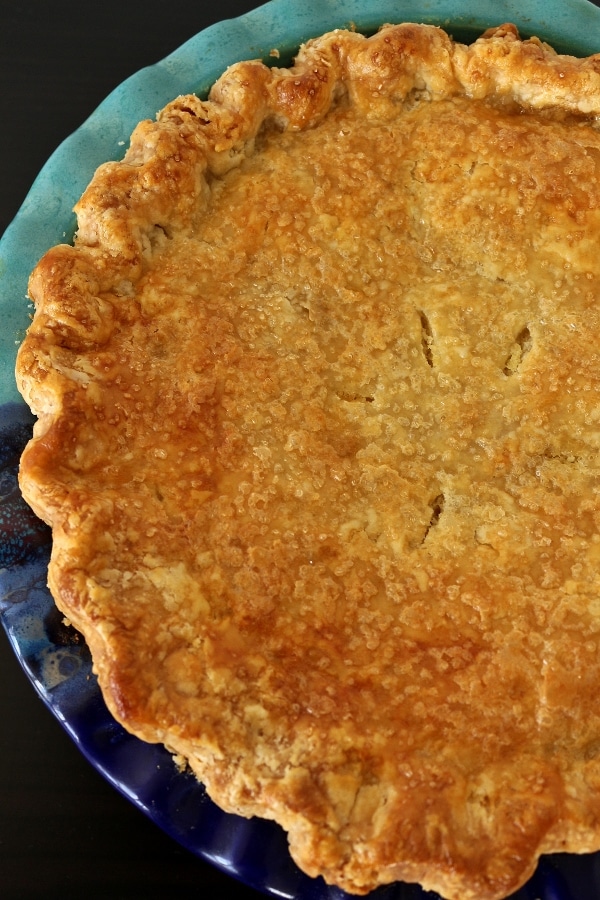
Happy Pi Day! It's that time of year to celebrate pi and of course pie. For math nerds, pi is used in the equation to determine the area of a circle. But for pie enthusiasts pi day (March 14 aka 3.14 aka pi) is an occasion to celebrate the most delicious circle-shaped dessert in the history of desserts: pie (sorry cake and cookies).
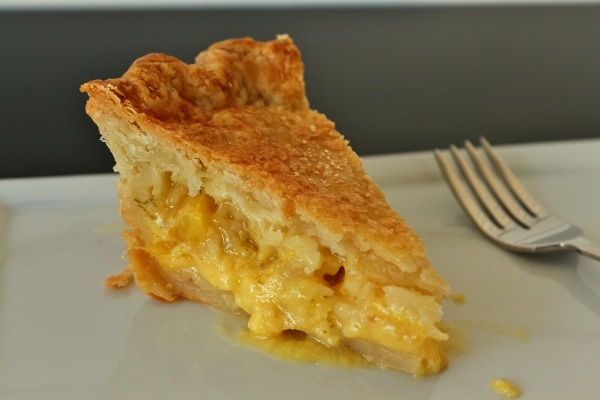
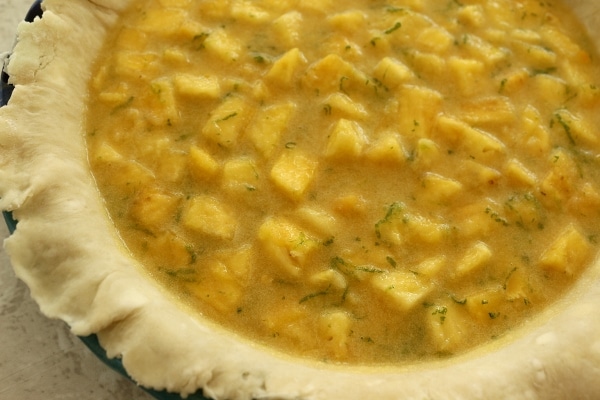
I'd never eaten or made a pineapple pie before this. I have made an amazing hummingbird pie which contains pineapple, but not an explicitly pineapple pie. I found this recipe in First Prize Pies. It's not just a standard pie filled with pineapple, but rather the fresh chopped pineapple is held together by a beautiful lime custard.
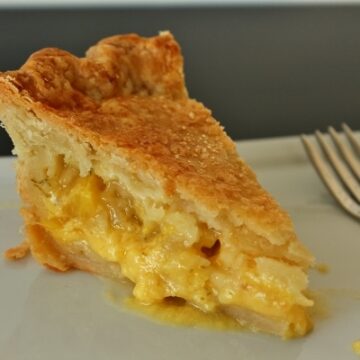
It's a cross between a custard pie and a fruit pie. The filling is very reminiscent of key lime custard with juicy bursts of pineapple, all wrapped up up a flaky crust topped with a shimmering layer of sugar.
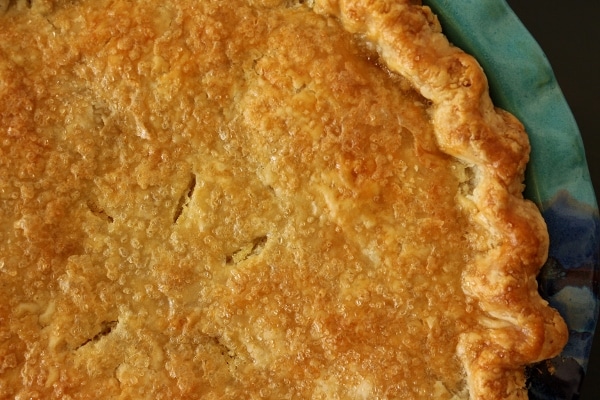
I have never before made a predominantly custard filled pie that was topped with pastry crust (they are usually single-crust pies), but this was excellent! I loved the additional layer of crust on top, and the raw sugar adds some additional sweetness to cut through some of the tartness of the filling.
This year Pi Day falls on a Wednesday, but you can still celebrate the occasion with a homemade pie this coming weekend, or even this evening. Yes, homemade pie dough should rest at least an hour or preferably overnight before rolling it out, but you can probably cheat it a little to whip up some homemade pie in honor of this very special day.
Other recipes you may like
- Blueberry Nectarine Pie
- Hummingbird Pie
- Cranberry Sage Pie
- Pear Ginger Oatmeal Crumb Pie
- Malted Chocolate Pecan Pie
- Earl Grey Cream Pie in a Sugar Cookie Crust
- Peppermint Mousse Black Bottom Pie
- Nutella Pie
Tried this recipe? Please leave a star ⭐️⭐️⭐️⭐️⭐️ rating in the recipe card below and/or a review in the comments section further down the page. You can also follow me on social media on Facebook, Instagram, and Pinterest!
Pineapple Pie
Ingredients
- 4 large eggs
- 1 cup (200 grams) sugar
- Zest and juice of 1 lime
- 1 tablespoons dark rum (optional)
- ¼ teaspoon kosher salt
- ¼ cup (30 grams) unbleached all-purpose flour
- 2 ounces (½ stick/55 grams) melted butter
- 2 cups (362 grams) chopped fresh pineapple (from 1 medium-large pineapple)
- Pie dough for one double-crust pie
- 1 large egg beaten with 1 tablespoon water
- Raw sugar for garnish
Instructions
- Preheat the oven to 425°F.
- In a large bowl, lightly beat the eggs, then whisk in the sugar, lime zest, rum (if using) and salt. In a separate bowl, whisk together the flour and butter until full blended, then whisk them into the egg mixture. Stir in the pineapple.
- Roll out one half of the dough into a circle about 11 inches in diameter. Transfer to a 9-inch pie plate, trim the overhang to 1 inch, and fill it with the pineapple mixture.
- Roll out the remaining circle of dough to about 10 inches, lay it over the pie, and trim and crimp the edges to your liking. Brush the top with egg wash, sprinkle with raw sugar, and cut slits in the top crust.
- Bake the pie on a baking sheet for 20 minutes, rotating it once halfway through. Lower the temperature to 350°F, and bake it for another 30 to 40 minutes, until the crust is nicely browned and full baked and the filling doesn’t jiggle under the crust when the baking sheet is moved. Allow the pie to cool completely before serving. This pie can be kept refrigerated for up to 1 week; allow it to come to room temperature or heat it gently in a warm oven before serving. This pie can also be frozen after baking: Wrap it well in plastic, then in foil, and freeze it for up to 2 months.
Notes
Nutrition
*All nutritional information is based on third-party calculations and should be considered estimates. Actual nutritional content will vary with brands used, measuring methods, portion sizes and more.*
The Best Dough for Flaky Piecrust
Ingredients
- 2 ½ cups (312 grams) all-purpose flour
- 2 tablespoons (28 grams) granulated sugar
- 1 teaspoon (6 grams) salt
- ¾ cup (170 grams) cold unsalted butter cut into ¼-inch cubes and frozen
- ¼ cup (60 grams) vegetable shortening preferably in baking stick form, frozen, cut into ¼-inch pieces, and put back in the freezer
- ½ cup plus 1 tablespoon (130 grams) ice-cold water
Instructions
- Combine the flour, sugar, and salt in the bowl of a food processor and pulse 3 times to blend. Scatter the frozen butter cubes over the flour mixture. Pulse the machine 5 to 7 times, holding each pulse for a 5 full seconds, to cut all of the butter into pea-size pieces.
- Scatter the pieces of frozen shortening over the flour-and-butter mixture. Pulse the machine 4 more 1-second pulses to blend the shortening with the flour. The mixture will resemble coarse cornmeal, but will be a bit more floury and riddled with pale butter bits (no pure-white shortening should be visible).
- Turn the mixture out into a large mixing bowl, and make a small well in the center. If you find a few butter clumps that are closer to marble size than pea size (about ¼ inch in diameter), carefully pick them out and give them a quick smoosh with your fingers. Pour the cold water into the well.
- Use a curved bowl scraper to lightly scoop the flour mixture up and over the water, covering the water to help get the absorption started. Continue mixing by scraping the flour up from the sides and bottom of the bowl into the center, rotating the bowl as you mix, and occasionally pausing to clean off the scraper with your finger or the side of the bowl, until the mixture begins to gather into clumps but is still very crumbly. (If you are working in very dry conditions and the ingredients remain very floury and refuse to clump together at this stage, add another tablespoon of ice-cold water.)
- Lightly gather the clumps with your fingers and use your palm to fold over and press the dough a few times (don’t knead! —just give the dough a few quick squishes), until it just begins to come together into a single large mass.
- For single- and double-crust pies, mini pies, potpies, or hand pies: Divide the dough into 2 equal portions, gently shape each portion into a flat disk 1 ½ to 2 inches thick, and wrap each tightly with plastic wrap. For quiche, leave the dough in one piece, flatten it into a single large disk 1 ½ to 2 inches thick, and wrap tightly with plastic wrap.
- Refrigerate the dough for at least 8 hours or up to 3 days before rolling. (The dough may discolor slightly. No worries. This is merely oxidization and will not affect the flavor or appearance of your finished piecrust.)
Notes
- The wrapped, chilled dough can be put in a freezer bag and frozen for up to 2 months. Defrost overnight in the refrigerator before rolling.
- Adapted from Magpie
*All nutritional information is based on third-party calculations and should be considered estimates. Actual nutritional content will vary with brands used, measuring methods, portion sizes and more.*



Comments
No Comments