This Peppermint Mousse Black Bottom Pie is THE pie you need to make for your next Christmas dinner. It has chocolate and peppermint, it's creamy and decadent, and will make your holiday pie dreams come true.
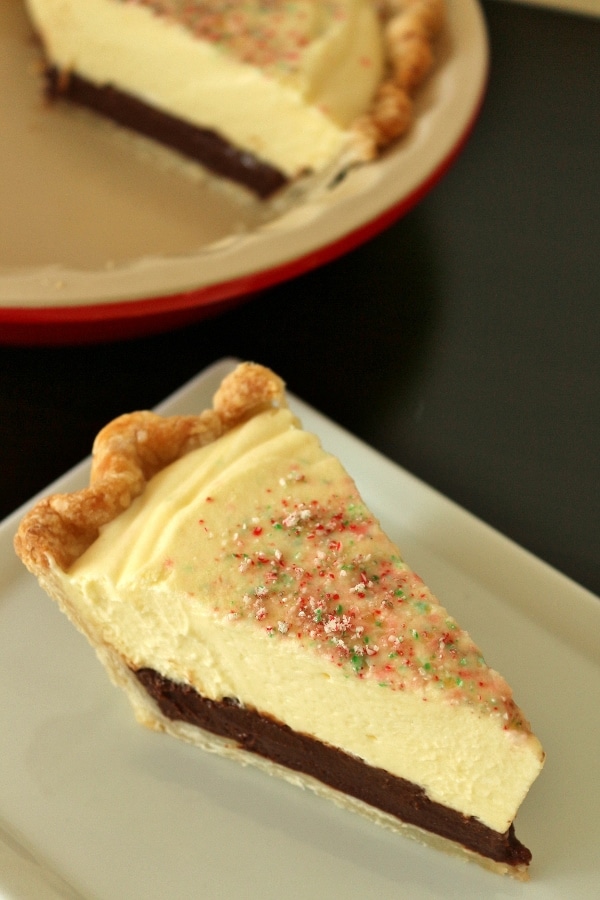
I'm going to apologize in advance for not making/sharing this Peppermint Mousse Black Bottom Pie recipe before Christmas. I made it over the weekend FOR Christmas, and thus couldn't have shared it prior to its creation.
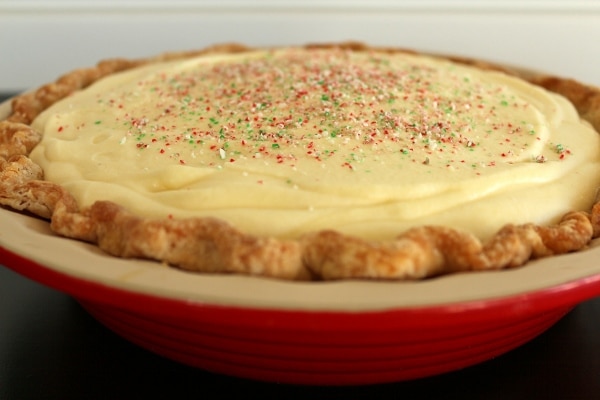
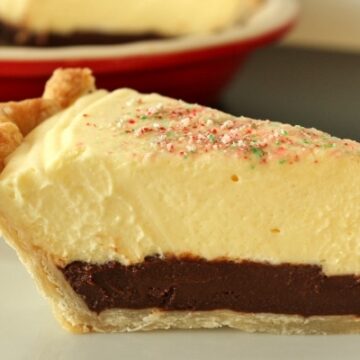
This pie is worth making simply because it is the epitome of winter comfort. It features a layer of decadent chocolate-mint custard beneath a fluffy mound of peppermint mousse. Lastly, it's finished with a shower of crushed peppermint candies (candy canes in my case).
While the recipe looks a bit time consuming, its really not, beyond pre-baking a pie crust, making some mint-flavored pastry cream, some of which is mixed with chocolate and the rest stabilized with a bit of gelatin and folded with fresh whipped cream. The result is sublime.
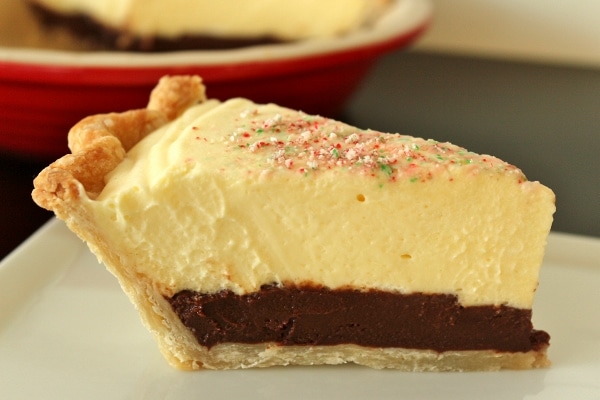
This pie has a subtle peppermint flavor, definitely not overpowering at all. The chocolate-mint custard layer is silky and rich while the peppermint custard is creamy, smooth, and light as air. My family loved this pie, and even those who aren't typically keen on peppermint raved about this creation.

When filling the pie, I ended up with a few tablespoons more peppermint mousse than would comfortably fit in my pie dish (which is technically more of a deep-dish size anyway, so it definitely would overflow in a standard depth pan), so it seemed like the perfect opportunity to taste test! Don't feel inclined to overfill your pie if you think it's too much. Just eat the extra mousse like I did 🙂
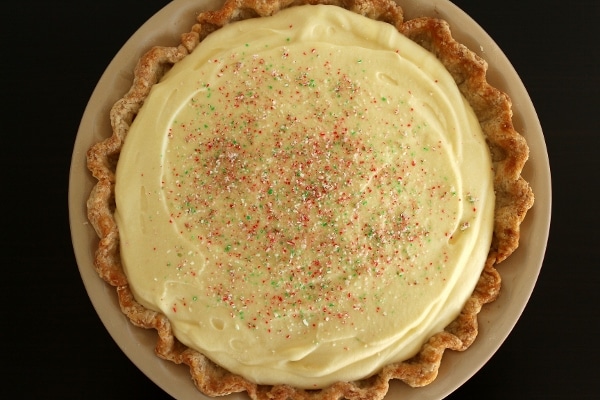
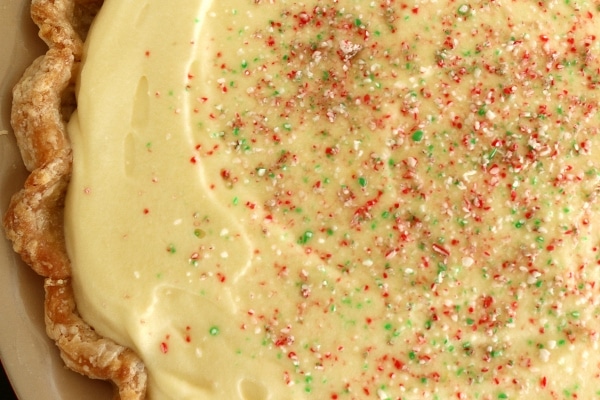
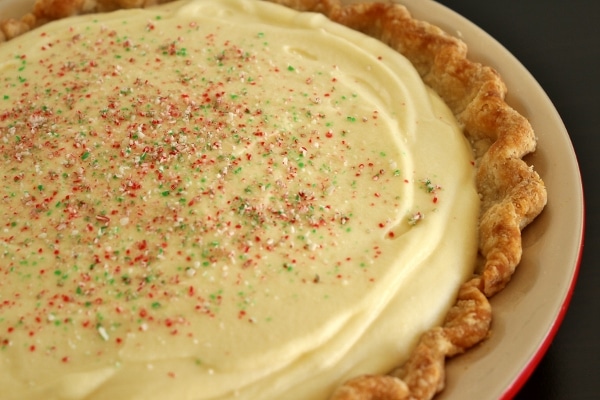
Top this pie with chocolate shavings or crushed peppermint candies, but I will offer a bit of warning. If you do as I did, and sprinkle on the crushed candy canes hours before serving, any condensation that may develop on top of the pie will make the colors bleed.

I had to gently soak up this colorful wetness with a paper towel, and then sprinkle a bit more crushed candy canes on top right before setting it on the Christmas dessert table. No one was the wiser, but I'd still take caution in the future since it provided some frustration.

Although I said earlier that you definitely don't need a holiday to provide a purpose for making this pie, I think it would be excellent for ringing in the New Year!

And although peppermint seems to be a more wintery flavor, mint chocolate chip ice cream is my favorite year round, so I can't imagine this pie being neglected any other time of year either. It's truly excellent! A pie-lover's dream!
Other recipes you may like
- Chocolate Dipped Peppermint Biscotti
- Brown Butter Pumpkin Pie
- Cranberry Sage Pie
- Pear Ginger Oatmeal Crumb Pie
- Malted Chocolate Pecan Pie
- Earl Grey Cream Pie in a Sugar Cookie Crust
Tried this recipe? Please leave a star ⭐️⭐️⭐️⭐️⭐️ rating in the recipe card below and/or a review in the comments section further down the page. You can also follow me on social media on Facebook, Instagram, and Pinterest!
Peppermint Mousse Black Bottom Pie
Ingredients
- ½ recipe Magpie Dough for Flaky Piecrust (recipe follows), chilled overnight
- 4 ounces (120 grams) semisweet chocolate
- 2 ½ cups whole milk divided
- ¾ cup (150 grams) granulated sugar
- ¼ cup (30 grams) cornstarch
- ½ teaspoon fine salt
- 4 large egg yolks
- 2 tablespoons unsalted butter
- ½ teaspoon vanilla extract
- ½ teaspoon peppermint extract
- 1 ¼ teaspoons unflavored powdered gelatin
- 1 cup heavy cream
- Chocolate shavings or crushed peppermint candies for serving
Instructions
- Lightly flour a smooth work surface and a rolling pin.
- Take a chilled disk of dough out of the fridge. Give it a couple of firm squeezes, then unwrap it and set it on the floured work surface.
- Set the pin crosswise on the dough and press down firmly, making a nice deep channel across the full width of the disk. Turn the disk 180 degrees and repeat, making a second indentation, forming a plus sign.
- Use your rolling pin to press down each of the wedges, turning the dough 45 degrees each time. This will give you the beginnings of a thick circle.
- Now, rolling from the center outward and rotating the dough a quarter turn to maintain a circular shape, roll the dough out to a 13-inch circle with an even thickness of ¼ inch.
- Set your 9-inch (23-cm) pie pan alongside the circle of dough. Brush off any loose flour, carefully fold the dough circle in half, transfer it to the pan, and unfold.
- At this point, the dough will be lying across rather than fitted into the pan. Now, without stretching the dough, set the dough down into the pan so that it is flush up against the sides and bottom. The best way to do this is to gingerly lift the dough and gently shift it around so that it settles into the pan bit by bit. Use a very light touch to help cozy it in.
- To flute the edge, fold the overhang under to form a 1-inch wall that rests on the lip of the pan with the seam slightly below the pan’s top edge. Flute the edge of the crust at about 1-inch intervals, pressing from the inside with the knuckle of your index finger while supporting on the outside with the thumb and index fingers of your opposite hand.
- Transfer the crust to the refrigerator to chill while you make your filling or to the freezer to prepare it for prebaking. Alternatively, at this point the crust can be covered tightly in plastic wrap and refrigerated for up to 3 days or double-wrapped and frozen for up to 2 months (defrost overnight in the refrigerator before filling and baking or prebaking, or at room temperature for 30 minutes).
- To prebake the shell, chill the panned, fluted piecrust in the freezer until firm, 15 to 20 minutes.
- Preheat the oven to 375°F with the rack in the center (in the future I may try pre-baking my crust in the lower third of the oven instead, to allow the bottom to brown faster than the edges). Line a rimmed baking sheet with parchment paper or foil. Cut an additional 13×13-inch square of parchment.
- Set the pan on the lined baking sheet. Use a fork to prick all over the bottom and sides, 15 to 20 times. This will help release steam and prevent the bottom of the crust from puffing up during baking. Set the square of parchment in the pie shell and gently smooth it into place, pleating as needed to fit it up against the bottom and sides of the shell. The edges of the paper will project beyond the rim of the pan; just leave them standing straight up.
- Fill the shell to the top with dried beans. Slide the baking sheet into the oven and bake the shell for 25 minutes.
- Set out a wire rack and alongside it, a mixing bowl. Take the baking sheet out of the oven and set it on the rack; bring together the points of the parchment, and carefully lift out the beans and transfer them to the bowl.
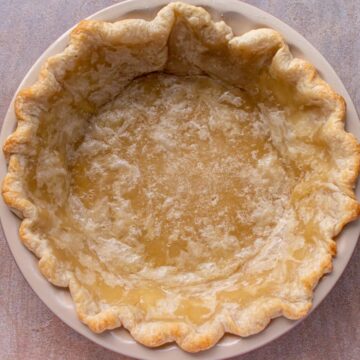
- Slide the baking sheet back into the oven and bake the crust another 10 minutes (until golden brown and fully baked–mine baked twice as long, an extra 20 minutes until the bottom of the crust was light golden). Cool completely on a wire rack.
- To make the black bottom layer, chop the chocolate and set it aside in a medium bowl.
- Heat 2 ¼ cups of the milk in a medium saucepan over medium heat, stirring occasionally, until steaming (do not boil). Keep warm over very low heat.
- Whisk together the sugar. cornstarch, and salt in a medium bowl. Add the egg yolks and continue whisking until the mixture is smooth and pale. Immediately measure out 1 cup of the hot milk and slowly whisk it into the yolk mixture, pouring in a thin stream and whisking constantly until combined.
- Turn the heat under the saucepan back up to medium and slowly add the tempered yolks, pouring in a thin stream and whisking constantly. Continue cooking, whisking constantly, until the mixture thickens to a pudding consistency and a few large bubbles rise to the surface, about 5 minutes. Once the bubbles appear, continue cooking the custard, whisking constantly, for 2 more minutes.
- Take the pan off the heat and whisk in the butter and the vanilla and peppermint extracts, mixing until smooth.
- Measure out 1 cup of the hot custard, pour it over the chocolate, and let stand for 2 minutes, then whisk together until smooth and creamy. Pour the chocolate custard into the prepared pie shell, spreading evenly. Transfer the pan to the refrigerator to chill while you make the peppermint mousse.
- To make the mousse layer, sprinkle the gelatin onto the surface of the remaining ¼ cup milk and let soften 5 minutes.
- Transfer the remaining custard from the saucepan to a medium bowl and whisk in the bloomed gelatin. Refrigerate until cool, 15 to 20 minutes, whisking at 5-minute intervals to prevent the edges from setting.
- In a separate, clean, dry bowl, whip the cream to medium peaks. Fold the whipped cream into the cooled custard gelatin mixture in thirds, mixing the last third just until no white streaks remain.
- Retrieve the pie shell from the refrigerator. Spoon the mousse on top of the chocolate custard layer and smooth the top. Cover with plastic wrap and chill the pie overnight (at least 8 hours and up to 3 days) before slicing and serving.
- Serve cold, garnished with chocolate shavings or crushed peppermint candies.
Notes
Nutrition
*All nutritional information is based on third-party calculations and should be considered estimates. Actual nutritional content will vary with brands used, measuring methods, portion sizes and more.*
The Best Dough for Flaky Piecrust
Ingredients
- 2 ½ cups (312 grams) all-purpose flour
- 2 tablespoons (28 grams) granulated sugar
- 1 teaspoon (6 grams) salt
- ¾ cup (170 grams) cold unsalted butter cut into ¼-inch cubes and frozen
- ¼ cup (60 grams) vegetable shortening preferably in baking stick form, frozen, cut into ¼-inch pieces, and put back in the freezer
- ½ cup plus 1 tablespoon (130 grams) ice-cold water
Instructions
- Combine the flour, sugar, and salt in the bowl of a food processor and pulse 3 times to blend. Scatter the frozen butter cubes over the flour mixture. Pulse the machine 5 to 7 times, holding each pulse for a 5 full seconds, to cut all of the butter into pea-size pieces.
- Scatter the pieces of frozen shortening over the flour-and-butter mixture. Pulse the machine 4 more 1-second pulses to blend the shortening with the flour. The mixture will resemble coarse cornmeal, but will be a bit more floury and riddled with pale butter bits (no pure-white shortening should be visible).
- Turn the mixture out into a large mixing bowl, and make a small well in the center. If you find a few butter clumps that are closer to marble size than pea size (about ¼ inch in diameter), carefully pick them out and give them a quick smoosh with your fingers. Pour the cold water into the well.
- Use a curved bowl scraper to lightly scoop the flour mixture up and over the water, covering the water to help get the absorption started. Continue mixing by scraping the flour up from the sides and bottom of the bowl into the center, rotating the bowl as you mix, and occasionally pausing to clean off the scraper with your finger or the side of the bowl, until the mixture begins to gather into clumps but is still very crumbly. (If you are working in very dry conditions and the ingredients remain very floury and refuse to clump together at this stage, add another tablespoon of ice-cold water.)
- Lightly gather the clumps with your fingers and use your palm to fold over and press the dough a few times (don’t knead! —just give the dough a few quick squishes), until it just begins to come together into a single large mass.
- For single- and double-crust pies, mini pies, potpies, or hand pies: Divide the dough into 2 equal portions, gently shape each portion into a flat disk 1 ½ to 2 inches thick, and wrap each tightly with plastic wrap. For quiche, leave the dough in one piece, flatten it into a single large disk 1 ½ to 2 inches thick, and wrap tightly with plastic wrap.
- Refrigerate the dough for at least 8 hours or up to 3 days before rolling. (The dough may discolor slightly. No worries. This is merely oxidization and will not affect the flavor or appearance of your finished piecrust.)
Notes
- The wrapped, chilled dough can be put in a freezer bag and frozen for up to 2 months. Defrost overnight in the refrigerator before rolling.
- Adapted from Magpie
*All nutritional information is based on third-party calculations and should be considered estimates. Actual nutritional content will vary with brands used, measuring methods, portion sizes and more.*



Comments
No Comments