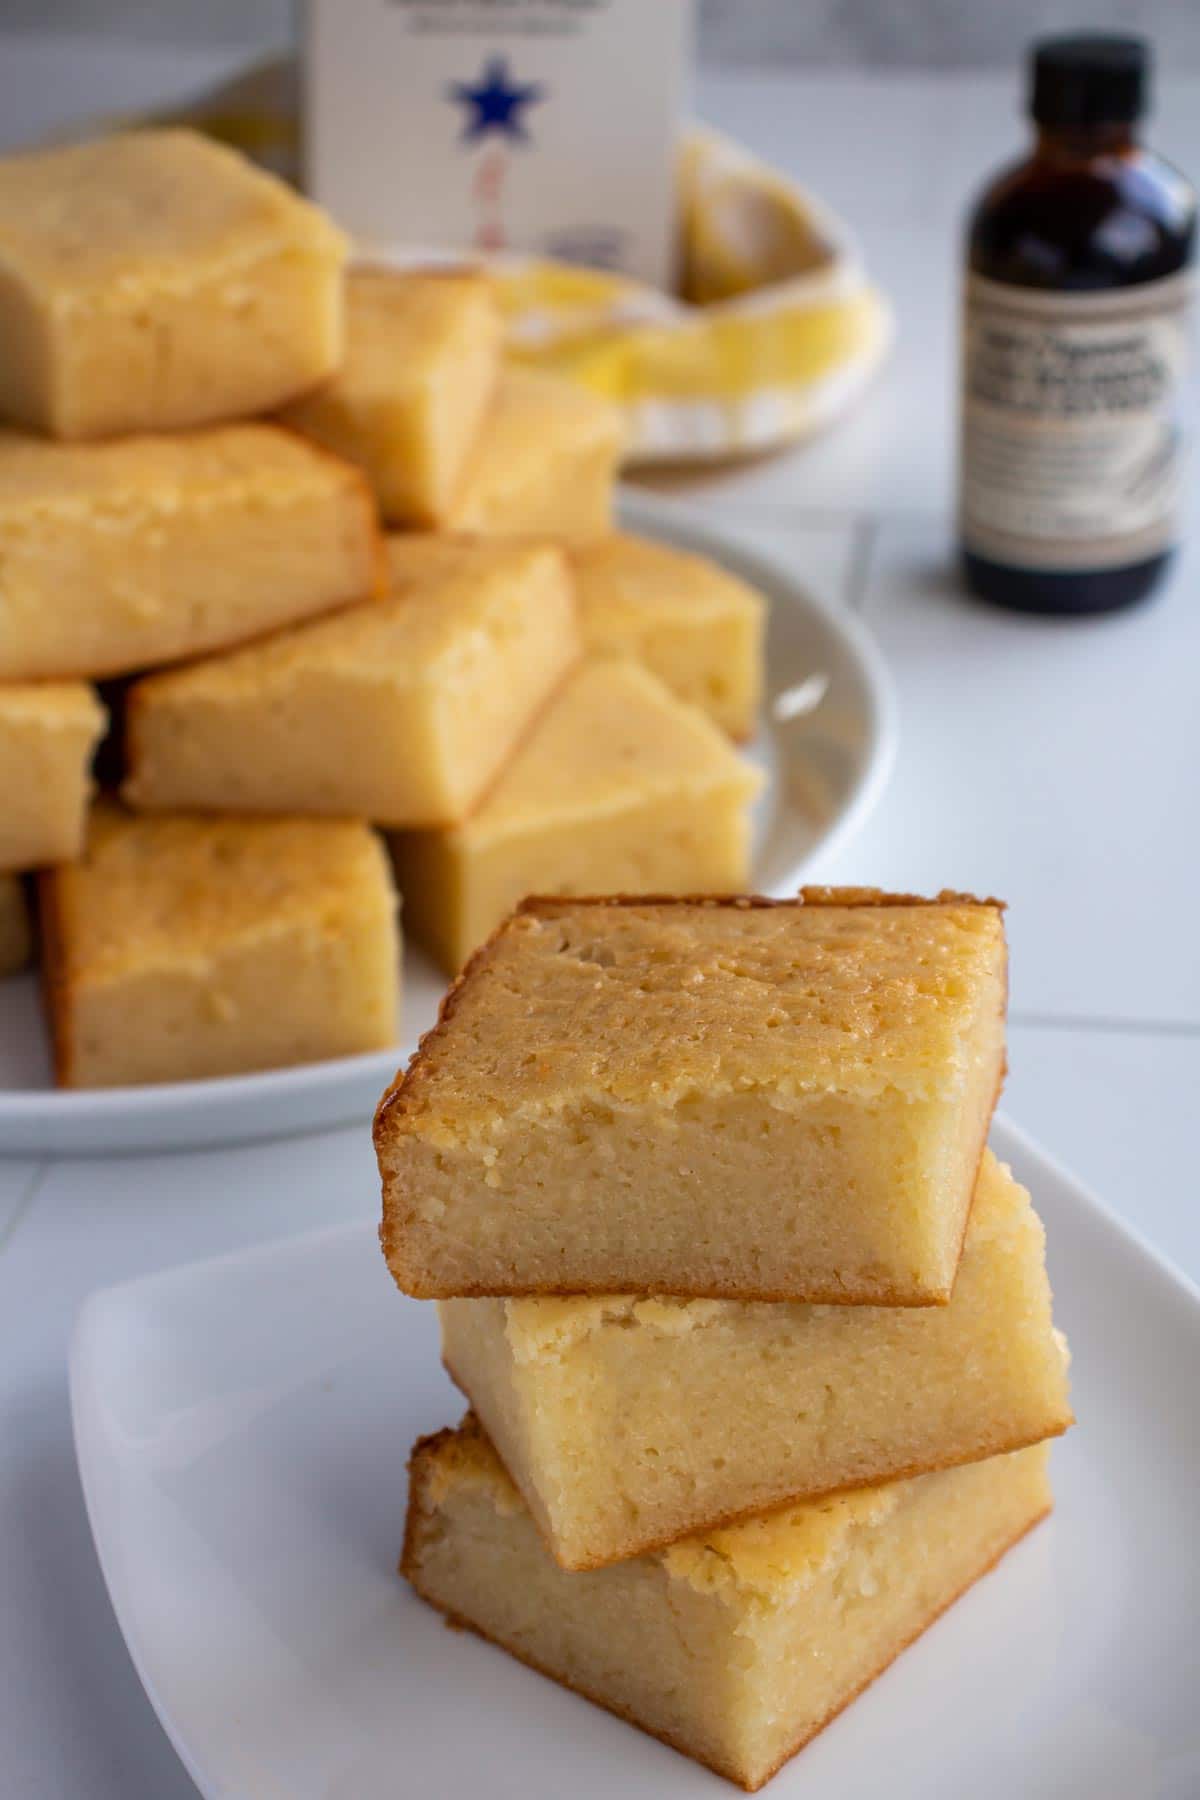
Butter mochi is Hawaii’s version of a blondie. It’s slightly chewy and mildly sweet, almost like a cross between vanilla cake and traditional Japanese mochi. It’s also incredibly easy to make. Just stir together and bake!
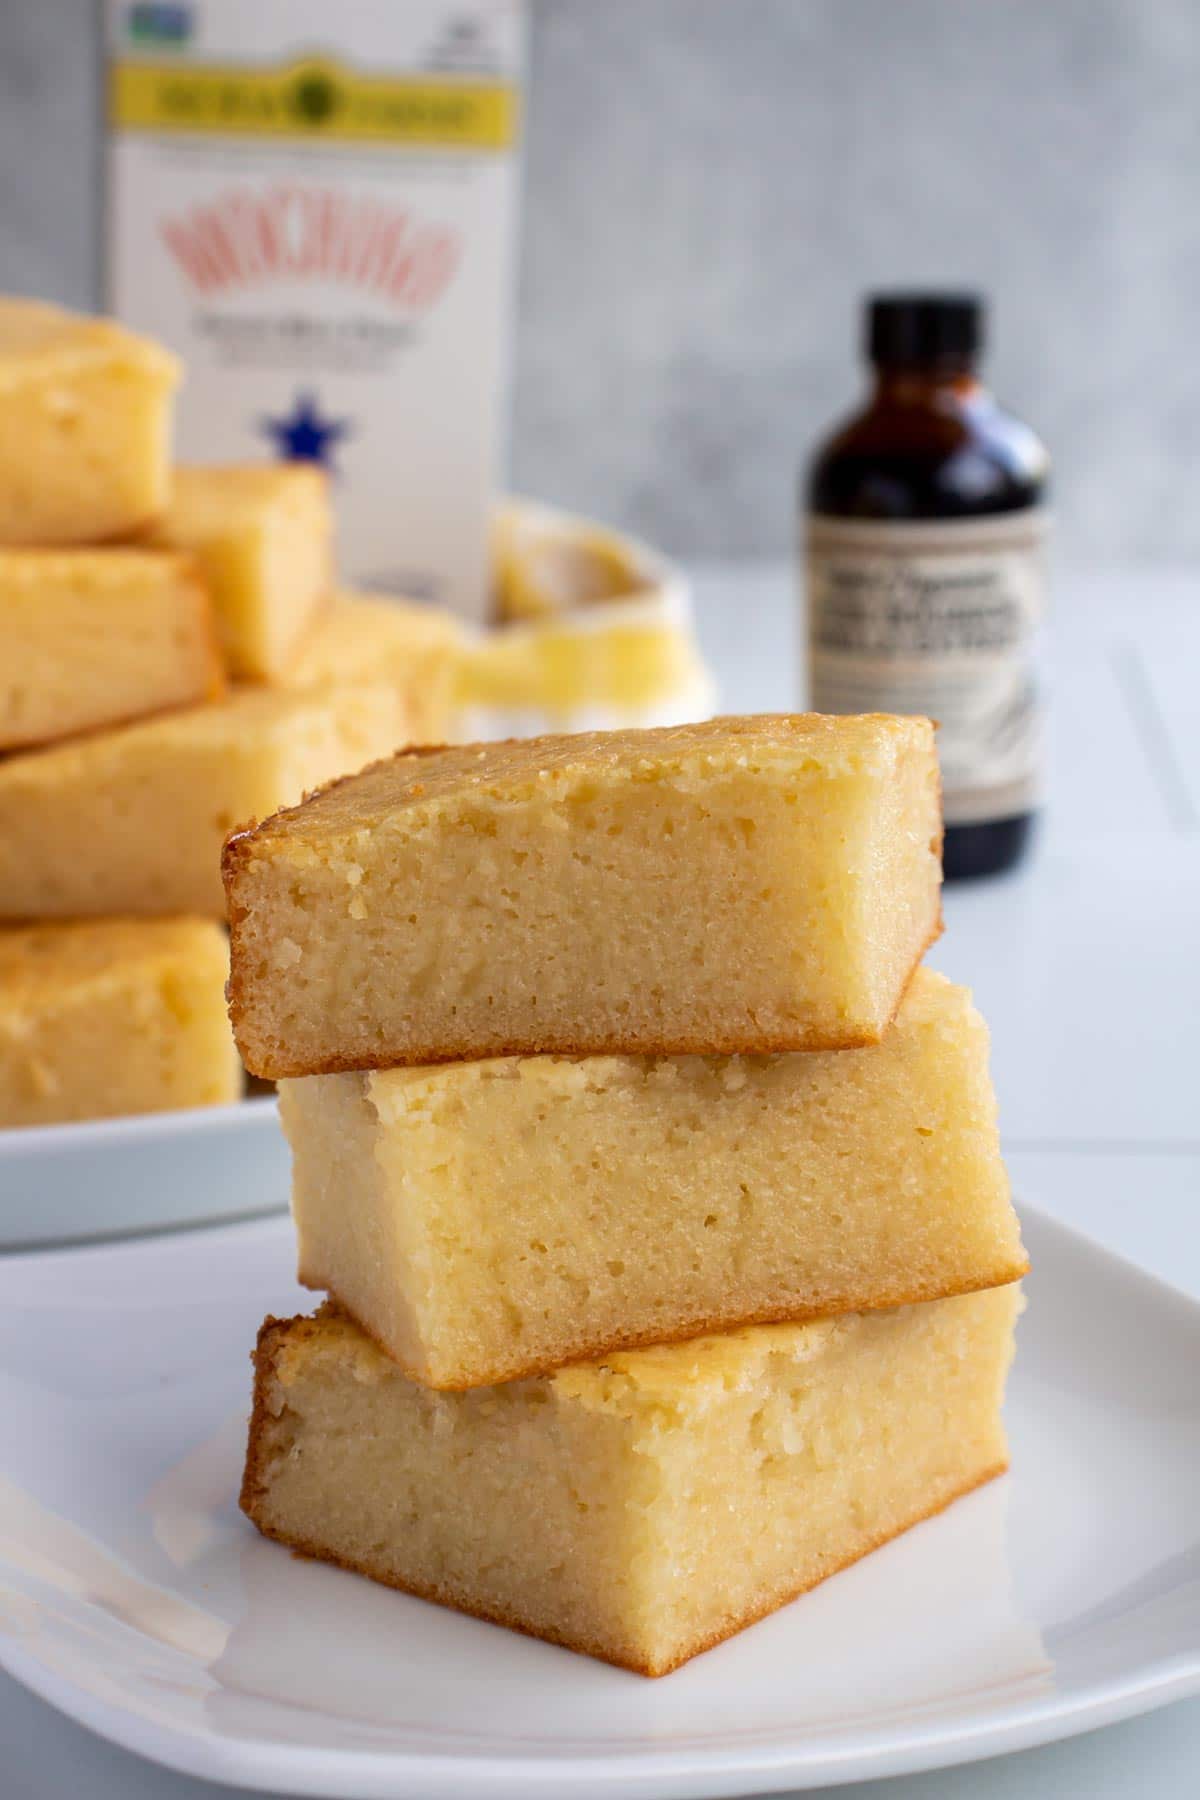
Hawaiian butter mochi is a super easy, uncomplicated, gluten-free dessert recipe. It's extremely popular at any island party, and is a fabulous option for picnics and potlucks.
Even though it contains an entire can of coconut milk, I find it more vanilla forward in flavor than coconut. The flavor reminds me of vanilla cake and sugar cookies, but with a bouncy, squishy, slightly chewy texture that is somewhat reminiscent of marshmallows but not entirely. It really walks that fine line between a slightly chewy blondie/brownie and a more chewy Japanese mochi.
The absolute best thing about this recipe is not only how delicious it is, but how EASY it is. Combine the ingredients in a mixing bowl, pour into a pan and bake! It's basically foolproof.
Ingredient notes
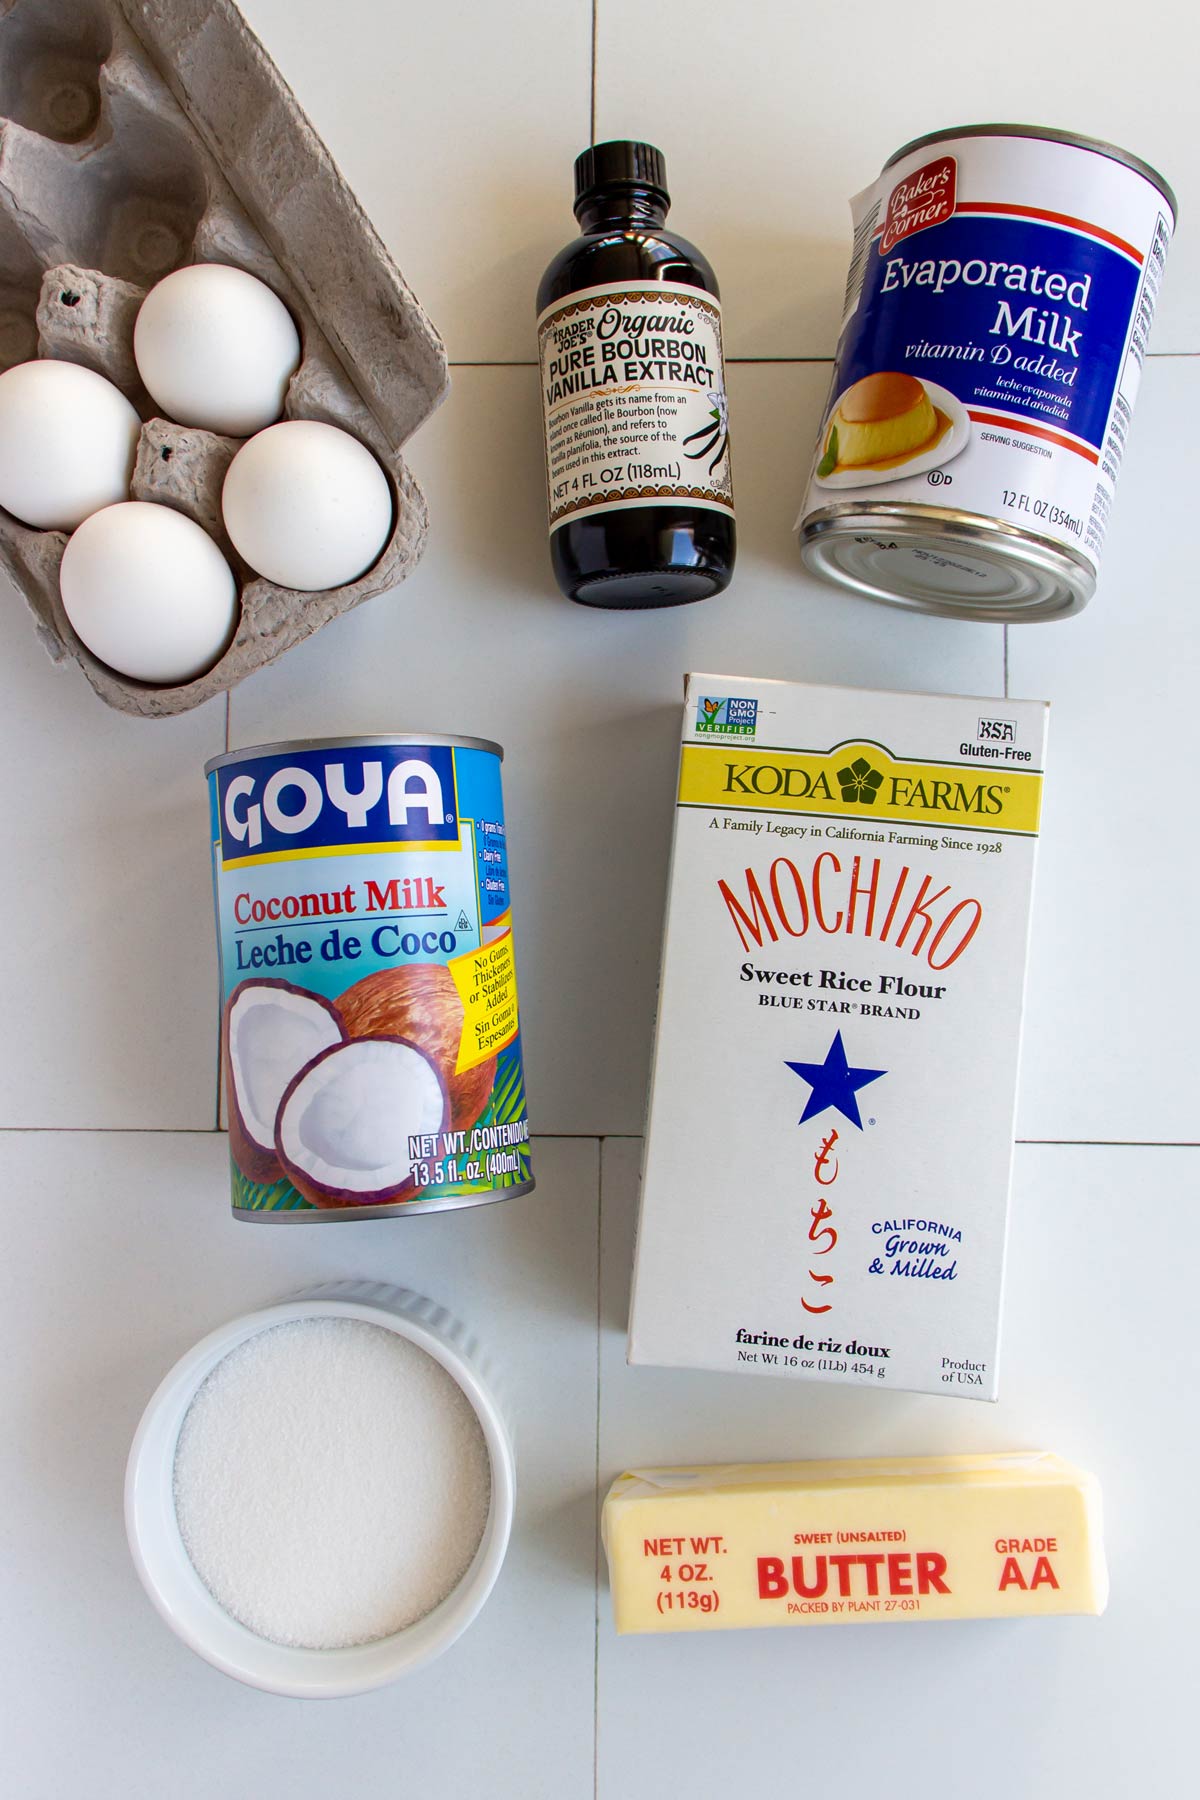
- Mochiko Flour: Mochiko flour is a type of sweet rice flour or glutinous rice flour (it's called that even though it's gluten-free). Mochiko flour is used to make Japanese mochi and Hawaiian butter mochi, among other things. I use Koda Farms brand, which comes in 1 pound boxes. No need to measure. Just dump the entire contents of the box in and mix.
- Coconut Milk: You'll need an entire can of coconut milk for this recipe. Use regular, full-fat, unsweetened coconut milk.
- Evaporated Milk: This Hawaiian butter mochi recipe uses exactly 1 can (12 fluid ounces) of evaporated milk. Do not confuse evaporated milk with condensed milk, which is a very different product and is sweetened unlike the evaporated milk. Some people use regular milk in this recipe, which will work too but I like having a shelf-stable option that you don't need to measure!

How to make it
Grease a 9x13 inch (23x33 cm) baking pan with butter or oil, or alternatively line the pan with parchment paper with overhang on the sides. This will allow you to transfer the butter mochi to a cutting board after baking for easier cutting.
In a mixing bowl, combine melted butter and sugar. Add the eggs, one at a time, and combine until smooth.
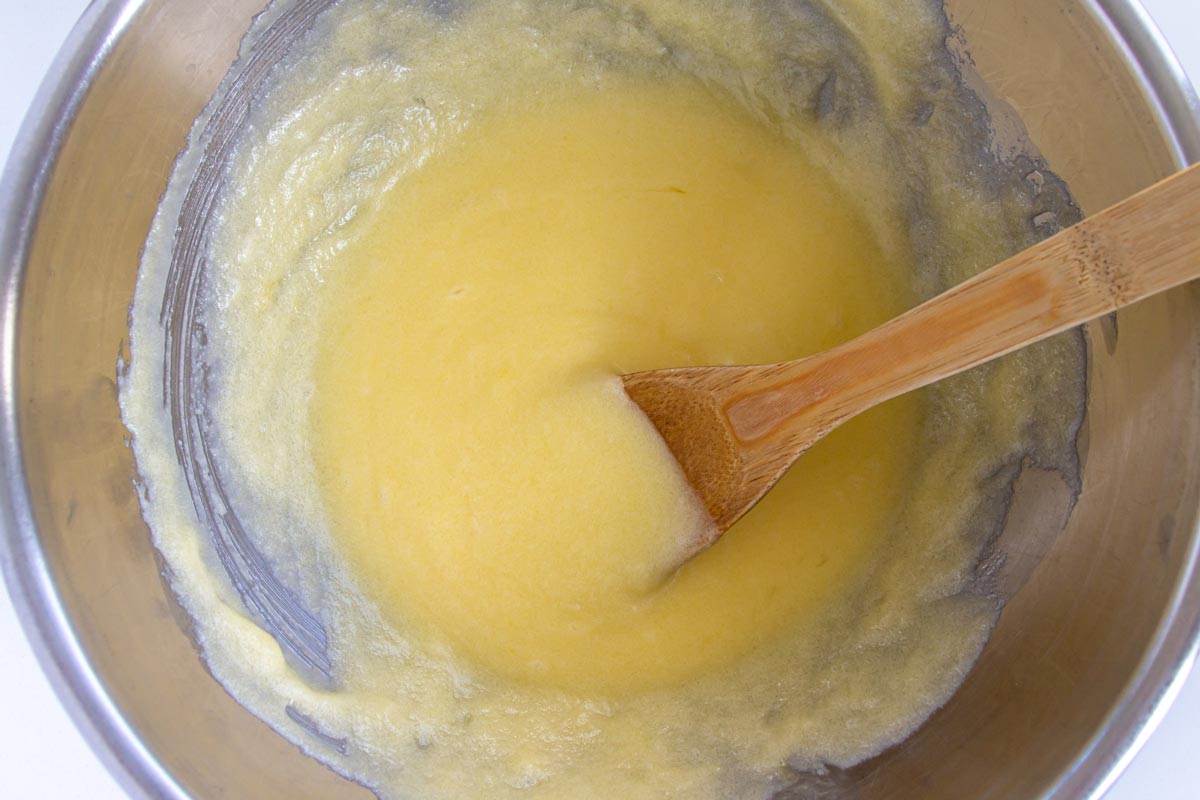
Stir in the coconut milk, evaporated milk, and vanilla extract. Finally add the mochiko flour and baking powder and whisk until completely smooth and lump-free.
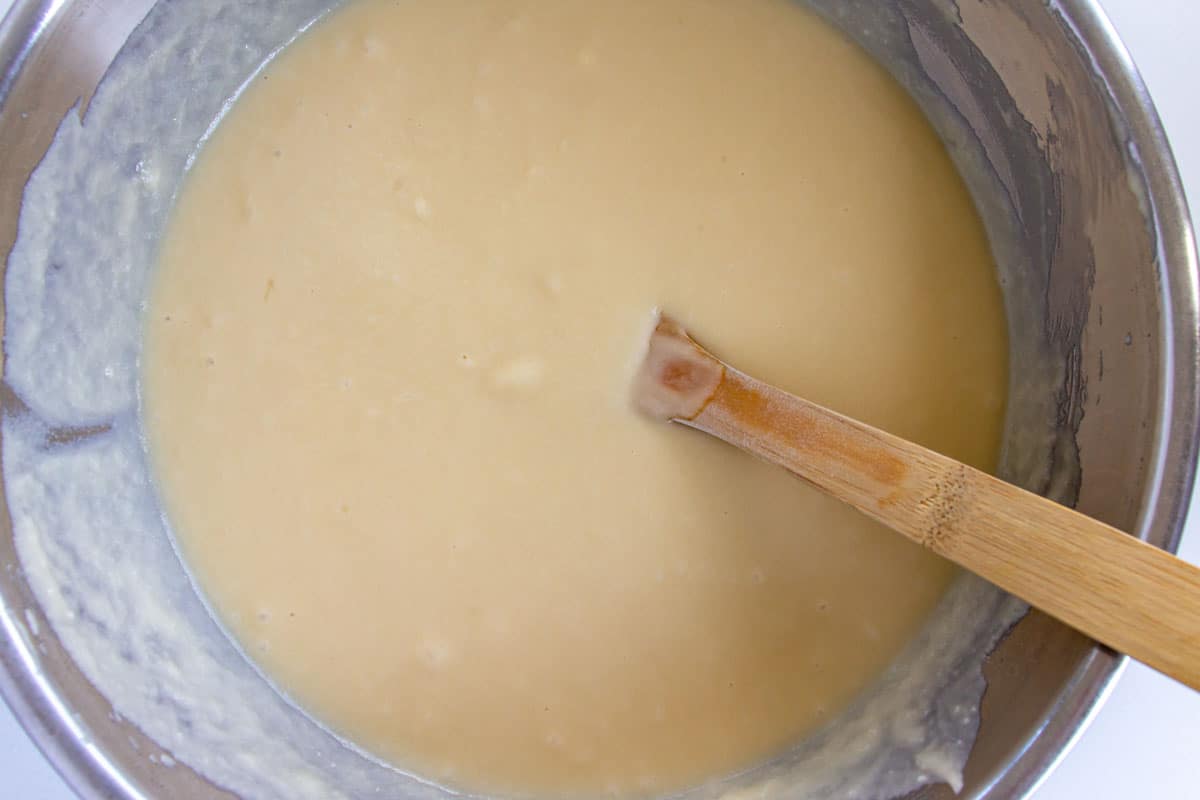
Next, pour the mixture into the prepared pan.

Gently rap it on the counter a couple times to release any trapped air bubbles, then bake for about 1 hour or until it is set and the top is golden brown.

Cool to room temperature before slicing.
If you've lined the pan with parchment paper, use the overhang to carefully remove the entire slab to a large cutting board. Cut into 5 rows crosswise and 4 rows lengthwise to yield 20 squares.
Please scroll to the bottom of the post for the full recipe (in a printable recipe card) including ingredient amounts and detailed instructions.
Expert tips
Store leftover squares in an airtight container at room temperature for up to 3 days. The texture will change slightly between the day it's baked and the following days, but it's delicious regardless.
Don’t be afraid of overmixing. Mochiko flour is gluten-free so there is no concern as you would have when baking with flour of yielding a tough product by overmixing.
When slicing into squares, if your knife starts to stick, rub it with a little oil to get smoother cuts of butter mochi.
While you don't have to line your pan with parchment paper and can instead simply grease it, I highly recommend using parchment with overhang going up all 4 sides. Here's how I easily and quickly do this for my butter mochi as well as for other recipes like donauwelle, guava bars, and Russian pirog:
- Unroll some parchment on your work surface and place your baking pan on top.
- Roughly fold up the sides of the parchment over the exterior of the pan to make sure they are long enough and will create an overhang after cutting.
- Cut the parchment to that size and leave it under the baking pan.
- Use scissors to cut and remove the 4 corners of the parchment paper at right angles right up to the corners of the pan.
- Take the piece of parchment with the 4 corners removed and fit it into the pan (if the paper naturally rolls, I recommend having it roll outward/downward and not inward/upward). It should fit well and the sides should form clean edges when you fold them up the sides. It's ok if the corners aren't perfect or overlap slightly.
- Use your fingers to crease the edges along the bottom and top a bit so it the paper stays in place. This will be a HUGE help to remove the entire item from the pan and cut it on a cutting board instead of directly in the pan.

Other recipes you may like
- Duke’s Hula Pie (Copycat Recipe)
- Authentic Hawaiian Macaroni Salad (Mac Salad)
- Saimin (Hawaiian Noodle Soup)
- Hawaiian Loco Moco (Hamburger Steak with Gravy)
- Hawaiian Grilled Cheese (Pineapple and Ham Grilled Cheese)
- Pastelitos de Queso y Guayaba (Guava and Cheese Pastries)
- HippopotoMai-Tai Recipe from Trader Sam's at Disney
Tried this recipe? Please leave a star ⭐️⭐️⭐️⭐️⭐️ rating in the recipe card below and/or a review in the comments section further down the page. You can also follow me on social media on Facebook, Instagram, and Pinterest!

Hawaiian Butter Mochi
Ingredients
- 4 ounces (113 grams) unsalted butter, melted
- 2 cups (400 grams) granulated sugar
- 4 large eggs
- 1 (13.5 fl ounce / 400 ml) can unsweetened coconut milk
- 1 (12 fl ounce / 354 ml) can evaporated milk
- 2 teaspoons pure vanilla extract
- 1 (450 grams / 1 pound) box mochiko flour (sweet/glutinous rice flour)
- 2 teaspoons baking powder
Instructions
- Preheat the oven to 350°F (180°C). Grease a 9x13 inch (23x33 cm) baking pan with butter or oil, or alternatively line the pan with parchment paper with overhang on the sides. This will allow you to transfer the butter mochi to a cutting board after baking for easier cutting.
- In a mixing bowl, use a wooden spoon to combine the melted butter and sugar. Add the eggs, one at a time, and combine until smooth. Stir in the coconut milk, evaporated milk, and vanilla extract. Finally add the mochiko flour and baking powder and whisk until completely smooth and lump-free.
- Pour the mixture into the prepared pan. Gently rap it on the counter a couple times to release any trapped air bubbles, then transfer to the oven and bake for about 1 hour or until it is set and the top is golden brown.
- Cool to room temperature before slicing. If you've lined the pan with parchment paper, use the overhang to carefully remove the entire slab to a large cutting board. Cut into 5 rows crosswise and 4 rows lengthwise to yield 20 squares. If your knife starts to stick, rub it with a little oil to get smoother cuts of butter mochi. Store leftover squares in an airtight container at room temperature for up to 3 days.
Notes
- Don’t be afraid of overmixing. Mochiko flour is gluten-free so there is no concern as you would have when baking with flour of yielding a tough product by overmixing.
- When slicing into squares, if your knife starts to stick, rub it with a little oil to get smoother cuts of butter mochi.
Nutrition
*All nutritional information is based on third-party calculations and should be considered estimates. Actual nutritional content will vary with brands used, measuring methods, portion sizes and more.*




Fifi Luong-Ward says
I made this for the first time today and it is delicious. The texture is just right. A touch sweet for my palate so next time I’ll reduce the sugar by 50-75g. And yes, I’ll certainly be making this again. Thank you for an easy, comprehensive recipe.
Karen Walker says
This is unbelievably delicious. I ate the entire pan by myself in 2 days... And I was restraining myself. I won't make it again until I have somewhere to take it.
Audrey says
Great, fun cake to make and eat. It’s addictive! 🙂