Gâteau Invisible aux Pommes is an Invisible Apple Cake that features thinly sliced apples that practically disappear into the custardy cake batter which surrounds them. Although this gorgeous cake has French origins, it has gained massive popularity in Japan!
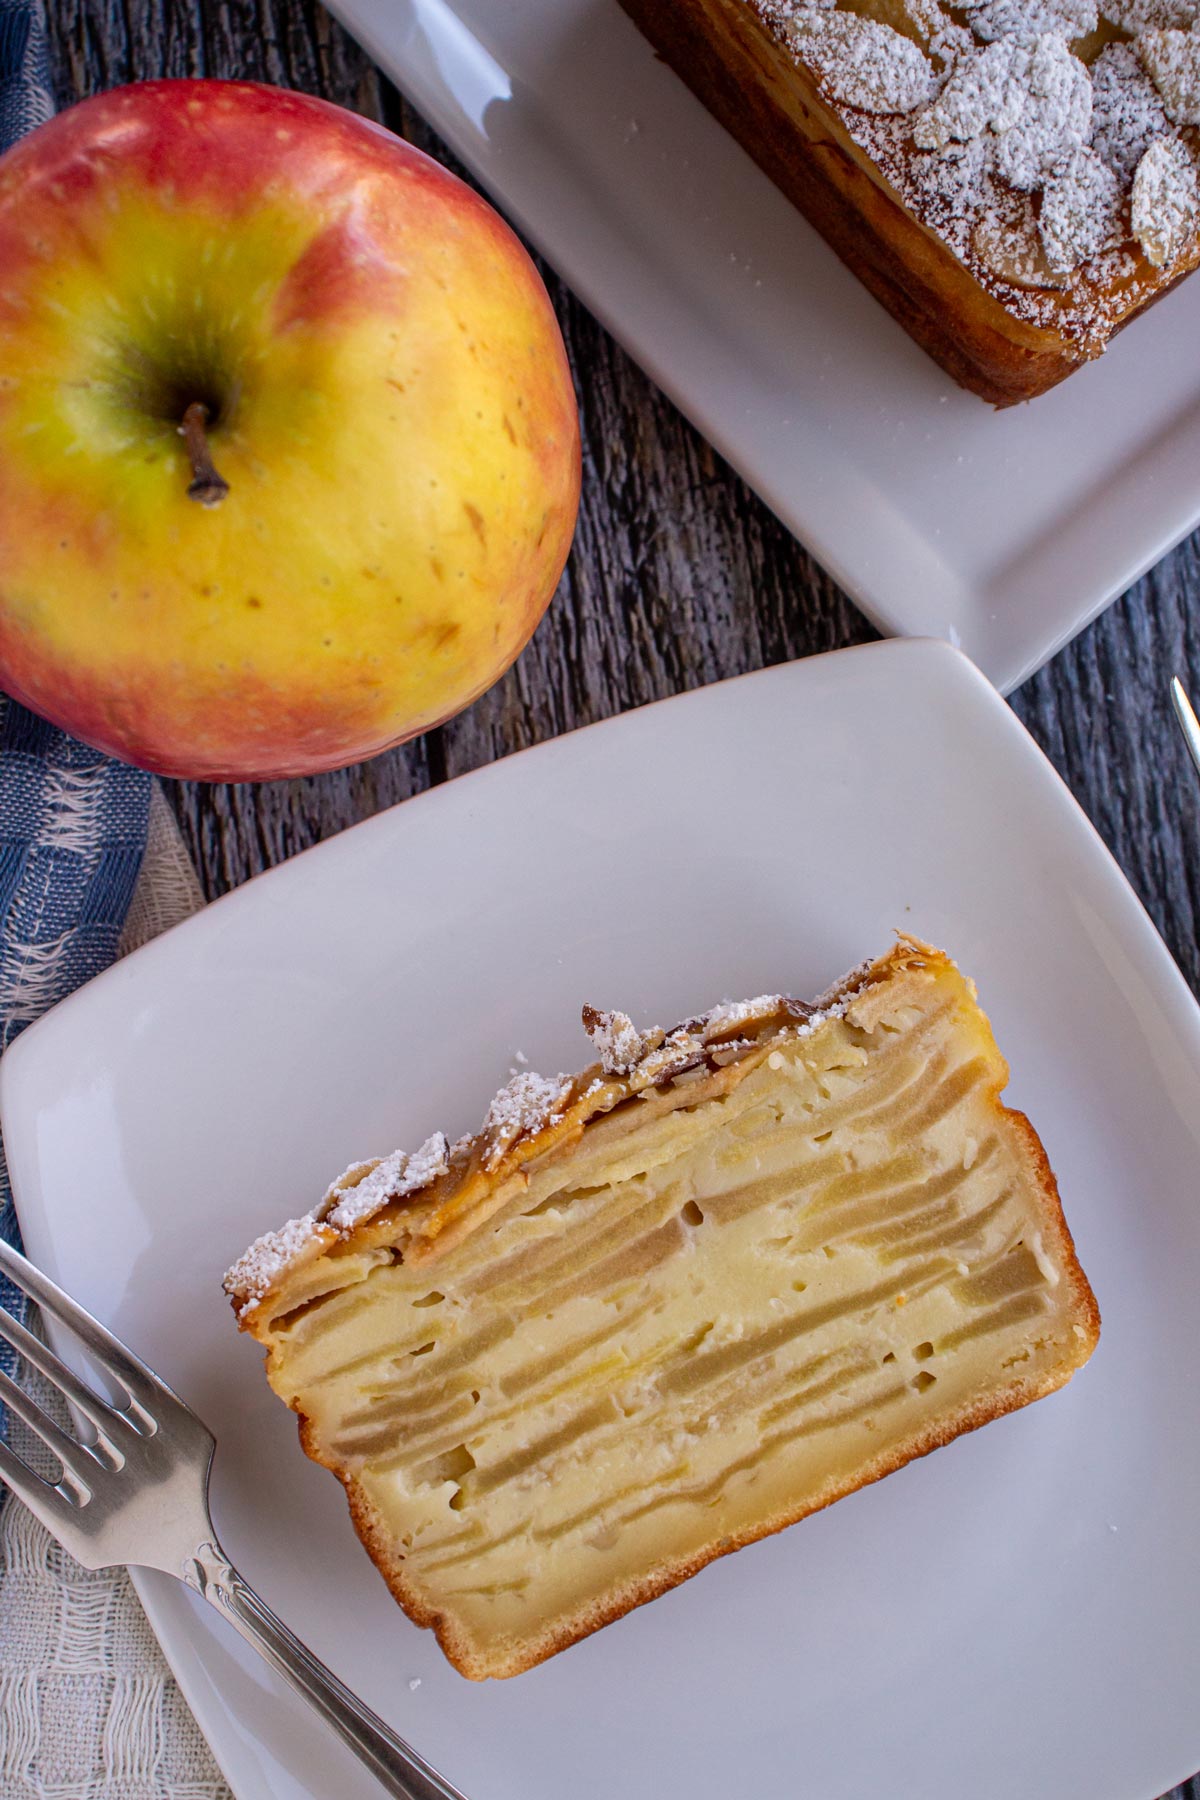
Gâteau Invisible aux Pommes or simply Gâteau Invisible is an impressive dessert with dozens of layers of thin apple slices bound together with a small amount of batter. Not only is this a beautiful way to present an apple dessert, it’s not as sweet as most desserts, and is a great way to use up the surplus of apples from apple season.
Even though it's called a "cake," it really isn't very cake-like as the batter is denser and more custardy. Also, since the ratio of apples to batter is quite high, it's a much lighter option compared to other baked treats!
Invisible apple cake is a great alternative to baking apple pies, apple crumbles, and other apple desserts in the fall and winter months. It’s easy to make with relatively basic ingredients. It simply requires a bit of extra attention, slicing the apples thinly and evenly, and arranging them in picture-perfect layers.
Ingredient notes
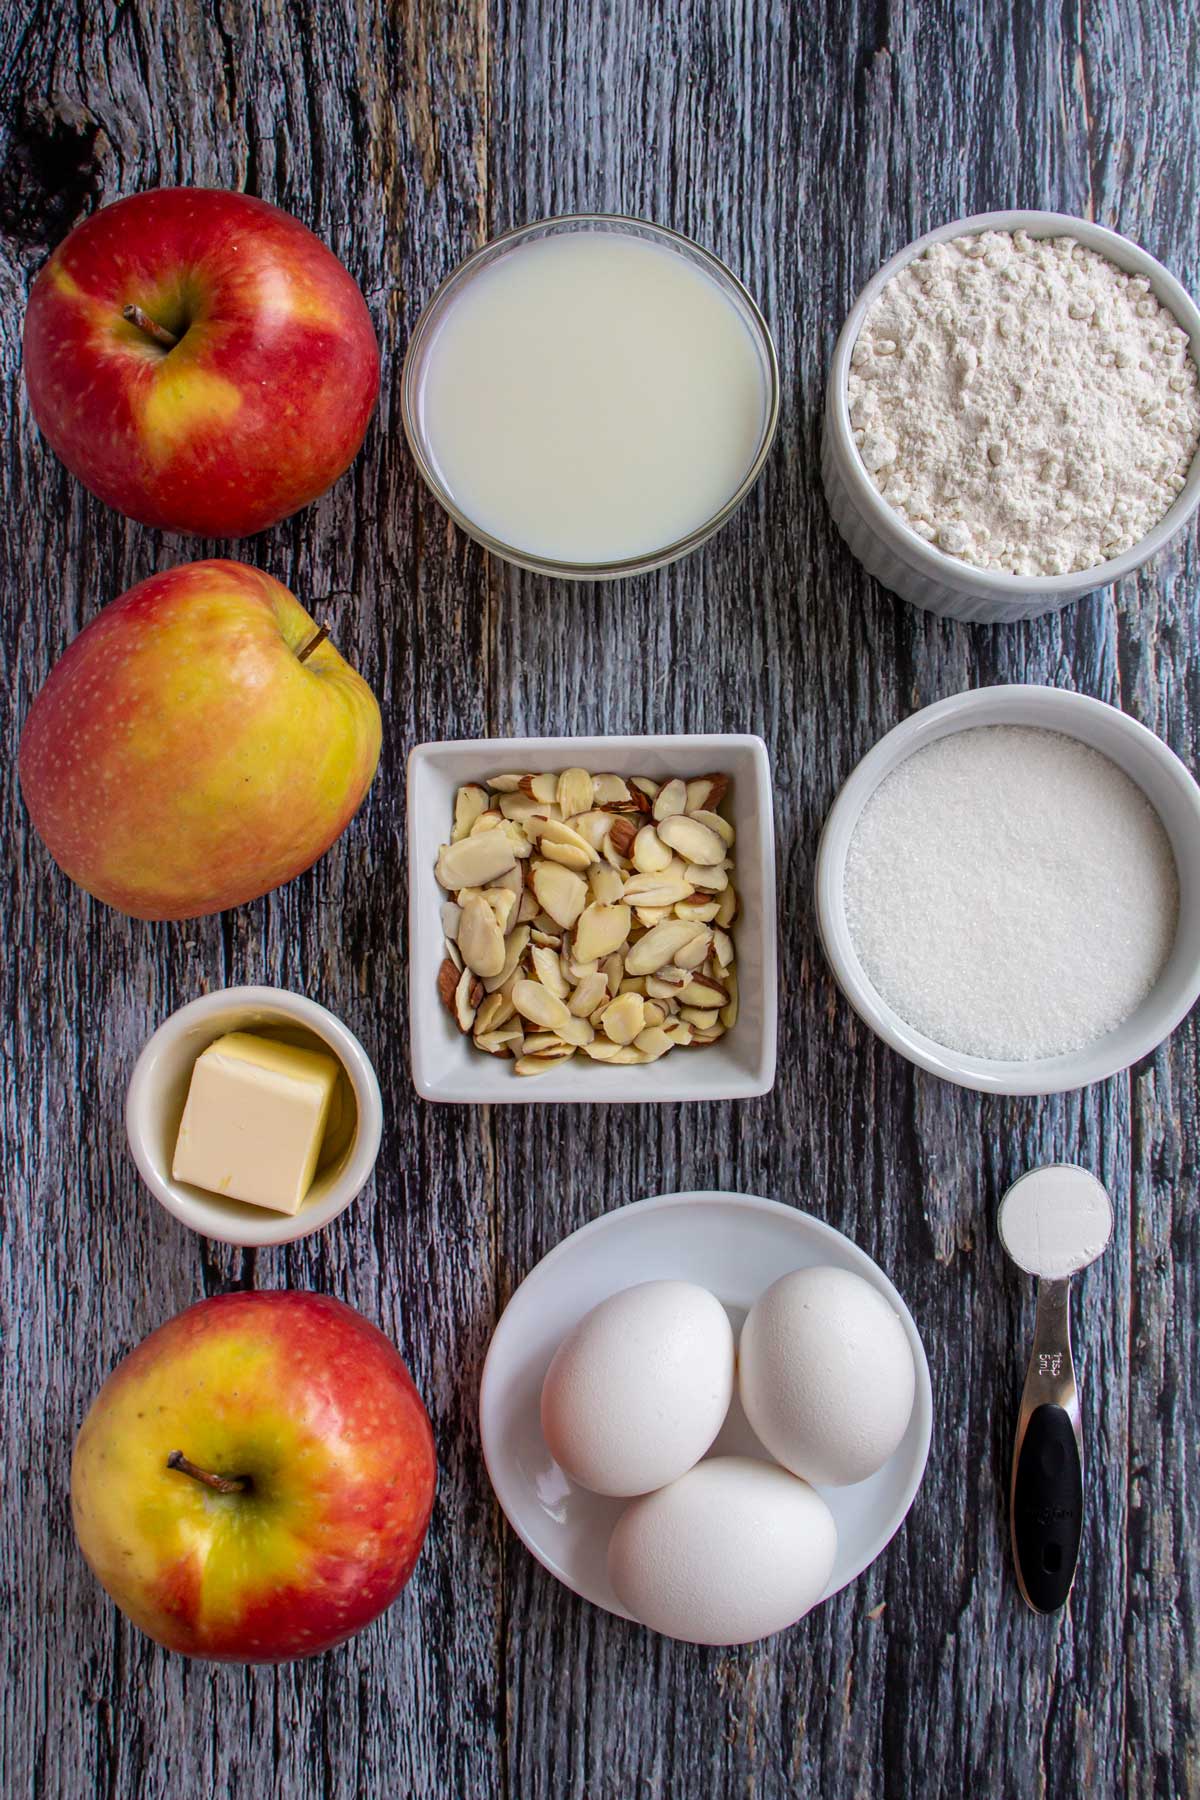
- Apples: There are many varieties of apples that are good for cooking. A few types recommended for this invisible apple cake recipe include Honeycrisp, Granny Smith, Fuji, or Pink Lady (as pictured here).
- Eggs: This gâteau invisible aux pommes has a custardy batter thanks to the addition of several eggs. They provide that rich custard flavor and also help bind the batter and create structure.
- Milk: Use any kind of milk you have on hand.
- Flour: All-purpose flour is perfect here. You won't need too much, as this is a fairly thin and runny batter, similar to crêpe batter.
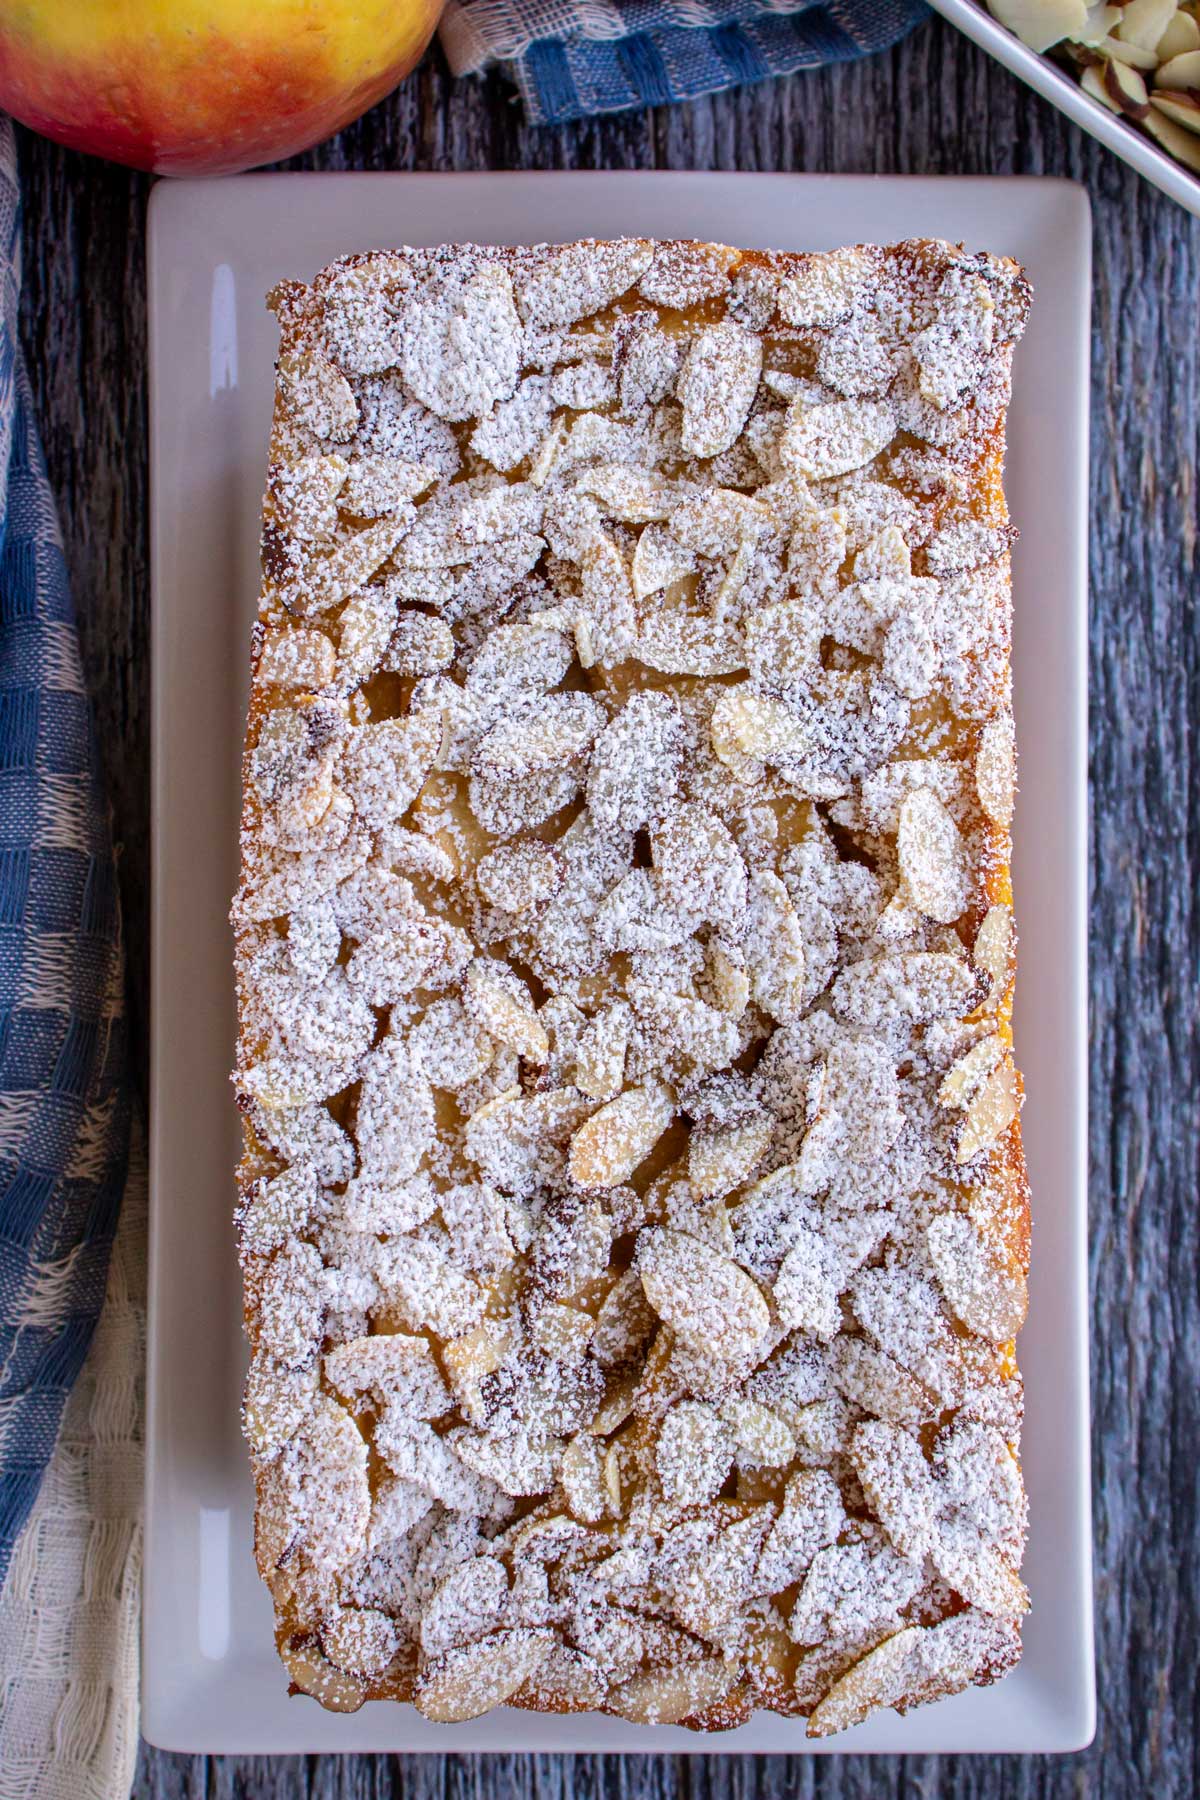
- Sliced Almonds: Although this topping is purely optional, I love the added crunch and the rustic, shingled appearance of sliced almonds baked on top.
- Powdered Sugar (not pictured): A flourish of powdered sugar over the top helps hide imperfections and adds a touch more sweetness.

How to make it
Preheat the oven with the rack in the center to 350˚F (180˚C). Grease an 8 ½-by-4 ½-inch loaf pan. Line it with a sheet of parchment paper so the parchment hangs over the long sides of the pan, forming a sling.
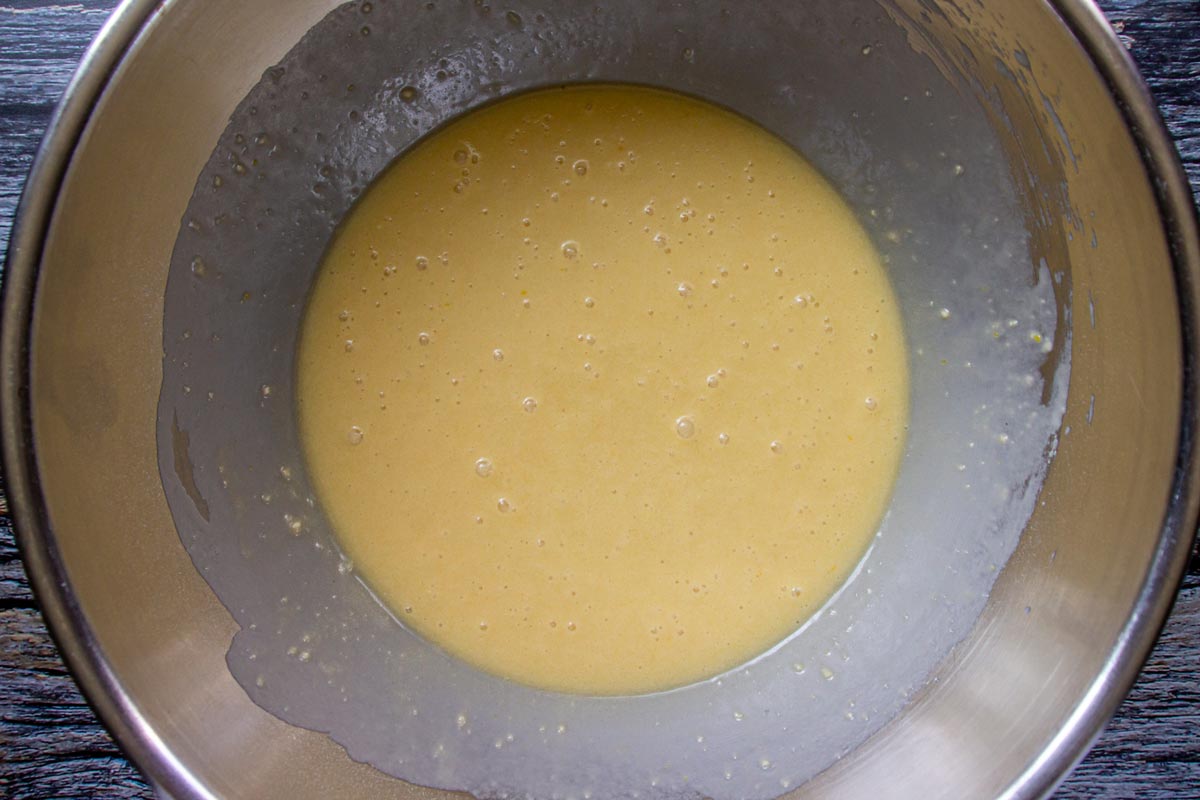
In a mixing bowl, whisk together sugar and eggs until creamy and pale yellow.
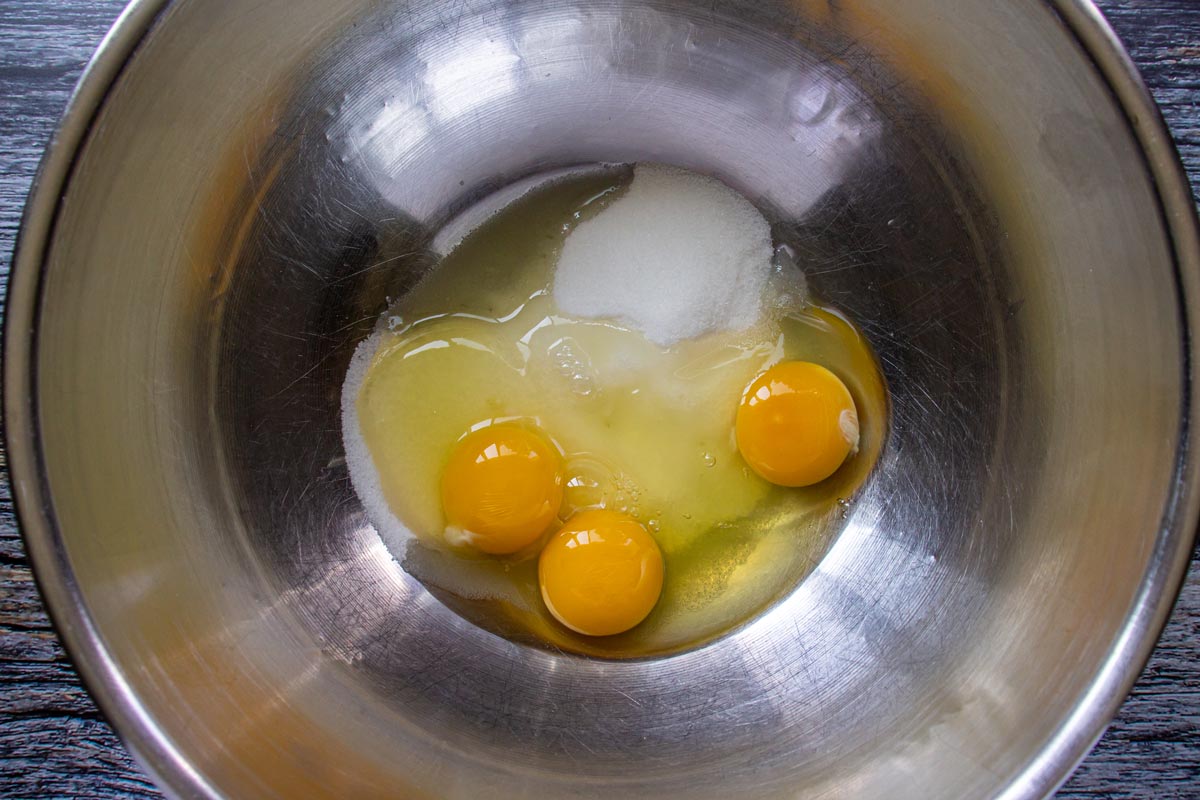

Then, add milk and melted butter and whisk until smooth.

Sift flour and baking powder over the mixture, whisking to combine.
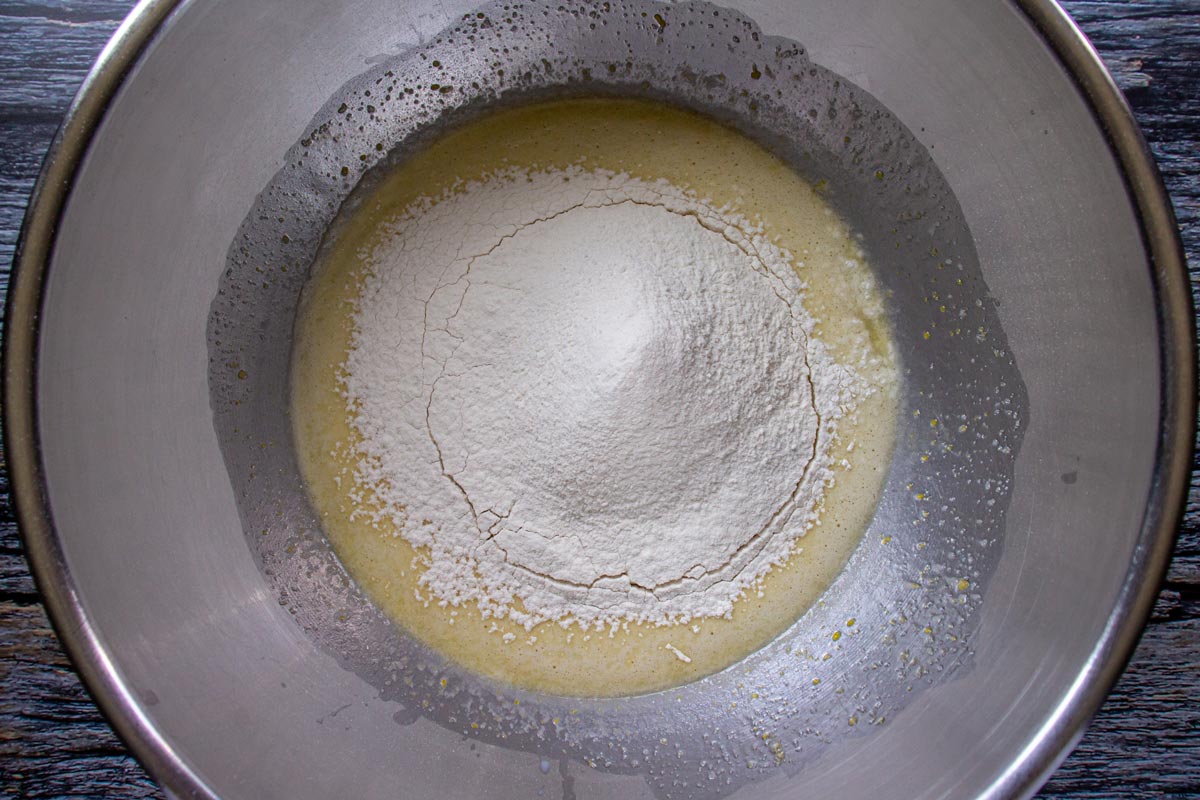
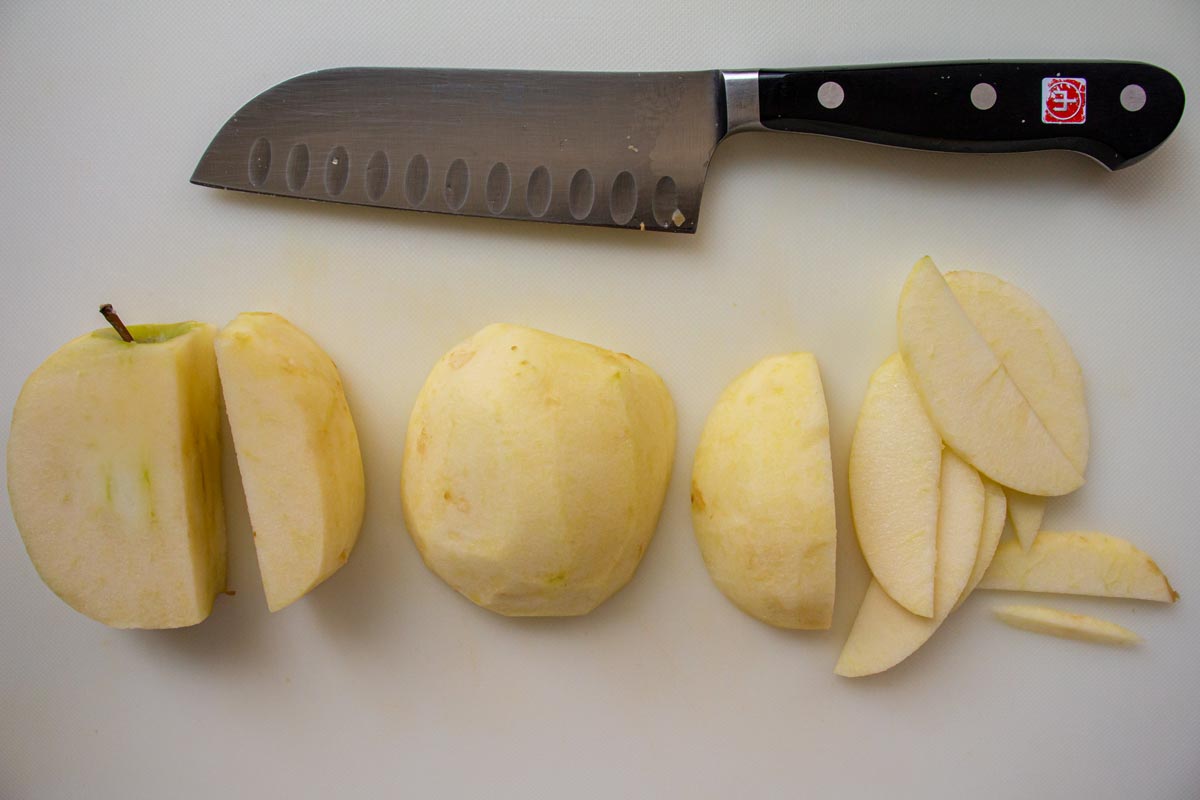
Peel, core, and very thinly slice apples.
As you slice an apple, add the slices to the batter and lightly stir it just to coat. Then proceed with the remaining apples one by one. This will help keep the apple slices from oxidizing.
Use a rubber spatula to gently stir all the sliced apples into the batter. It will look like a lot of apples compared to the amount of batter, but this is correct.

Using clean or gloved hands, arrange and shingle the apple slices in rows along the bottom of the pan. Overlap them slightly and ensure that the flat edges of the slices are flush with the sides of the pan.
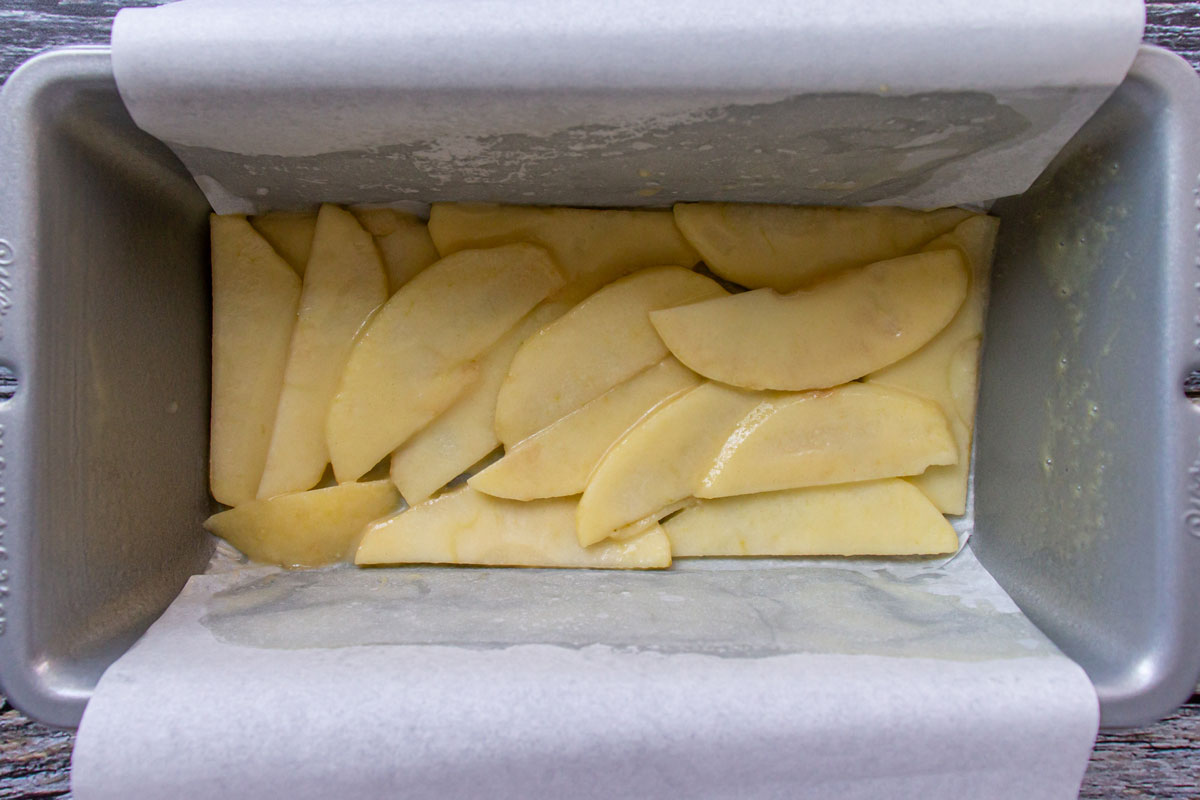
Continue arranging the batter-coated apples in layers until you’ve used up all the apples.

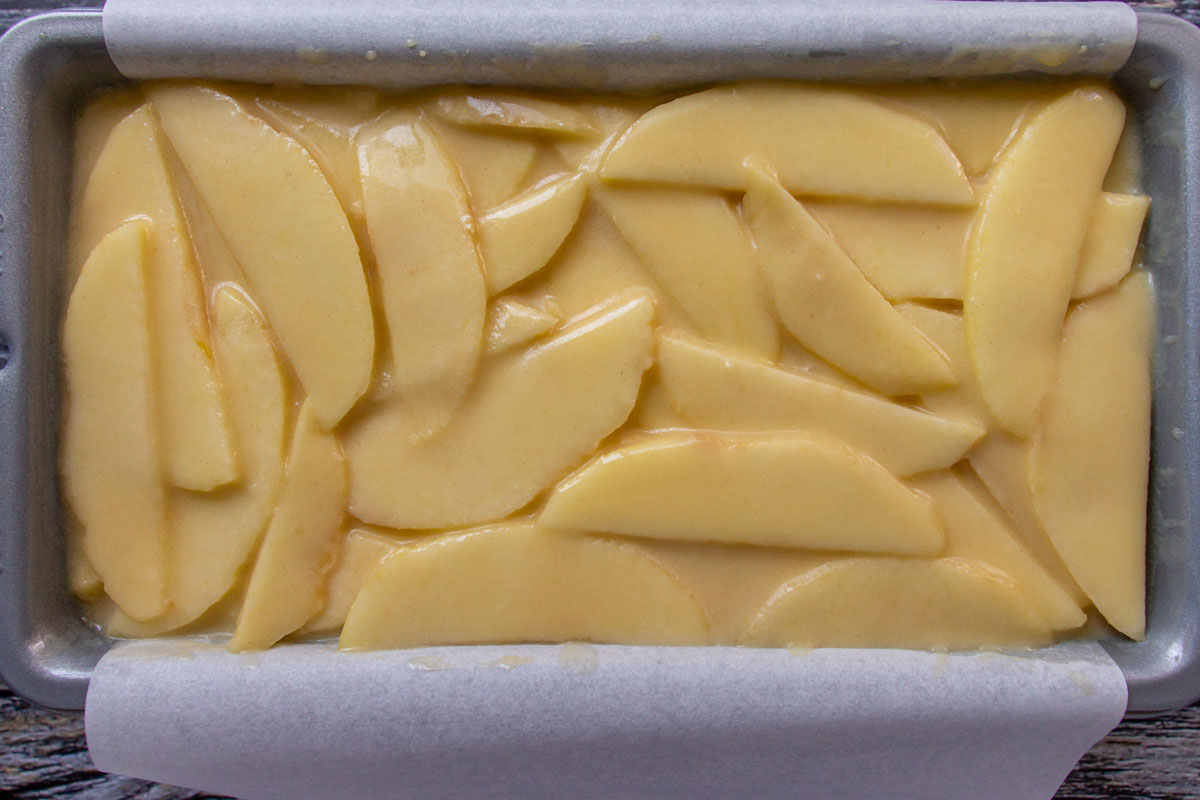
Pour any residual batter evenly over the top and give the pan a gentle tap on the counter to help the batter settle.
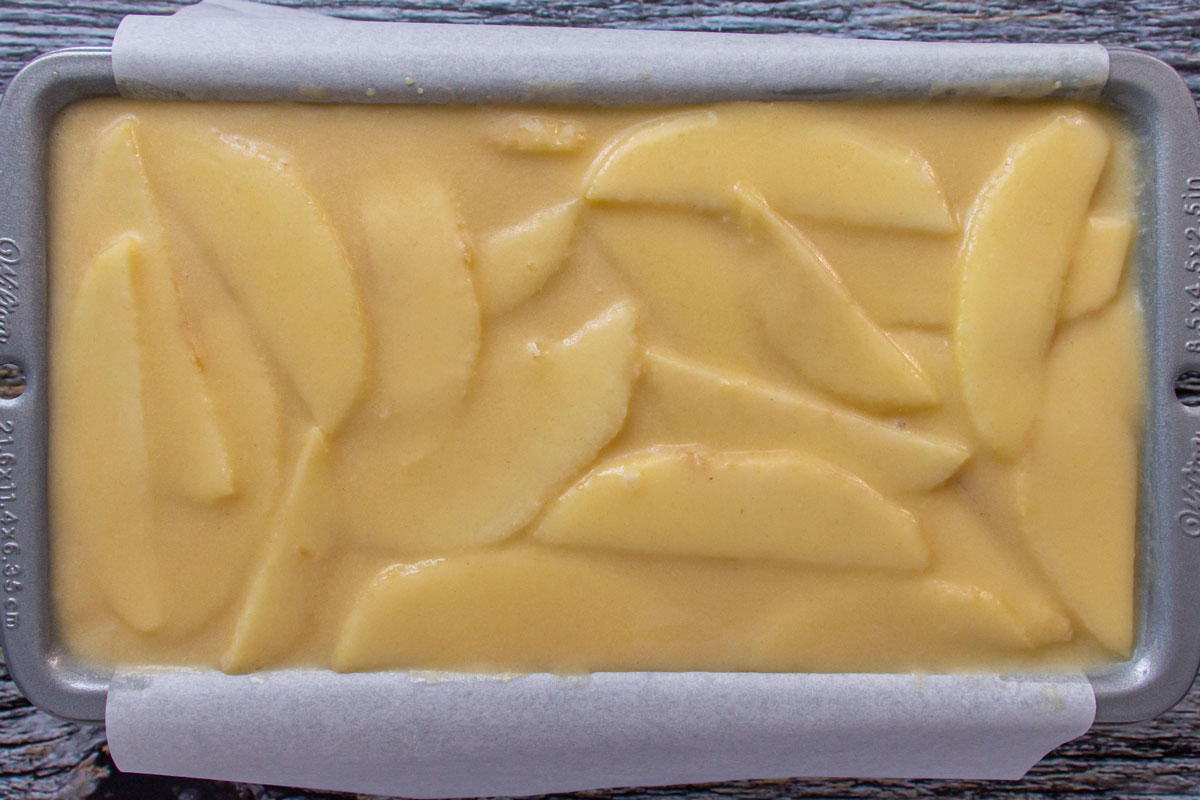
If using, sprinkle sliced almonds over the top.
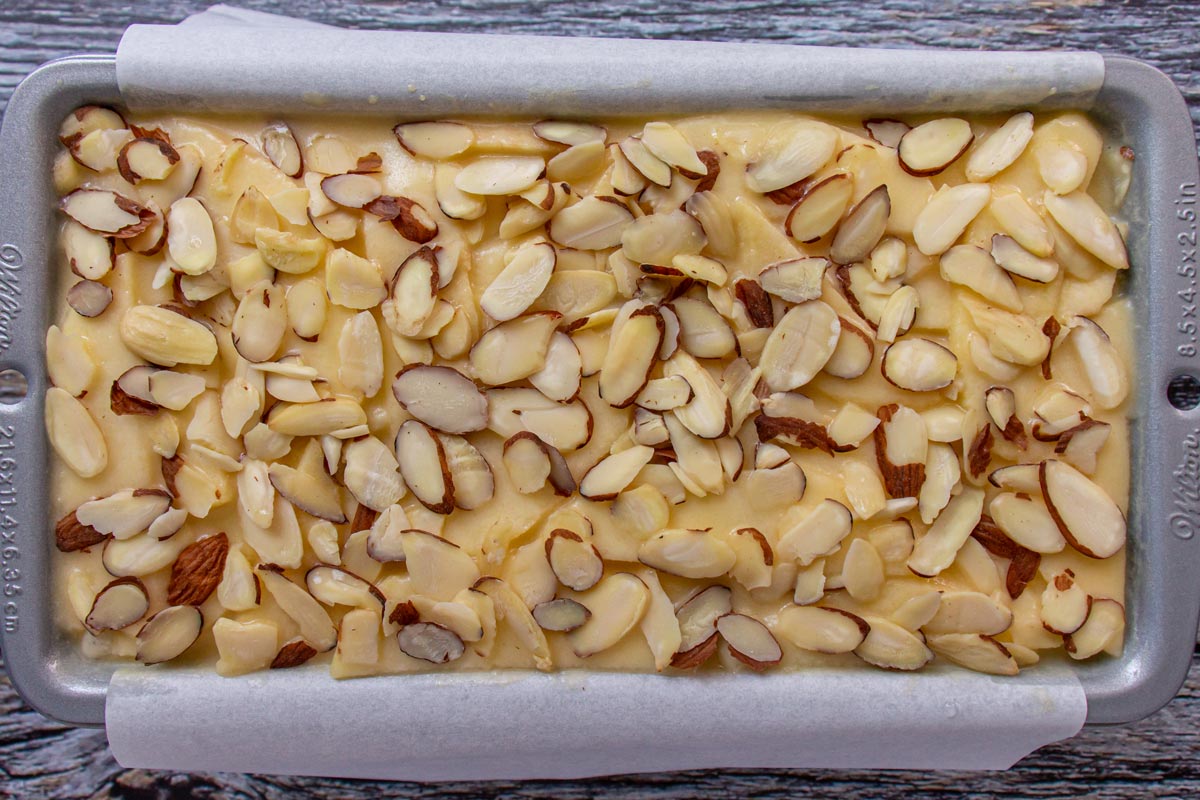
Bake on the center rack for 60 to 65 minutes. The top should be golden brown and a toothpick inserted into the center of the cake should come out clean.
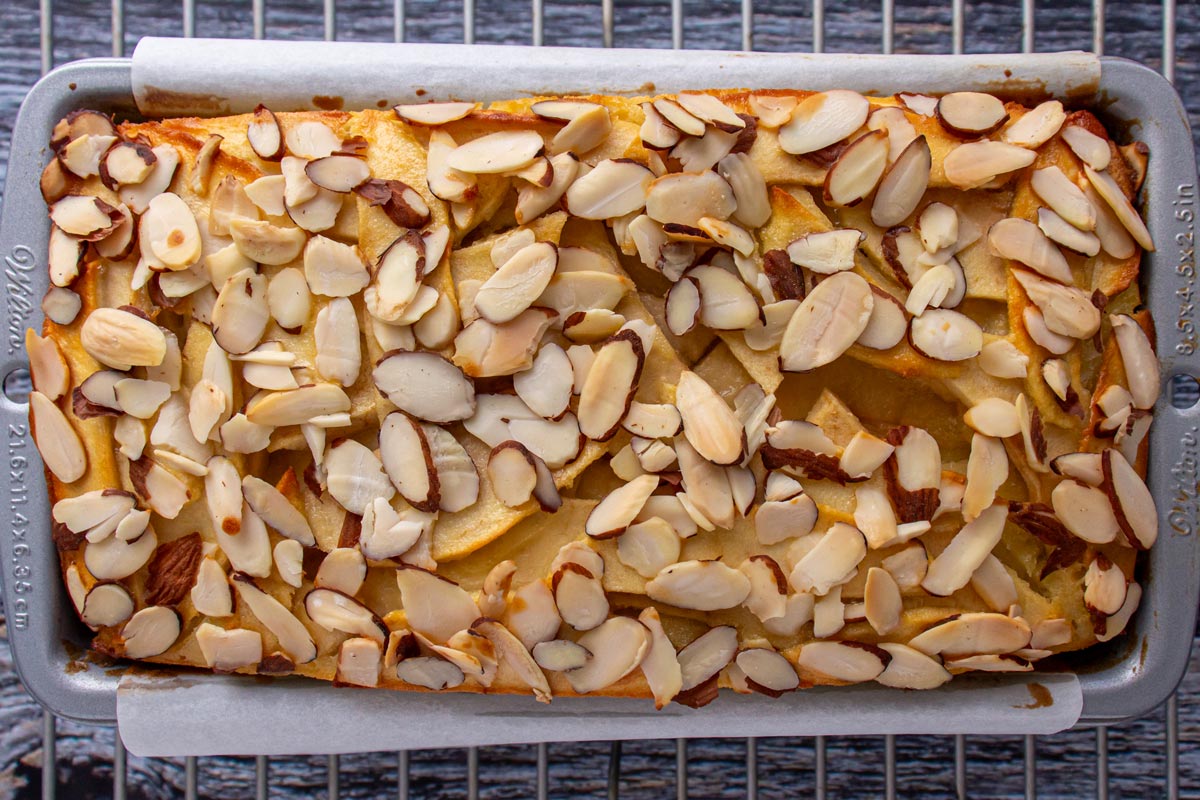
Remove to a wire rack and cool in the pan for 45 minutes, then use the parchment paper overhang to remove the cake from the pan. Continue cooling it on the wire rack until completely cool, about 1 hour or longer.

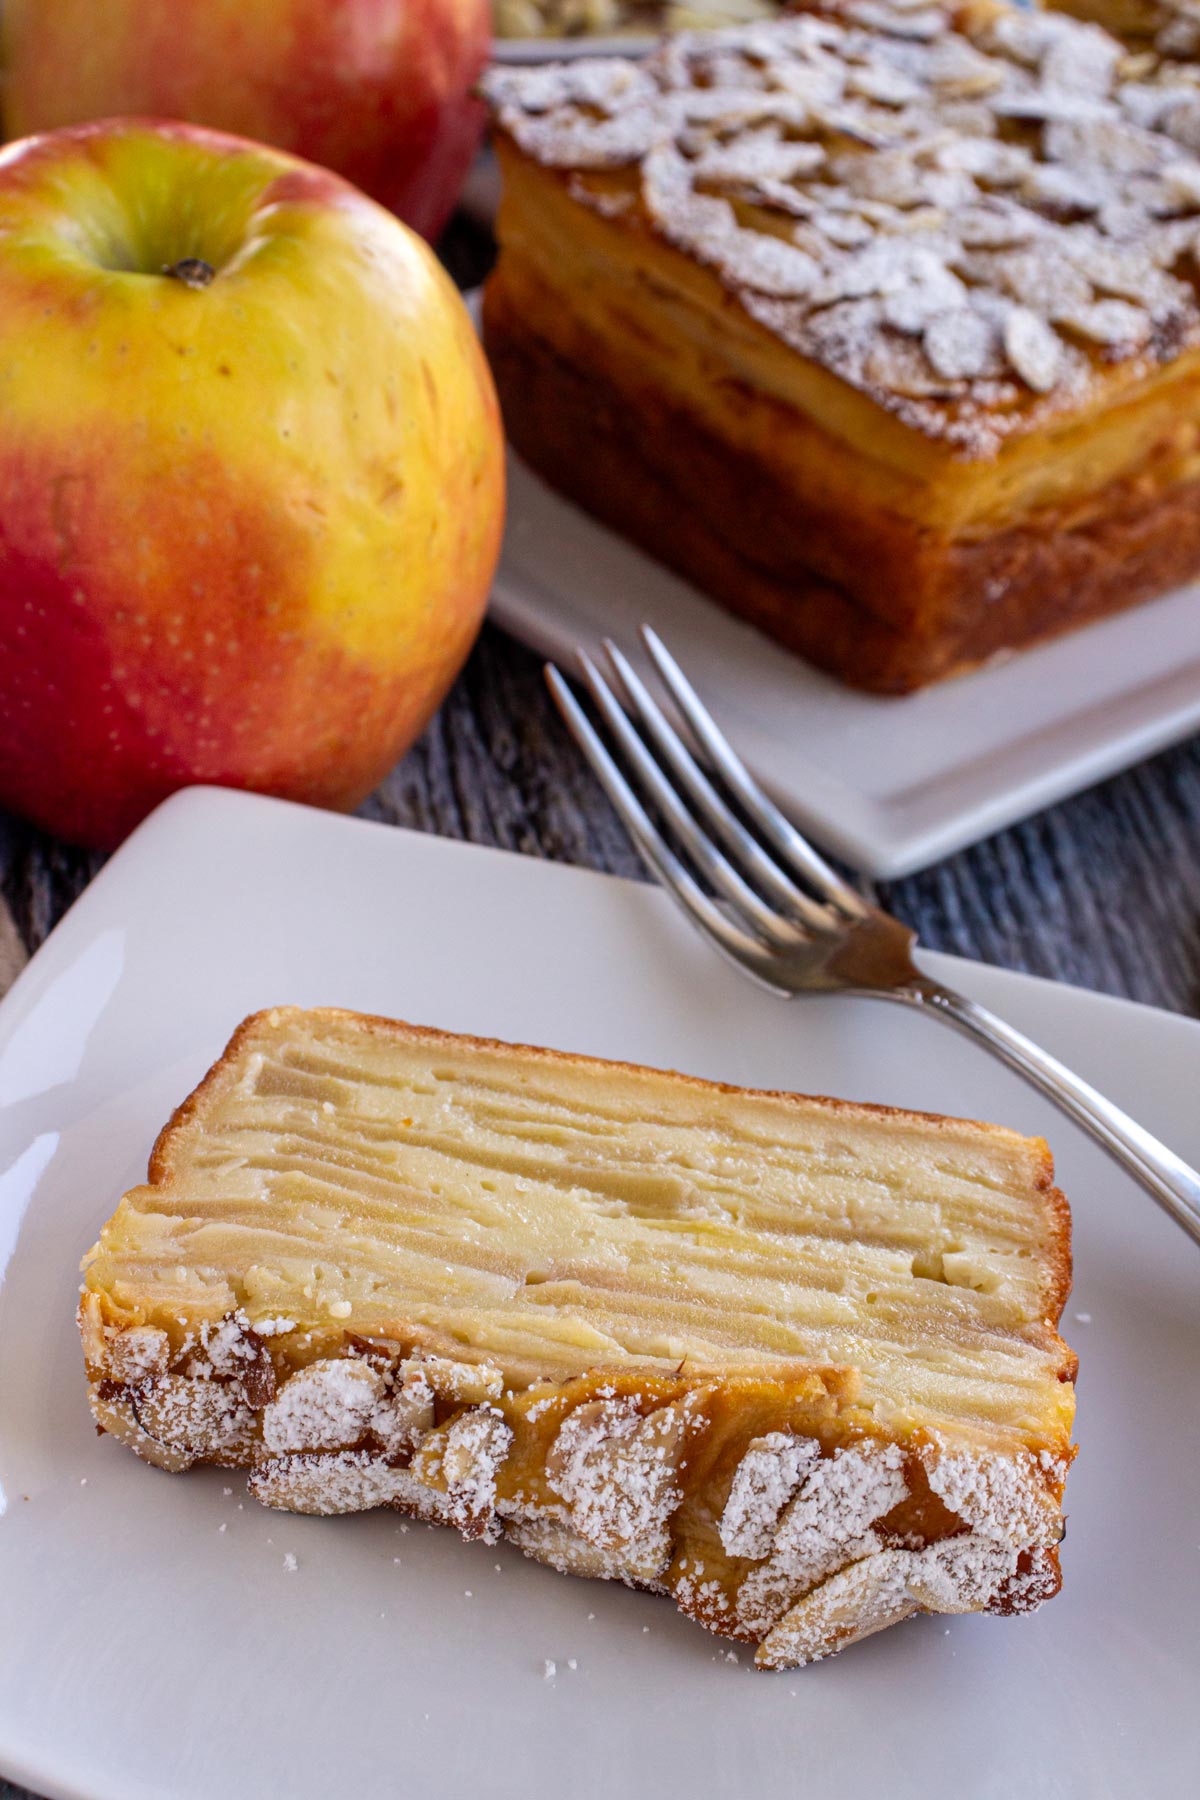
Serve at room temperature or chilled in the fridge. If desired, dust the top with powdered sugar before serving.
Please scroll to the bottom of the post for the full recipe (in a printable recipe card) including ingredient amounts and detailed instructions.
Expert tips
You don’t need a mandoline to slice your apples. Although you can achieve thinner slices with a mandoline, you don’t want your slices to be overly thin either. If you do, they can break apart as you mix them with the batter. Thinly cutting by hand is the optimal approach here.
Try your best to separate any apple slices stuck together before adding them into the batter. This helps to ensure that each apple has at least a thin coating of the batter on all sides.

As your invisible apple cake cools, the natural moisture from the apples in the cake may moisten the parchment paper sling. If it rips as you try to use it to remove the cake from the pan, don't panic. In a pinch you can carefully invert the cake onto a plate, peel off the remaining paper, and then flip it back onto a cooling rack.
Use a serrated knife with a gentle sawing motion to slice the gâteau invisible aux pommes into thick slices. You should yield 8 slices. If you've topped your cake with sliced almonds, they may shift or fall off as you slice. Just place them back on top and cover with a dusting of powdered sugar. No one will notice.
After your invisible apple cake has completely cooled, store leftovers in an airtight container in the fridge for up to 3 days. The almonds (if using) will be less crisp, but the gâteau invisible will still be delicious.
Other recipes you may like
- Tarte aux Pommes (French Apple Tart)
- Apfelstrudel (Austrian Apple Strudel)
- Appelflappen (Dutch Apple Turnovers)
- Baked Cinnamon Apple French Toast Casserole
- Apple Cinnamon Yeast Bread
Tried this recipe? Please leave a star ⭐️⭐️⭐️⭐️⭐️ rating in the recipe card below and/or a review in the comments section further down the page. You can also follow me on social media on Facebook, Instagram, and Pinterest!

Gâteau Invisible aux Pommes (Invisible Apple Cake)
Ingredients
- 133 grams (⅔ cup) granulated sugar
- 3 large eggs
- ½ cup milk any kind
- 28 grams (2 tablespoons) unsalted butter melted
- 125 grams (1 cup) all-purpose flour
- 1 teaspoon baking powder
- 950 grams (2 pounds) apples such as Honeycrisp, Granny Smith, Fuji, or Pink Lady
- 25 grams (¼ cup) sliced almonds (optional)
- Confectioners’ (powdered) sugar for serving (optional)
Instructions
- Preheat the oven with the rack in the center to 350˚F (180˚C). Grease an 8 ½-by-4 ½-inch loaf pan and line it with a sheet of parchment paper so the parchment hangs over the long sides of the pan, forming a sling.
- In a mixing bowl, whisk together the sugar and eggs until creamy and pale yellow, about 1 to 2 minutes of vigorous whisking by hand. Then, add the milk and melted butter and whisk until smooth. Sift the flour and baking powder over the mixture and whisk to combine.
- Peel, core, and very thinly slice the apples, about 1/16-inch-to-⅛-inch thick. As you slice an apple, add the slices to the batter and lightly stir it just to coat, then proceed with the remaining apples one by one. This will help keep the apple slices from oxidizing.
- Use a rubber spatula to gently stir all the sliced apples into the batter. It will look like a lot of apples compared to the amount of batter, but this is correct.
- Using clean or gloved hands, arrange and shingle the apple slices in rows along the bottom of the pan, overlapping them slightly and ensuring that the flat edges of the slices are flush with the sides of the pan. Continue arranging the batter-coated apples in layers until you’ve used up all the apples. Pour any residual batter evenly over the top and give the pan a gentle tap on the counter to help the batter settle.
- If using, sprinkle sliced almonds over the top.
- Bake on the center rack for 60 to 65 minutes. The top should be golden brown and a toothpick inserted into the center of the cake should come out clean.
- Remove to a wire rack and cool in the pan for 45 minutes. Then, using the parchment paper overhang, remove the cake from the pan and continue cooling it on the wire rack until completely cool, about 1 hour or longer.
- Serve at room temperature or chilled in the fridge. If desired, dust the top with powdered sugar before serving.
Notes
- You don’t need a mandoline to slice your apples. Although you can achieve thinner slices with a mandoline, you don’t want your slices to be overly thin either. If you do, they can break apart as you mix them with the batter. Thinly cutting by hand is the optimal approach here.
- As your invisible apple cake cools, the natural moisture from the apples in the cake may moisten the parchment paper sling. If it rips as you try to use it to remove the cake from the pan, don't panic. In a pinch you can carefully invert the cake onto a plate, peel off the remaining paper, and then flip it back onto a cooling rack.
- Use a serrated knife with a gentle sawing motion to slice the cake into thick slices. You should yield 8 slices. If you've topped your cake with sliced almonds, they may shift or fall off as you slice. Just place them back on top and cover with a dusting of powdered sugar. No one will notice.
- After your invisible apple cake has completely cooled, store leftovers in an airtight container in the fridge for up to 3 days.
Nutrition
*All nutritional information is based on third-party calculations and should be considered estimates. Actual nutritional content will vary with brands used, measuring methods, portion sizes and more.*




Katherine says
Likely user error, but I had to cook it waaaaay longer to get it to set properly. I baked it as directed and tried to let it chill, but it was still soup on the inside. Oven was at 350 internal temp and liquid ratios were correct. Maybe my apples were “watery?” Either way, it tasted good. Although I did add spices and vanilla extract.
Victoria says
Hi Katherine,
Thanks for sharing your experience. Baking with fruit can always potentially emit water/liquid, although in your case it sounds like it was a lot. Just making sure that aside from adding some spices and vanilla, you followed all the other steps exactly as written? Keep in mind that even adding vanilla extract is adding liquid that could potentially impact the results. For such a small amount of batter and so much fruit emitting their cooking juices, it can all add up. The batter in this case is more like a custard, but because there is so little of it cloaking the apple slices, residual liquid would likely be caused from the apples themselves (with 3 large eggs in the batter that's plenty to allow it to properly bake and set). Just out of curiosity, what kind of apples did you use?
Linda says
Came out great!
KC says
This looks really good! Question: once baked and cooled, can this be frozen in a kitchen freezer for travel in a cooler (with beaucoup ice packs), up to 8 hours by car, and thawed/refrigerated for serving the next day? Asking for a friend.
Victoria says
Hi! I've never tried to freeze this cake, however I believe what you're suggesting should work! Even in a cooler with ice, it probably would gradually defrost over the span of 8 hours, but I still think you'd be fine. Please report back and let us know how you make out 🙂 Thanks!
Rebecca says
This was so yummy- apples were snapdragon and maybe gala? Picked from our NY stash. Added vanilla and a pinch of salt. Lovely.
Tina says
This was delicious almost like an apple pie. I reduced the sugar a little and added lemon juice and zest to the apples also did not add almonds due to nut allergy. Thank you for this delicious recipe.
Terese Mathieson says
Absolutely delicious
Isabel says
Great recipe. The only thing missing are the flavorings. I added 1 tsp of vanilla, 1 tsp of orange flavoring, ½ Tbsp cinnamon and ¼ tsp of cardamom. I would adjust these to your liking but this turned out fantastic as is or go crazy and use whatever flavors you love with apples.
CP1005 says
Can i make this in a 12" pan?
Victoria says
Hello,
Are you referring to a 12-inch long loaf pan, a 12-inch round pan or a 12-inch square pan? In any of those cases, the short answer would be yes, you could certainly adapt the recipe, however you would need to compare the volume of the pan used in the recipe with the volume of the pan you'd like to use and adjust the recipe accordingly (increase the recipe accordingly since its a larger pan). You'd also need to adjust the baking time. I unfortunately don't have alternate baking times available for a pan of another size since I've only baked it in the size recommended so it might be a bit of trial and error on your part, but just look for the cues to make sure it's ready.
Lucy Reinbold says
This was so invisible that it disappeared right off my plate!! Lol. YUM!!!