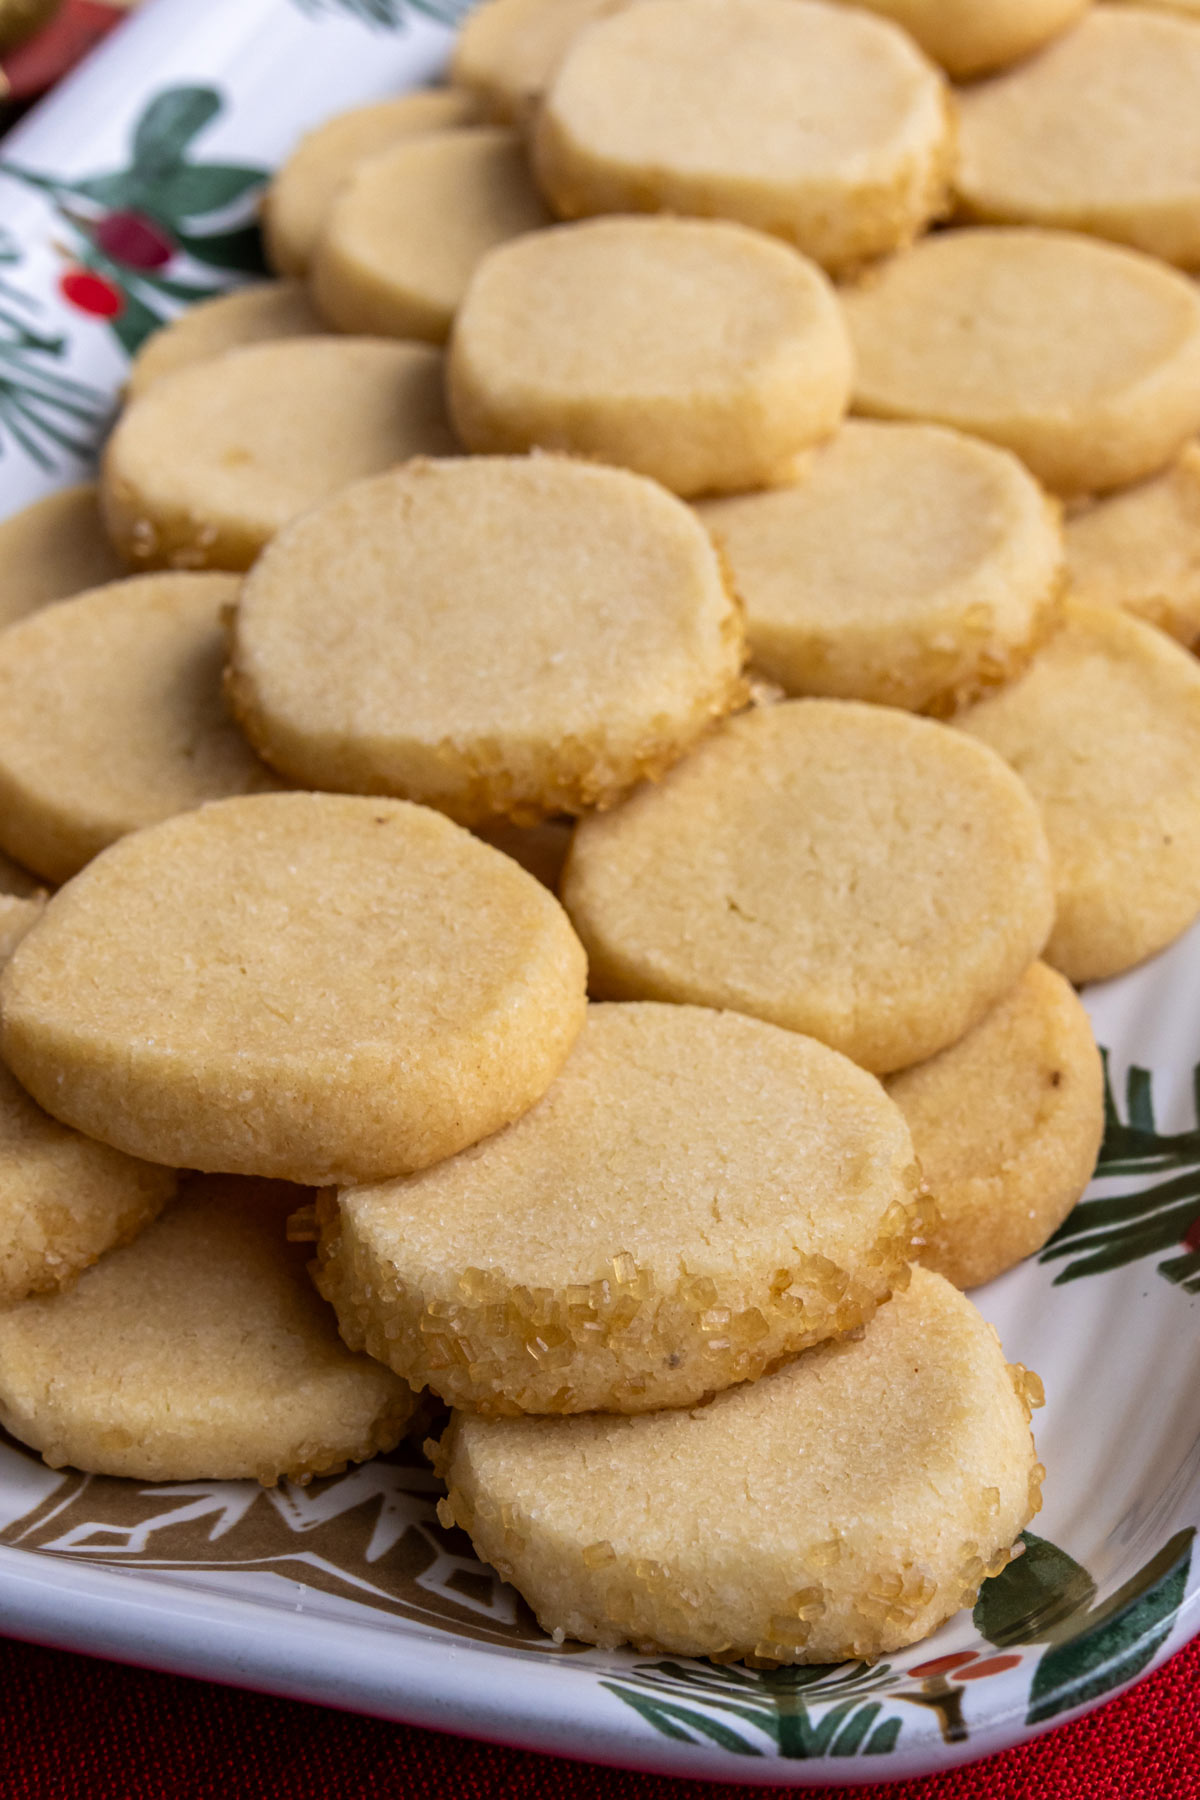
Heidesand are German brown butter shortbread cookies, which are extremely popular at Christmastime but are delightful any time you want to make them. They feature a crumbly texture and a nutty, caramelized flavor with hints of vanilla.

Heidesand are pronounced “hi-deh-sund” which means “heath sand.” They originate in Lüneburger Heide (or Lüneburg Heath in English), a beautiful heathland area in northern Germany with a sandy and slightly hilly terrain, unsurprisingly an inspiration for the cookies.
These slice-and-bake shortbread cookies are tender and crumbly, with a melt-in-your-mouth texture. Meanwhile, the browned butter gives these otherwise simple cookies a unique and delicious flavor.
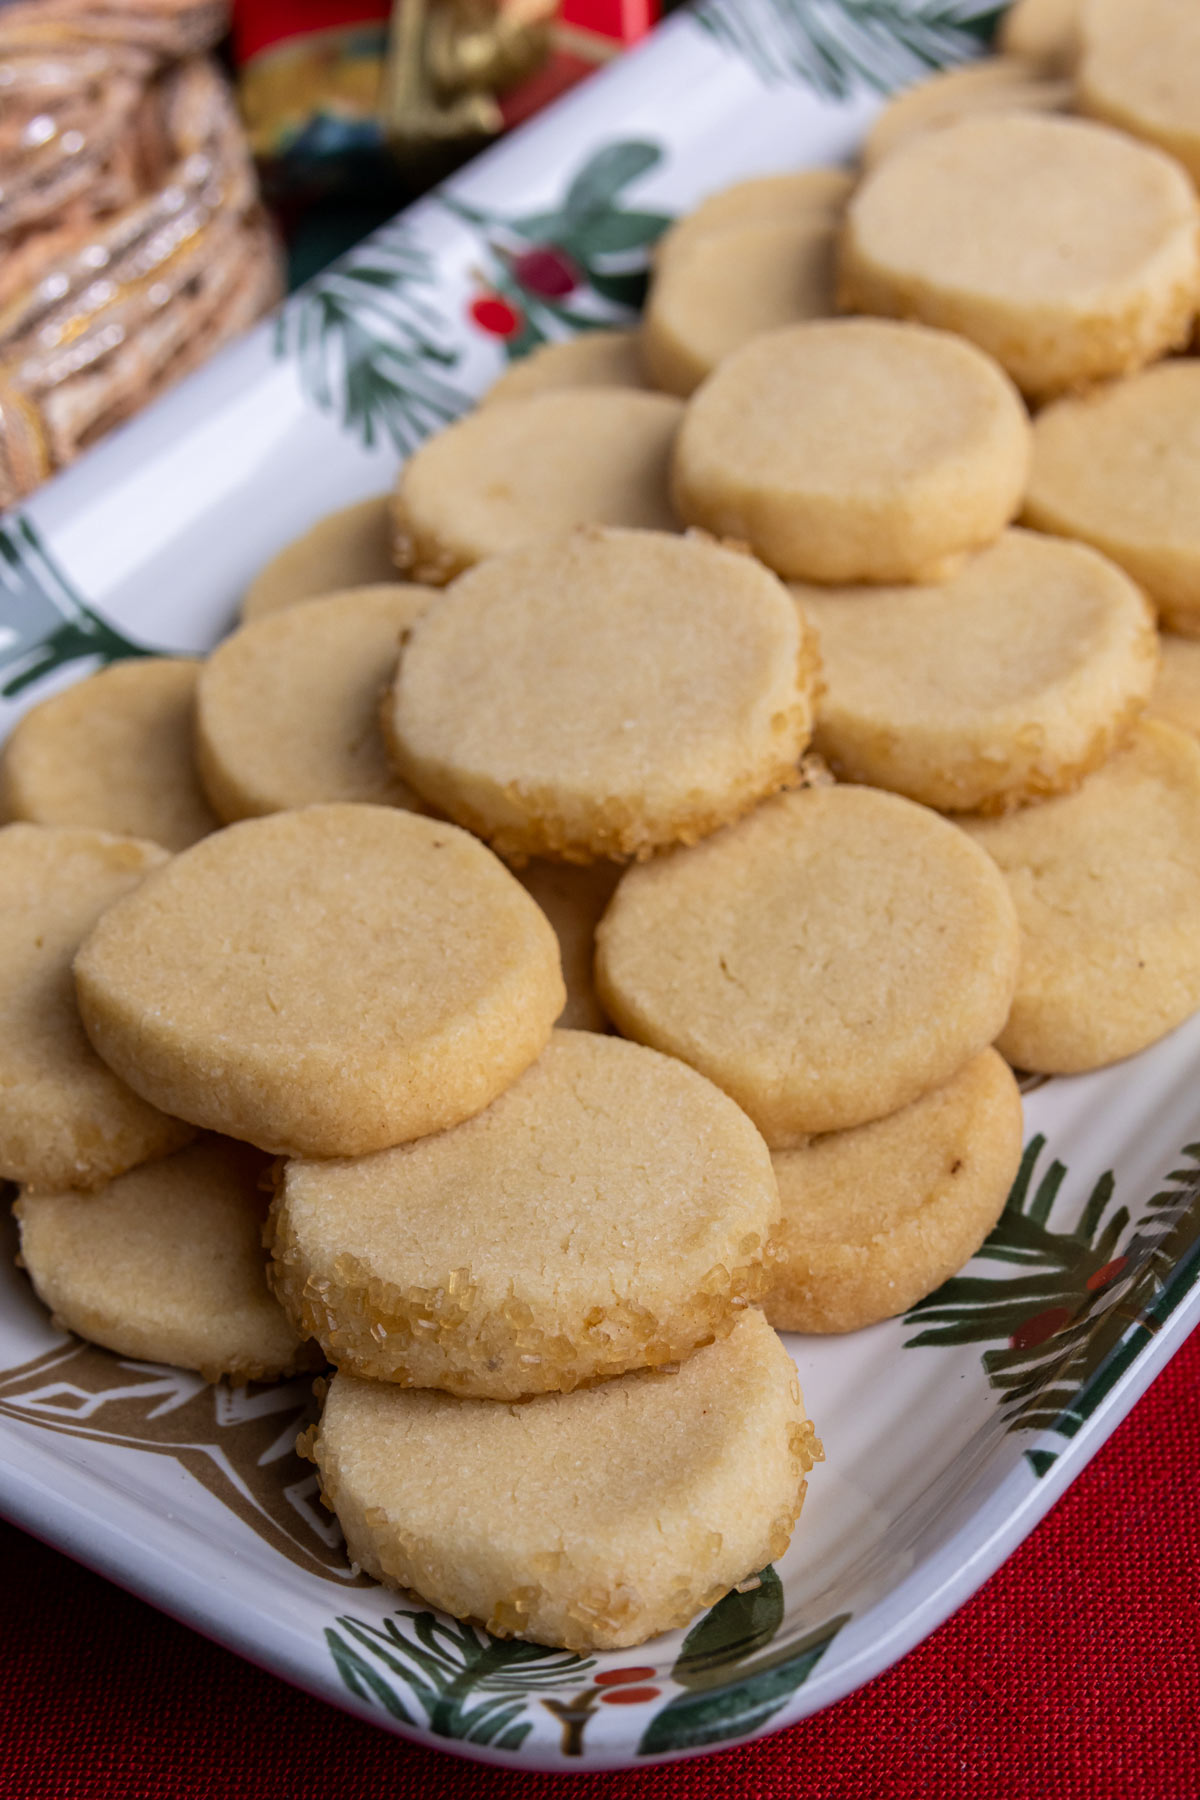
Heidesand are ever popular at Christmas and the perfect addition to a Christmas cookie tray! They’re egg-free and pair wonderfully with hot tea, coffee, hot chocolate, and of course mulled wine or cider.
Ingredient notes
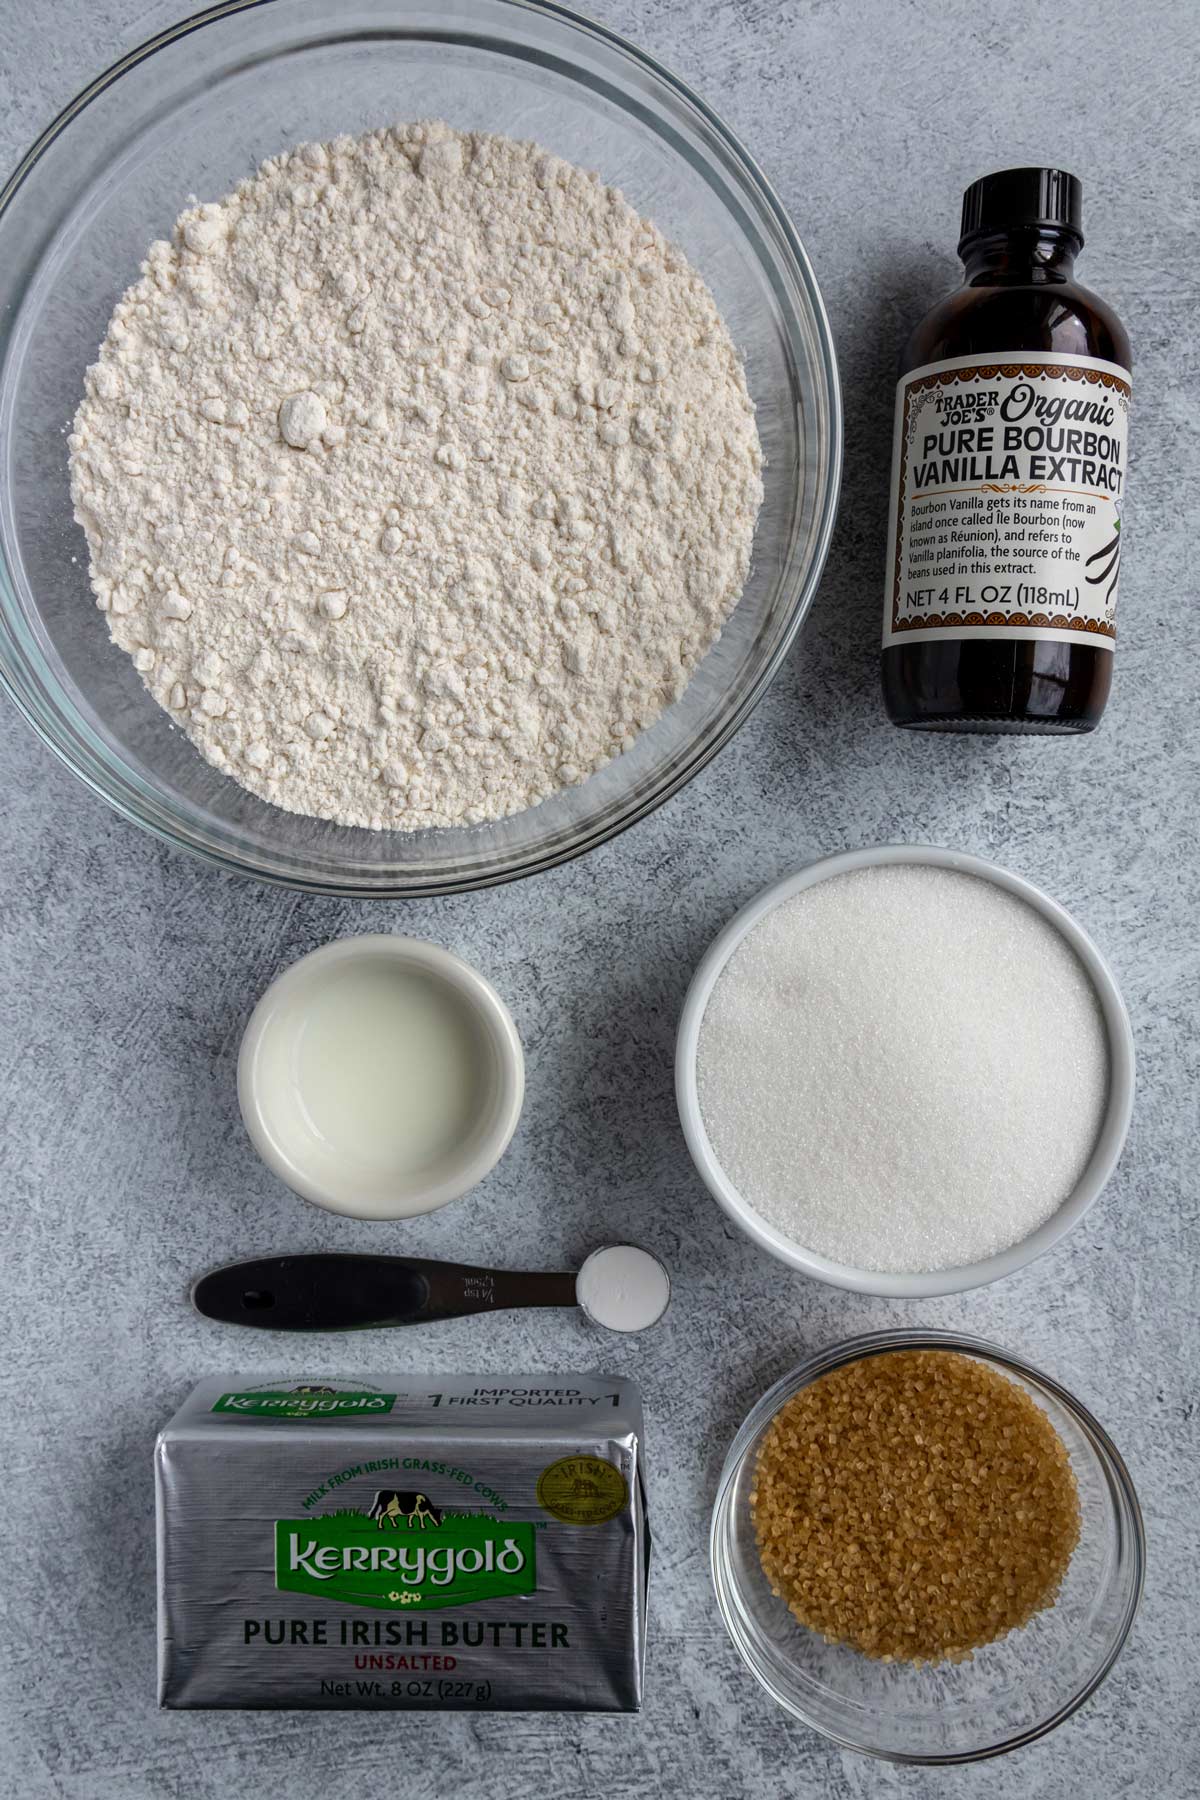
- Butter: Use good quality unsalted butter for this recipe. The butter is the star!
- Flour: Ideally, measure your all-purpose flour (and all your other ingredients) by weight for the best results. I’ve included volume measurements though just in case you don’t have a digital scale.
- Vanilla: Traditionally, heidesand are made with vanilla sugar, which is typical in many German baking recipes. I find that vanilla extract is a bit easier for bakers outside of Germany, and it works really well for this recipe.
- Coarse Sugar: Optionally, you can roll your cookies in coarse sugar before baking. Fine pearl sugar (not the kind you put in Belgian waffles) is an option, but you can also use turbinado or raw sugar, or even white sugar if that’s all you have. For mine, I rolled half of them in raw sugar and left half of them plain.
How to make it
Melt butter in a small saucepan over medium heat. Gently whisk butter and continue to simmer until you see brown specks appear at the bottom of the pan. The melted butter itself should become a golden brown amber color.


Remove the browned butter from the heat and pour it into a bowl, leaving any of the dark brown sediment (the browned milk solids) behind. This way you will have pure brown butter only. Cool the brown butter until the texture is soft, like room temperature butter, but no longer liquid.


Note: You can refrigerate it (but this may take over an hour), or put it in the freezer for short intervals of a few minutes at a time, stirring in between so it doesn’t actually freeze solid but instead rapidly cools to the desired texture.
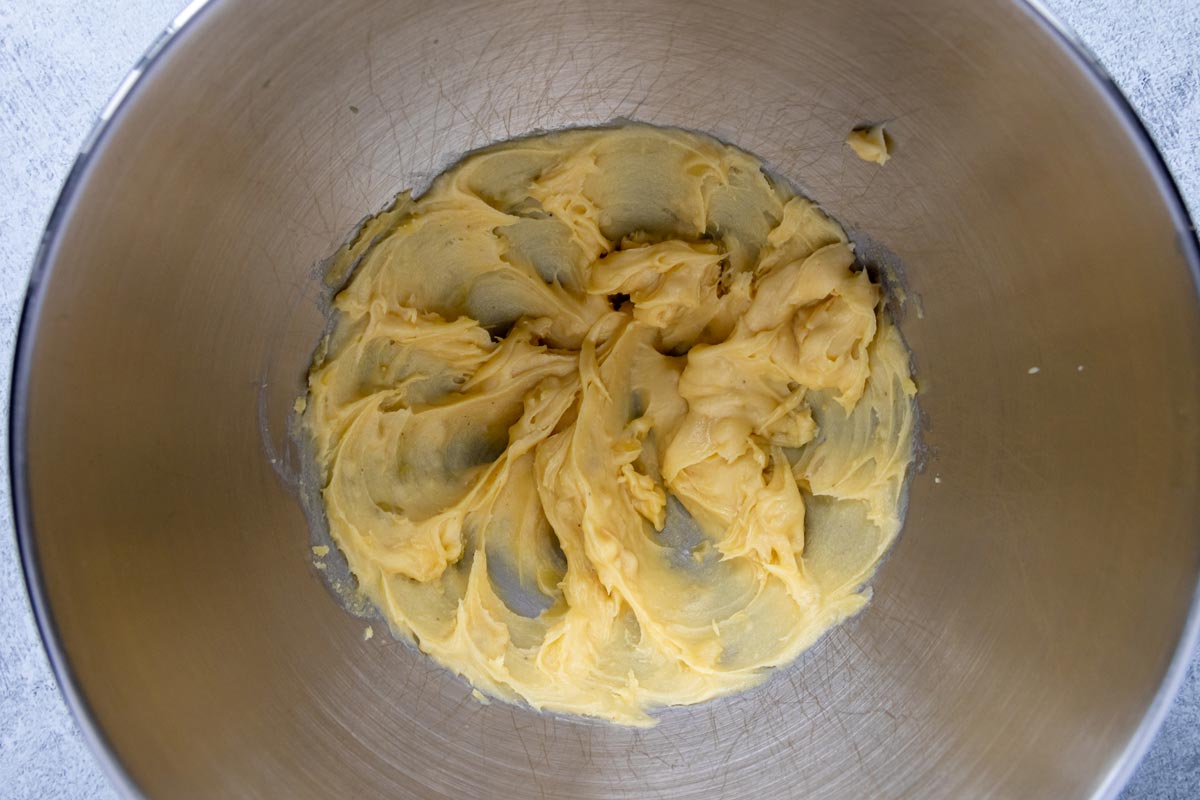
Transfer the cooled but soft brown butter to the bowl of an electric stand mixer fitted with the paddle attachment. Beat the butter until creamy and fluffy. Then add sugar, milk, vanilla extract, and salt and beat until smooth.

Add flour and baking powder and mix on low speed until combined. The mixture will still be quite crumbly but should hold together when pressed between your fingers.


Transfer the dough to a work surface and slightly knead and press the dough together to form a smooth mass. It will seem difficult to work with but this is normal.
Divide the dough into four pieces. Carefully squish and press each piece between your fists and fingers to lengthen it into a log. Then gently roll it to smooth out the edges. The dough may seem fragile, but again this is normal. Just do your best pressing and shaping them into logs. Each should be about 1-inch in diameter.


Wrap each dough log with plastic wrap. Then roll the rope back and forth a bit while wrapped in plastic to help smooth out the shape a bit more. Refrigerate for at least 1 hour or overnight.

Preheat the oven to 350°F (180°C). Line two baking sheets with parchment paper.
Unwrap the dough logs and slice them with a sharp knife into ¼-inch thick rounds.

Note: If the dough is too brittle to cut, leave it out at room temperature for 20 to 30 minutes to let it soften a bit.
If desired, roll the edges of each slice of dough in turbinado (raw) sugar, pearl sugar, or granulated sugar. It can be a bit difficult to stick since the dough is firm and dry, but press it gently if needed. I recommend rolling on a flat, firm surface like a plate rather than filling a bowl with the sugar.
Arrange the sliced cookies on the prepared baking sheets. Bake each sheet for about 14 to 16 minutes or until the edges are just lightly browned.
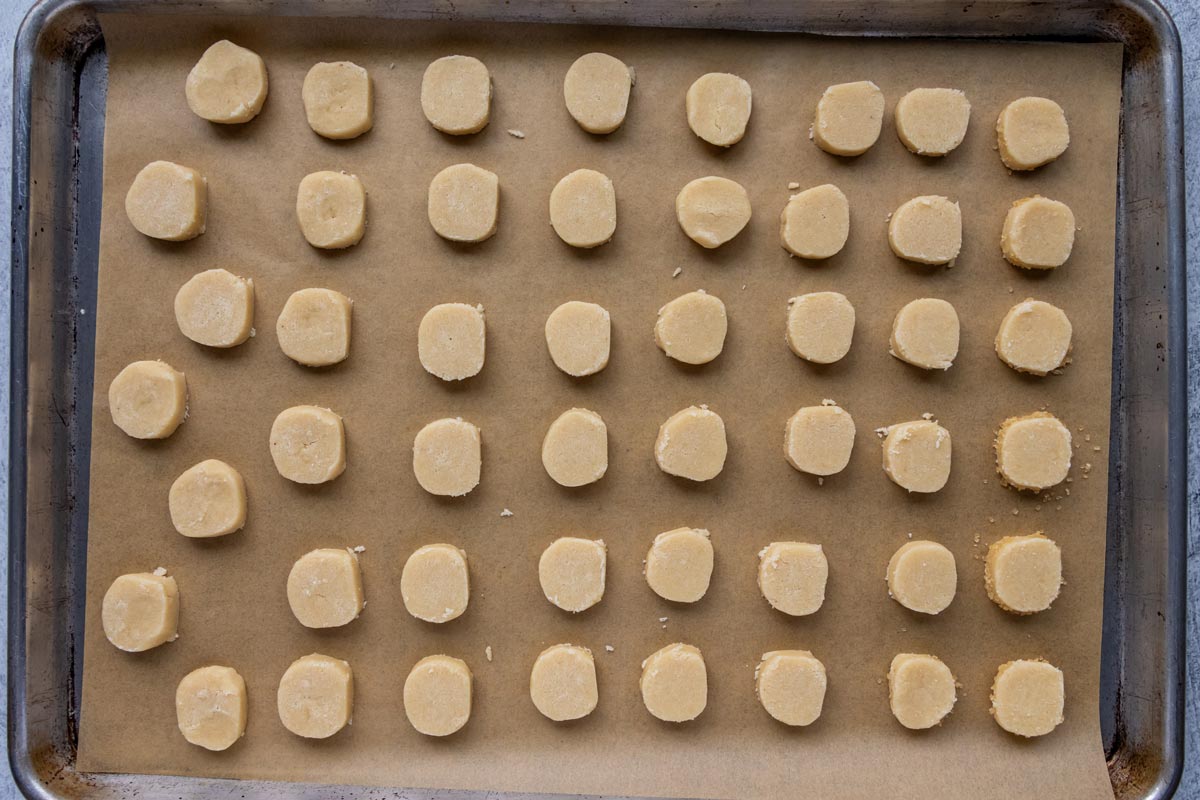
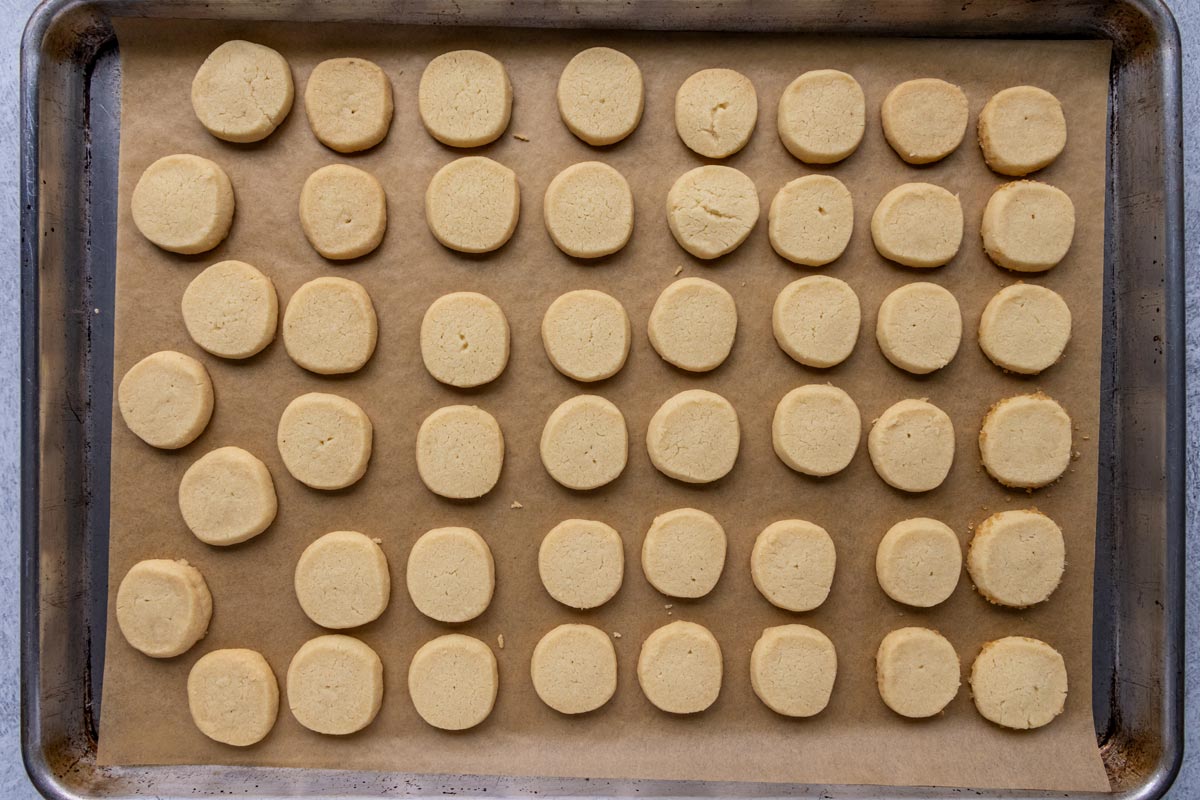
Note: You can bake them one at a time on the center rack, or bake them together in the top and bottom thirds of the oven, swapping pans part way through baking. I find they bake more evenly if you bake one after another instead of simultaneously.
Remove from the oven and cool the cookies for a few minutes on the pan. Transfer heidesand to a rack to finish cooling.
Please scroll to the bottom of the post for the full recipe (in a printable recipe card) including ingredient amounts and detailed instructions.

Expert tips and FAQ
Use a lighter colored saucepan to make your browned butter so you can easily see the color contrast of the butter and the dark brown speckles in the bottom. This will make it easier to avoid burning the butter.
Store the unbaked dough rolls wrapped in plastic for up to 2 days in the refrigerator before slicing and baking, or freeze them for up to 3 months. Place frozen rolls of dough in the fridge overnight to allow them to slowly defrost before slicing and baking them. You can also freeze sliced cookies and bake them from a frozen state, but allow an extra minute or two for them to bake.
If your dough logs are too firm to slice straight out of the fridge, leave them out on the counter for about 20 to 30 minutes before slicing them into rounds.
Store baked heidesand cookies in a metal cookie tin or another airtight container for about 3 weeks at room temperature. You can also store them in the freezer for up to 3 months.
Shortbread is a type of European cookie with many variations depending on the region where it originates. The most typical shortbread bars people may think of come from Scotland. Shortbread is characterized by a buttery flavor and a firm, crumbly texture. The main ingredients are typically butter, sugar, and flour. Shortbread doesn't contain eggs, and rarely contains leavening, although this German version (Heidsand) does have some baking powder.
Heidesand are actually butter cookies, making butter the key ingredient. Butter does not simply provide a source of fat to the dough, but it provides a significant amount of the flavor. In this case, I would not recommend replacing the butter with something else.
Other recipes you may like
- Vanillekipferl (Austrian Vanilla Crescent Cookies)
- Pfeffernüsse (Iced German Spice Cookies)
- Cremeschnitten (Austrian Cream Slices)
- Donauwellen (German Danube Wave Cake)
- Käsekuchen (German Cheesecake)
Tried this recipe? Please leave a star ⭐️⭐️⭐️⭐️⭐️ rating in the recipe card below and/or a review in the comments section further down the page. You can also follow me on social media on Facebook, Instagram, and Pinterest!
Heidesand (German Brown Butter Shortbread Cookies)
Ingredients
- 226 grams (2 sticks) unsalted butter
- 200 grams (1 cup) granulated sugar
- 2 tablespoons milk
- 1 teaspoon pure vanilla extract
- ¼ teaspoon kosher salt
- 280 grams (2 ¼ cups) all-purpose flour
- ¼ teaspoon baking powder
- 50 grams (¼ cup) turbinado (raw) sugar, pearl sugar, or granulated sugar (optional)
Instructions
- Melt the butter in a small saucepan over medium heat. Gently whisk the butter and continue to simmer until you see brown specks appear at the bottom of the pan and the melted butter itself turns into a golden brown amber color. The butter can burn quickly once it starts to brown so keep a close watch. Once the butter melts, the process should take about 10 to 12 minutes.
- Remove the browned butter from the heat and pour it into a bowl, leaving any of the dark brown sediment (the browned milk solids) behind. This way you will have pure brown butter only. Cool the brown butter until the texture is soft, like room temperature butter, but no longer liquid. Note: You can refrigerate it (but this may take over an hour), or put it in the freezer for short intervals of a few minutes at a time, stirring in between so it doesn’t actually freeze solid but instead rapidly cools to the desired texture.
- Transfer the cooled but soft brown butter to the bowl of an electric stand mixer fitted with the paddle attachment. Beat the butter until creamy and fluffy. Then add the sugar, milk, vanilla extract, and salt and beat until smooth.
- Add the flour and baking powder and mix on low speed until combined. The mixture will still be quite crumbly but should hold together when pressed between your fingers. If it’s really too dry, add another tablespoon of milk.
- Transfer the dough to a work surface and slightly knead and press the dough together to form a smooth mass. It will seem difficult to work with but this loose, sandy quality is correct. Divide the dough into four pieces and carefully squish and press each piece between your fists and fingers to lengthen it into a log, and then gently roll it to smooth out the edges. It should be about 1-inch in diameter.
- Wrap each dough log with plastic wrap, and then roll the rope back and forth a bit while wrapped in plastic to help smooth out the shape a bit more. Refrigerate for at least 1 hour or overnight.
- Preheat the oven to 350°F (180°C). Line two baking sheets with parchment paper.
- Unwrap the dough logs and slice them with a sharp knife into ¼-inch thick rounds. Note: If the dough is too brittle to cut (likely after chilling it overnight or longer), leave it out at room temperature for 20 to 30 minutes to let it soften a bit.
- If desired, roll the edges of each slice of dough in turbinado (raw) sugar, pearl sugar, or granulated sugar. It can be a bit difficult to stick since the dough is firm and dry, but press it gently if needed. I recommend rolling on a flat, firm surface like a plate rather than filling a bowl with the sugar.
- Arrange the sliced cookies on the prepared baking sheets. Bake each sheet for about 14 to 16 minutes or until the edges are just lightly browned. Note: You can bake them one at a time on the center rack, or bake them together in the top and bottom thirds of the oven, swapping pans part way through baking–though I find they bake more evenly if you bake one after another instead of simultaneously.
- Remove from the oven and cool the cookies for a few minutes on the pan before transferring the cookies to a rack to finish cooling.
Notes
- Store the unbaked dough rolls wrapped in plastic for up to 2 days in the refrigerator before slicing and baking, or freeze them for up to 3 months. Place frozen rolls of dough in the fridge overnight to allow them to slowly defrost before slicing and baking them. You can also freeze sliced cookies and bake them from a frozen state, but allow an extra minute or two for them to bake.
- Store baked cookies in a metal cookie tin or another airtight container for about 3 weeks at room temperature. You can also store them in the freezer for up to 3 months.
- Use good quality unsalted butter for this recipe. The butter is the star!
- Ideally, measure your all-purpose flour (and all your other ingredients) by weight for the best results. I’ve included volume measurements though just in case you don’t have a digital scale.
- Optionally, you can roll your cookies in coarse sugar before baking. Fine pearl sugar (not the kind you put in Belgian waffles) is an option, but you can also use turbinado or raw sugar, or even white sugar if that’s all you have. For mine, I rolled half of them in raw sugar and left half of them plain.
Nutrition
*All nutritional information is based on third-party calculations and should be considered estimates. Actual nutritional content will vary with brands used, measuring methods, portion sizes and more.*





Comments
No Comments