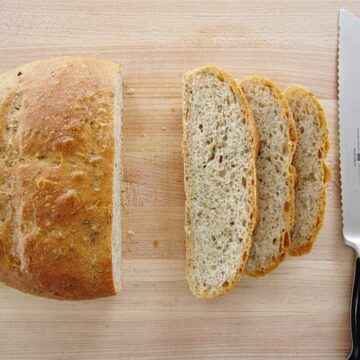
This bread is infused with fresh thyme and olive oil. It's a great option as a base for bruschetta, or for assembling summer sandwiches.
There's nothing quite like the aroma of fresh bread baking in your oven. There really isn't. When it comes to baking bread, there are two major schools of thought. There is bread that can be made rather quickly and efficiently. It doesn't require a starter.
It's usually uncomplicated, but can come in many shapes and flavors. It probably features a fairly firm and easy-to-handle bread dough and rises only once before shaping, proofing and baking. It's reliable, and it's a good starter bread for lovers of yeast.
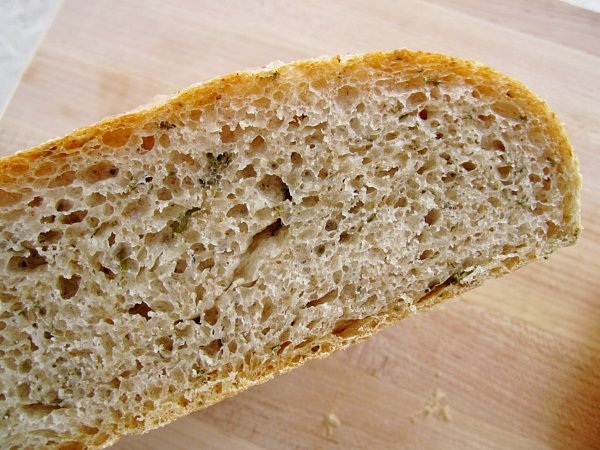
Then there's artisan bread. Artisan bread, by nature, is a wetter dough (the extra water in the dough allows for better texture and more open holes). This can be more of a struggle to work with, knead, and shape. It often (but not always) requires a starter, which thus requires more time to plan your bread making (but improves the flavor tenfold, and is hella easy to make!).
In the case of Amy's Bread recipes, it also usually has multiple/slower rise times compared to other bread recipes. None of these obstacles, however, prevent me from wanting to make their bread. Why? Because their bread is the best.
This doesn't mean that I don't/won't make other breads that are easier/faster/less complicated. But it means that I'm happy to spend two days baking bread if it tastes as good as their bread does.
This particular recipe suggests refrigerating the dough after the first rise, which extends the total time even longer than some of the other bread recipes in the book. The flavor is supposed to be better if you do, and so I did. I have no complaints.
I made my starter first thing in the morning, then later in the afternoon I prepared my bread dough, let it rise, folded it over, and then refrigerated it until the next morning when I continued to let it rise at room temperature, shaped the loaves, proofed and baked them. It was time consuming, but it wasn't that hard to do. Really.
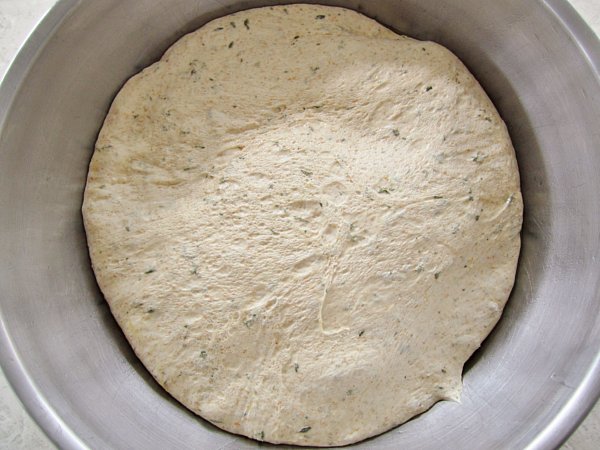
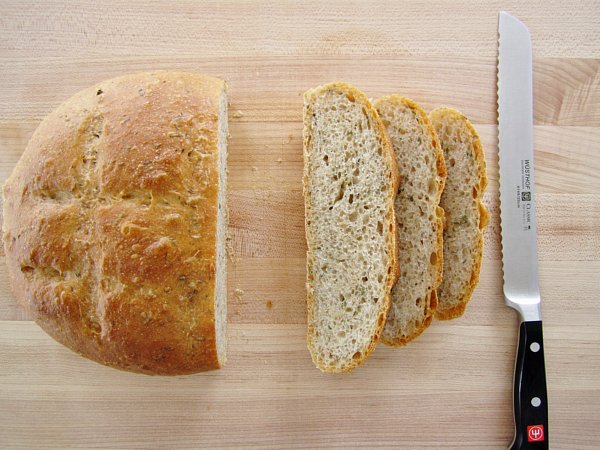
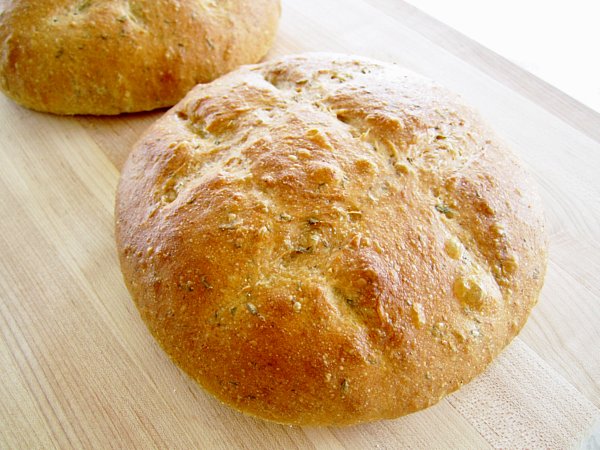
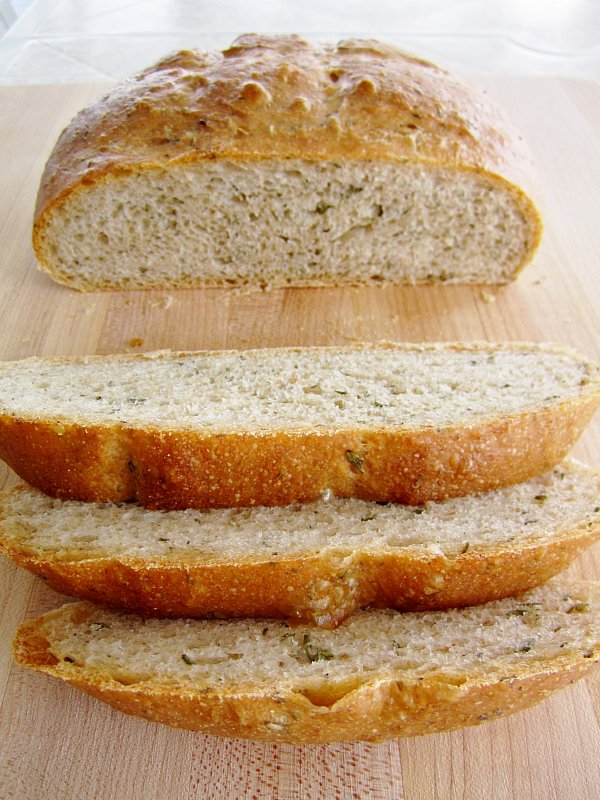
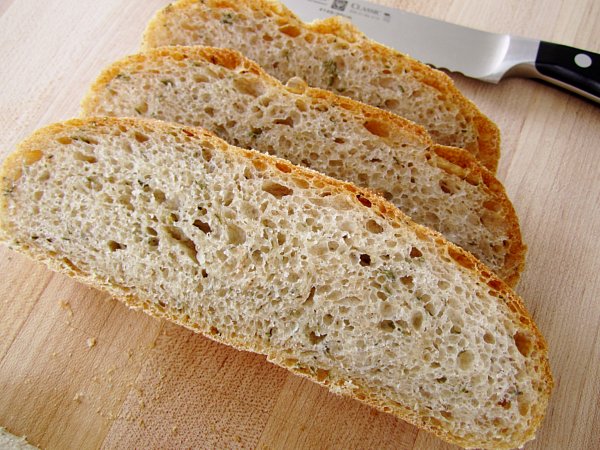
The bread was fantastic. It had a great herbaceous flavor from the thyme (the recipe originally calls for rosemary, but the thyme in my garden was just aching for some love) and a wonderful aromatic quality from the olive oil, both in the dough and brushed on top. The bread itself had a nice chewy crumb that holds up to many uses.
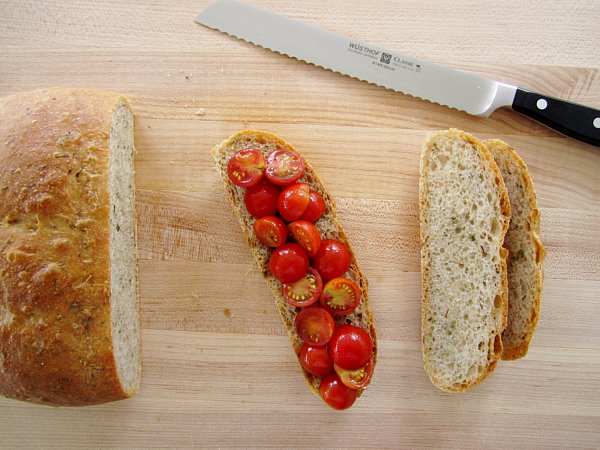
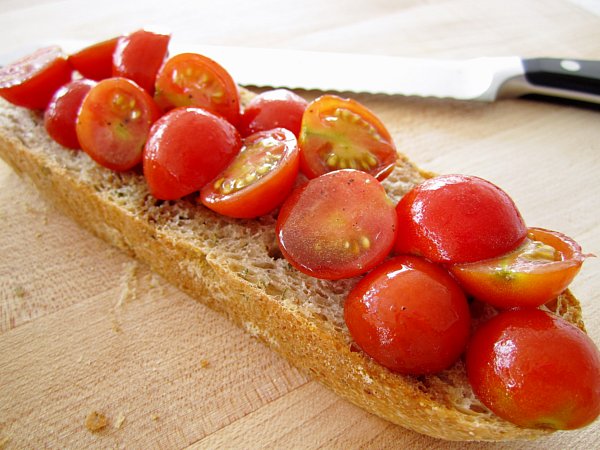
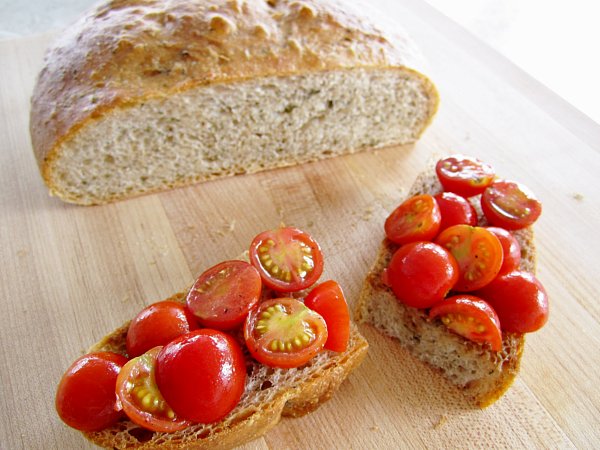
I actually topped a couple slices of the bread with a quick cherry tomato bruschetta topping I whipped up with cherry tomatoes from the garden. The recipe is simply 1 cup cherry tomatoes, halved, mixed together with ½ a teaspoon each of balsamic vinegar and extra-virgin olive oil, and seasoned with kosher salt and freshly ground black pepper. You could throw some chopped herbs in there, but I wanted to showcase the flavor of the bread (already infused with herbs).
PS I make my bread using the weight measurements instead of the volume measurements (whenever possible), but both are included in the book and so I am sharing them both here. For the best accuracy, use the weight measurements if you have a kitchen scale available.
Other recipes you may like
- Rosemary Focaccia
- Za'atar Manakish (Lebanese Za'atar Bread)
- Whole Wheat Sandwich Bread with Oats and Pecans
- Honey Glazed Beer Bread
- Sally Lunn Buns (Solange Luyon Buns or Solilemmes)
Tried this recipe? Please leave a star ⭐️⭐️⭐️⭐️⭐️ rating in the recipe card below and/or a review in the comments section further down the page. You can also follow me on social media on Facebook, Instagram, and Pinterest!
Fresh Thyme Bread with Olive Oil
Ingredients
- ¼ cup (2 ounces) very warm water (105 to 115°F)
- 1 teaspoon active dry yeast
- 2 cups (14 ounces) poolish starter (recipe follows)
- 1 cup (8 ounces) cool water (75 to 78°F)
- 3 tablespoons (1.5 ounces) extra-virgin olive oil, plus extra for brushing
- ¼ cup (0.55 ounces) fresh thyme leaves, chopped (alternatively use rosemary leaves, as original recipe does)
- 3 cups (15.3 ounces) unbleached all-purpose flour
- ½ cup (2.8 ounces) whole-wheat flour
- 1 tablespoon plus 2 teaspoons (0.56 ounces) kosher salt
- Cornmeal for sprinkling
Instructions
- Combine very warm water and yeast in a large bowl. Stir with a fork until yeast dissolves. Let stand 3 minutes, then add the poolish, cool water, olive oil, and thyme. Combine with your fingers for about 2 minutes, breaking up sponge until yeast mixture looks milky and slightly foamy.
- Add flours and salt. Mix with your fingers to incorporate, scraping the bowl’s sides and folding dough over itself until it gathers into a mass. When sticky strands of dough cling to your fingers, gather it into a ball and move it to a lightly floured surface. If dough is very firm, add 1 tablespoon water.
- Knead dough for about 5 minutes, until it becomes smoother and supple. Put the dough back into the mixing bowl, cover it with oiled plastic wrap and let it rest for 20 minutes to smooth out and develop elasticity.
- Return the dough to the lightly floured survace and knead for 2 to 3 minutes, until smooth and stretchy. Do not knead extra flour into the dough. It should be soft and loose.
- Place the dough in a lightly oiled bowl. Cover the dough with oiled plastic wrap and allow it to rise at room temperature (75 to 78°F) for 1 hour. After one hour, turn the dough while it is still in the mixing bowl. Gently deflate the dough in the middle of the bowl with your fingertips, then fold the left side over the middle, and the right side over the middle. Fold the dough in half, gently pat it down, and then turn it over so the seam is underneath. Cover the dough tightly with plastic wrap or a large plastic bag, and place in the refrigerator to chill for at least 8 hours or overnight.
- Remove from refrigerator and let warm until it begins to rise again, 1 ½ to 2 hours.
- Cover a peel or the back of a sheet pan with parchment paper, then sprinkle with cornmeal. Place dough, which may be quite sticky, on a well-floured surface and divide it into 2 equal pieces. Shape each into a boule, or round loaf. Flour the seam of each and place loaves, seam side down, on peel or pan, leaving 3 to 4 inches between them for rising and spreading. Cover with oiled plastic wrap and let rise for 1 ¼ to 1 ¾ hours, or until loaves have doubled in bulk.
- Thirty minutes before baking, preheat oven to 450°F. Fill a plastic spray bottle with water and place a small pan (such as a mini loaf pan) on the lowest possible rack of the electric oven. Also place a cast-iron pan (that you are willing to get rusty) next to the small pan (I just used another small pan), fill a teakettle with water to be boiled later, and have a metal 1-cup measure with a straight handle available near the kettle.
- Five to 10 minutes before the loaves are ready to bake, carefully place 2 or 3 ice cubes in the small pan in the bottom of the oven. This helps to create moisture in the oven prior to baking. If using a water pan, also turn the water on to boil.
- Mist the tops of the loaves with water, then using a razor blade, cut a shallow tick-tack-toe pattern on top of each loaf, being careful not to tear dough. Gently slide loaves from the parchment onto the baking stone (if you’re baking with a stone simply slide the sheet pan onto the empty oven rack). Pour 1 cup of boiling water into the cast-iron pan and immediately shut oven door. After about 1 minute, quickly mist loaves with water 6 to 8 times, then shut the oven door.
- Bake for 20 minutes, then reduce oven temperature to 400°F and bake 10 to 15 minutes longer, until loaves are light golden brown and sound hollow when tapped on the bottom. Brush loaves with olive oil using a pastry brush. Cool on a rack.
Notes
Nutrition
*All nutritional information is based on third-party calculations and should be considered estimates. Actual nutritional content will vary with brands used, measuring methods, portion sizes and more.*
Poolish Starter
Ingredients
- ¼ cup (2 ounces) very warm water (105 to 115°F)
- ¼ teaspoon active dry yeast
- ¾ cup (6 ounces) cool water (75 to 78°F)
- 1 ½ cups plus 2 tablespoons (8 ounces) unbleached all-purpose flour
Instructions
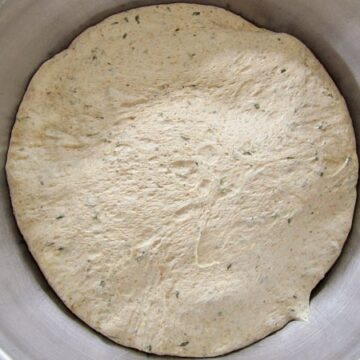
- In a 2-quart container with high sides, combine the very warm water and yeast and whisk together until the yeast is dissolved. Allow the mixture to stand for 3 minutes. Add the cool water and flour and stir vigorously with a wooden spoon or your hand for 1 minute, until a smooth, somewhat elastic batter has formed. The starter will soften and become more elastic as it sits.
- Scrape down the starter from the sides of the container and cover with plastic film. Mark the time and dough's height on the side of the container using a piece of tape so you can see how much it rises. Make sure it has room to triple in volume.
- Let the starter rise at room temperature (75 to 78°F) for 6 to 8 hours. Or let it rise 1 hour at room temperature, then chill it in the refrigerator for 8 hours or overnight. Remove it from the refrigerator and let it sit at room temperature for 3 to 4 hours to warm up and become active before use. When it is ready, it will have tripled in volume, and lots of bubbles and small folds will appear on the surface. The starter should be used in the next 2 to 4 hours, before it begins to deflate.
Notes
*All nutritional information is based on third-party calculations and should be considered estimates. Actual nutritional content will vary with brands used, measuring methods, portion sizes and more.*


Comments
No Comments