Thomas Keller's perfect buttermilk fried chicken is a must-have at his Yountville restaurant, Ad Hoc. Make it yourself any time you're craving the very best fried chicken (ever) with this recipe.
The day after New Year's Day I signed up for a boot camp class, and have been going weekly ever since then. Also on that day, my random craving for fried chicken reached Everest proportions.
I decided that if I committed to my weekly boot camp classes, and waited until a really good occasion, you know, my birthday for example, I would treat myself to the best fried chicken I could possibly make. Totally awesome reward, right?
Fast forward 3 ½ months till my mid-April birthday rolled around, and I was ready for fried chicken bliss! I had been dreaming of that day throughout every grueling boot camp class, and even though my weight loss and muscle toning has been minimal compared to other gym rats, I kept up my weekly commitment, which is huge for someone who hates exercising.
I spent quite a bit of time planning out the perfect fried chicken menu. The most important decision would be which fried chicken recipe to use. I've made really great fried chicken in the past, but I wanted this time to be epic!
Enter Thomas Keller, arguably one of the best chefs in the world, and his recipe for buttermilk fried chicken from his Yountville, CA restaurant and companion cookbook Ad Hoc at Home. The recipe is simple, but time consuming. It requires a bit of planning, but is absolutely worth it.
We start out by brining the chicken. This is common practice for frying, roasting, and even grilling birds, but the magic of this brine comes from the multitude of common ingredients that marry together to yield the perfect balance of flavor and salinity. Halved lemons, garlic, honey, and herbs galore create an incredibly fragrant brine that would do any bird justice.

You must make the brine in advance and let it cool completely before submerging your butchered chicken parts. My chickens were about 3 ½ pounds each, a bit larger than what is recommended, but I still yielded outstanding results.
I made my brine Saturday morning, chilled it thoroughly in the fridge, and then submerged the chicken parts later that evening, allowing a full 12 hours to brine overnight.
The next morning I removed the chicken from the brine, rinsed off each piece, dried it with paper towels, and then left it in the fridge until a bit closer to fry time. The recipe has you leave the chicken out at room temperature for 1 ½ hours or until it comes to room temperature.
Since I wasn't frying until closer to dinner time, I popped the chicken back into the fridge until 1 ½ hours before I planned to start frying. This timing worked out really well for future reference.
We're not finished yet. Even after soaking in that delicious brine to help flavor and tenderize our chicken, we still need to bread it with additional flavor. Highly seasoned flour includes everything from garlic and onion powders to cayenne pepper.
We alternate by dredging the chicken pieces in the seasoned flour, a pool of buttermilk, and then more seasoned flour. While dredging the chicken, the tangy aroma of the buttermilk filled me with excitement and anticipation to finally taste this extraordinary fried chicken.
Time to fry. I used a Le Creuset enameled cast iron French oven, which retains heat really well. Almost too well. Even as the heat of the oil fluctuated based on the heat of the burner, the bottom of the pot was still hot enough to singe my chicken pieces a tad, so if you're not using an actual deep fryer, use caution and make sure to flip the pieces periodically to make sure they don't brown too much on either side.
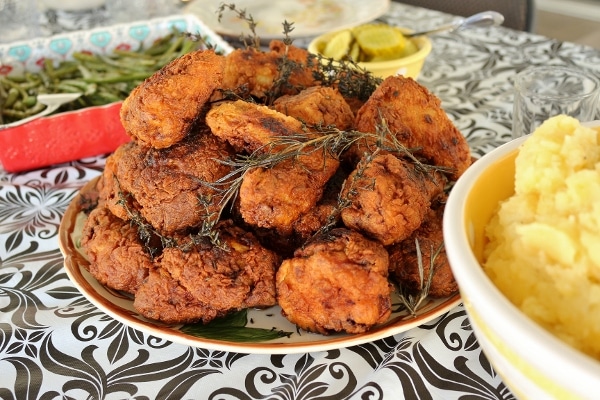
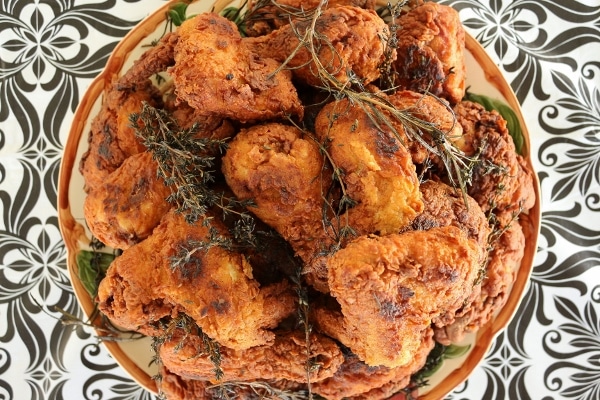
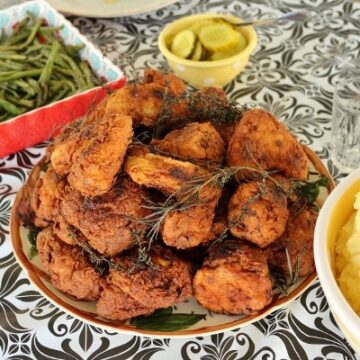
Now for the results. Was it worth the time and effort to plan ahead, making and chilling the brine, brining the chicken for 12 hours, doing a double coat of seasoned flour and tangy buttermilk, and frying the chicken pieces in well-organized batches (thighs first, then drumsticks, breasts, and finally wings)? The answer is yes. All caps and too many exclamation points YES!!!!!
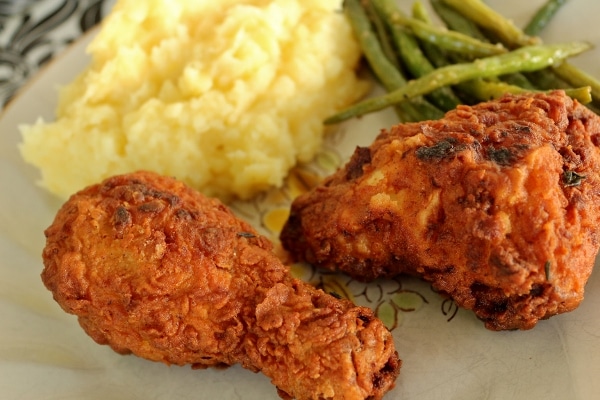
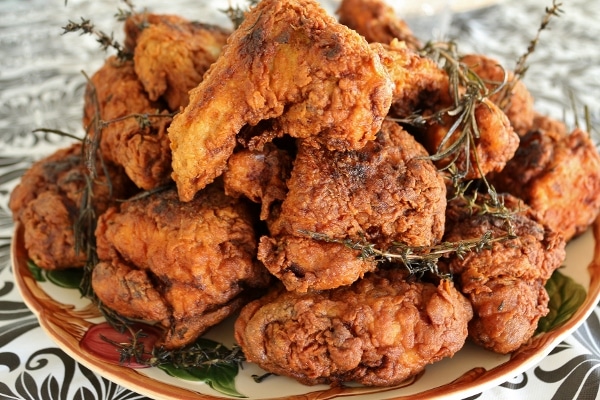
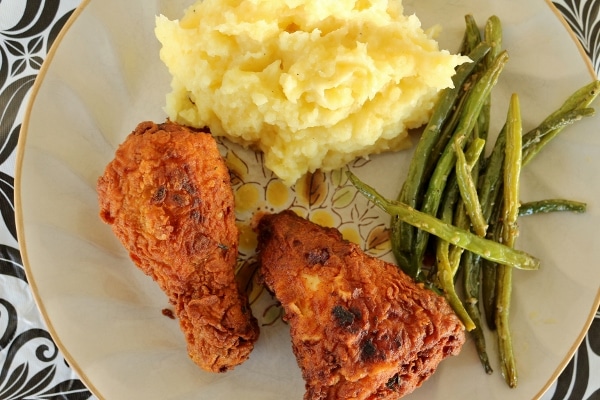
Picture this: crunchy, perfectly seasoned breading wrapped around the juiciest, most flavorful piece of chicken you've ever had in your life. Even the breast meat, which is notoriously easy to dry out, is so tender and flavorful. This fried chicken is epic.
I had no doubt in my mind that anything from the kitchen of Thomas Keller would be the best of the best, but this fried chicken really proves that. This is the best fried chicken ever. Period, end of story.
With that said, will I ever try another recipe for fried chicken? Of course I will. Variety is the spice of life, and there are other really wonderful fried chicken recipes in the universe.
Some boast different flavor profiles, and yet others are simply faster and easier to prepare, without 12 hours of brining, etc. But this will certainly be my ULTIMATE fried chicken recipe, hands down. It was worth the 3 ½ month wait...
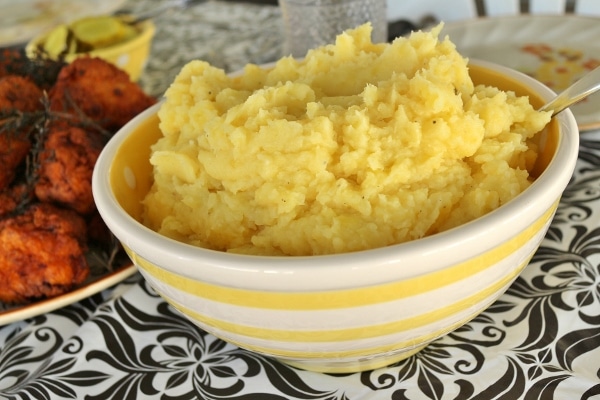
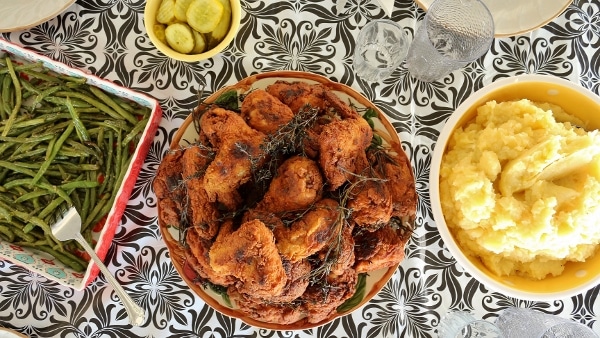
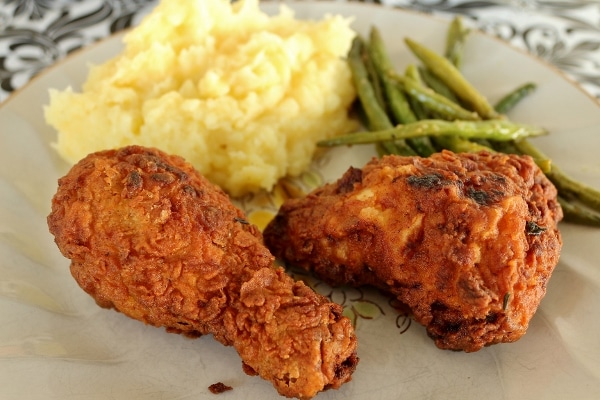
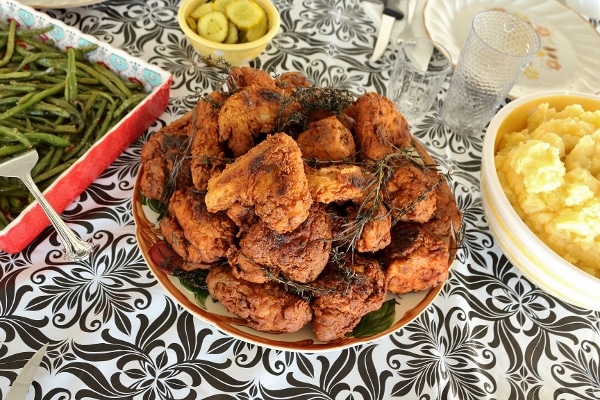
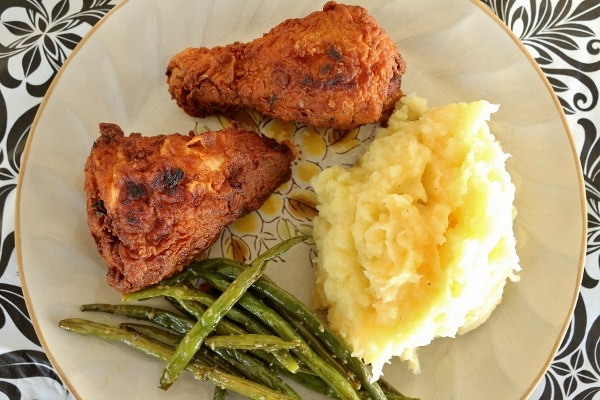
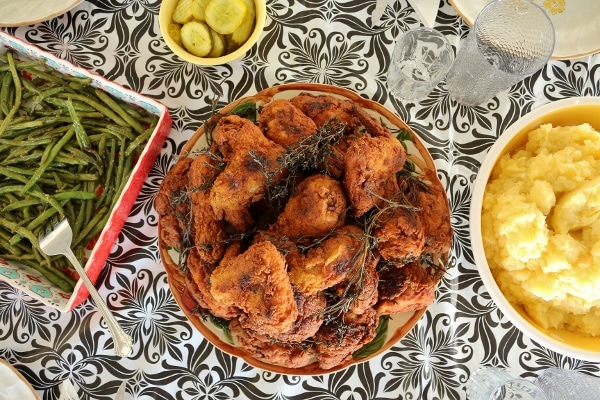
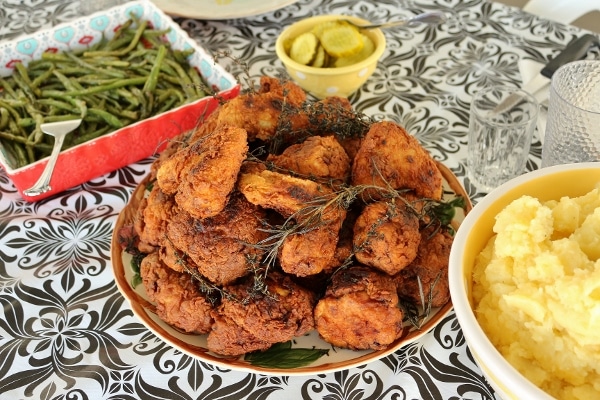
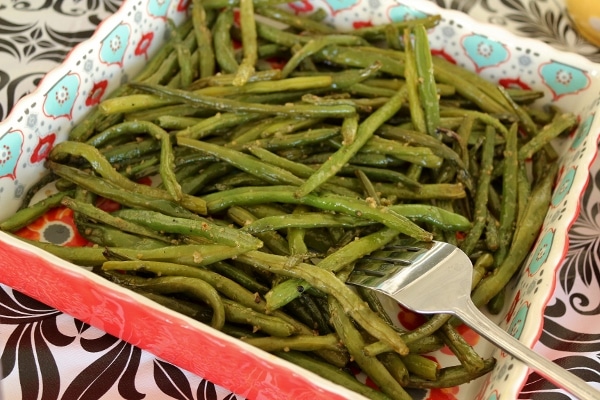
I served this Holy Grail fried chicken with buttermilk mashed Yukon gold potatoes, roasted green beans with garlic, and pickles. Simple perfection. You could also make Braised Collard Greens or Baked Macaroni and Cheese to round out this meal!
Other recipes you may like
- Vietnamese Chicken Wings
- Baked Jamaican Jerk Chicken Wings
- Korean Fried Chicken
- Honey Sesame Chicken
- Thomas Keller's Brined Pork Tenderloin
- Thomas Keller's Crispy Braised Chicken Thighs with Olives, Lemon, and Fennel
Tried this recipe? Please leave a star ⭐️⭐️⭐️⭐️⭐️ rating in the recipe card below and/or a review in the comments section further down the page. You can also follow me on social media on Facebook, Instagram, and Pinterest!
Ad Hoc Buttermilk Fried Chicken
Ingredients
Chicken Brine:
- 3 lemons halved
- 12 bay leaves
- ½ bunch (2 ounces) flat-leaf parsley
- ½ bunch (½ ounce) thyme (or a combination of thyme and rosemary)
- ¼ cup clover honey
- ½ cup garlic cloves, skin left on, lightly smashed with the side of a knife
- 2 tablespoons black peppercorns
- 1 cup (5 ounces) Diamond Crystal kosher salt
- 1 gallon water
- 2 (2 ½- to 3-pound) chickens
Dredging and Frying:
- Peanut or canola oil for deep-frying
- 2 ½ cups buttermilk
- Kosher salt and freshly ground black pepper
Coating:
- 3 cups all-purpose flour
- 2 tablespoons garlic powder
- 2 tablespoons onion powder
- 2 teaspoons paprika
- 2 teaspoons cayenne
- 2 teaspoons kosher salt
- ½ teaspoon freshly ground black pepper
To Finish:
- Ground fleur de sel or fine sea salt
- Rosemary and thyme sprigs for garnish
Instructions
- To make the brine: Combine all the ingredients in a large pot, cover, and bring to a boil. Boil for 1 minute, stirring to dissolve the salt. Remove from the heat and cool completely, then chill before using. The brine can be refrigerated for up to 3 days.
- Cut each chicken into 10 pieces: 2 legs, 2 thighs, 4 breast quarters, and 2 wings. Pour the brine into a container large enough to hold the chicken pieces, add in the chicken, and refrigerate for 12 hours (no longer, or the chicken may become too salty).
- Remove the chicken from the brine (discard the brine) and rinse under cold water, removing any herbs or spices sticking to the skin. Pat dry with paper towels, or let air-dry. Let rest at room temperature for 1 ½ hours, or until it comes to room temperature.
- If you have two large pots (about 6 inches deep) and a lot of oil, you can cook the dark and white meat at the same time; if not, cook the dark meat first, then turn up the heat and cook the white meat. No matter what size pot you have, the oil should not come more than one-third of the way up the sides of the pot. Fill the pot with at least 2 inches of peanut oil and heat to 320°F. Set a cooling rack over a baking sheet. Line a second baking sheet with parchment paper.
- Meanwhile, combine all the coating ingredients in a large bowl. Transfer half the coating to a second large bowl. Pour the buttermilk into a third bowl and season with salt and pepper. Set up a dipping station: the chicken pieces, one bowl of coating, the bowl of buttermilk, the second bowl of coating, and the parchment-lined baking sheet.
- Just before frying, dip the chicken thighs into the first bowl of coating, turning to coat and patting off the excess; dip them into the buttermilk, allowing the excess to run back into the bowl; then dip them into the second bowl of coating. Transfer to the parchment-lined pan.
- Carefully lower the thighs into the hot oil. Adjust the heat as necessary to return the oil to the proper temperature. Fry for 2 minutes, then carefully move the chicken pieces around in the oil and continue to fry, monitoring the oil temperature and turning the pieces as necessary for even cooking, for 11 to 12 minutes, until the chicken is a deep golden brown, cooked through, and very crisp. Meanwhile, coat the chicken drumsticks and transfer to the parchment-lined baking sheet.
- Transfer the cooked thighs to the cooling rack skin-side-up and let rest while you fry the remaining chicken. (Putting the pieces skin-side-up will allow excess fat to drain, whereas leaving them skin-side-down could trap some of the fat.) Make sure that the oil is at the correct temperature, and cook the chicken drumsticks. When the drumsticks are done, lean them meat-side-up against the thighs to drain, then sprinkle the chicken with fine sea salt.
- Turn up the heat and heat the oil to 340°F. Meanwhile, coat the chicken breasts and wings. Carefully lower the chicken breasts into the hot oil and fry for 7 minutes, or until golden brown, cooked through, and crisp. Transfer to the rack, sprinkle with salt, and turn skin side up. Cook the wings for 6 minutes, or until golden brown and cooked through. Transfer the wings to the rack and turn off the heat.
- Arrange the chicken on a serving platter. Add the herb sprigs to the oil (which will still be hot) and let them cook and crisp for a few seconds, then arrange them over the chicken.
Notes
- Note on chicken size: You may need to go to a farmer's market to get these small chickens. Grocery store chickens often run 3 to 4 pounds. They can, of course, be used in this recipe but if chickens in the 2 ½- to 3-pound range are available to you, they're worth seeking out. (Pssst, my chickens were about 3 ½ pounds each, but still yielded excellent results).
- Note: We let the chicken rest 7 to 10 minutes after it comes out of the fryer so that it has a chance to cool down. If the chicken has rested for longer than 10 minutes, put the tray of chicken in a 400°F oven for a minute or two to ensure that the crust is crisp and the chicken is hot.
- Adapted from Ad Hoc at Home
Nutrition
*All nutritional information is based on third-party calculations and should be considered estimates. Actual nutritional content will vary with brands used, measuring methods, portion sizes and more.*

Mike says
How do you get 4 breast quarters out of 1 bird ? Are you cutting the breast in half ?
Victoria says
Yes, exactly. The breasts are larger than the other chicken parts. To get similar sized chicken pieces for frying, you would cut each breast crosswise in half.